Managing Jobs
Using the Data Protection menu, you can easily manage jobs. Use the Manage menu to rename, edit, merge, delete, and enable/disable jobs.
Viewing Job Run Details
You can view job run details in the Data Protection or Activities dashboard.
-
Jobs dashboard: In the Jobs pane on the right, click the job status to view details.
-
Activities dashboard: Click on the job name and then click on the details link.
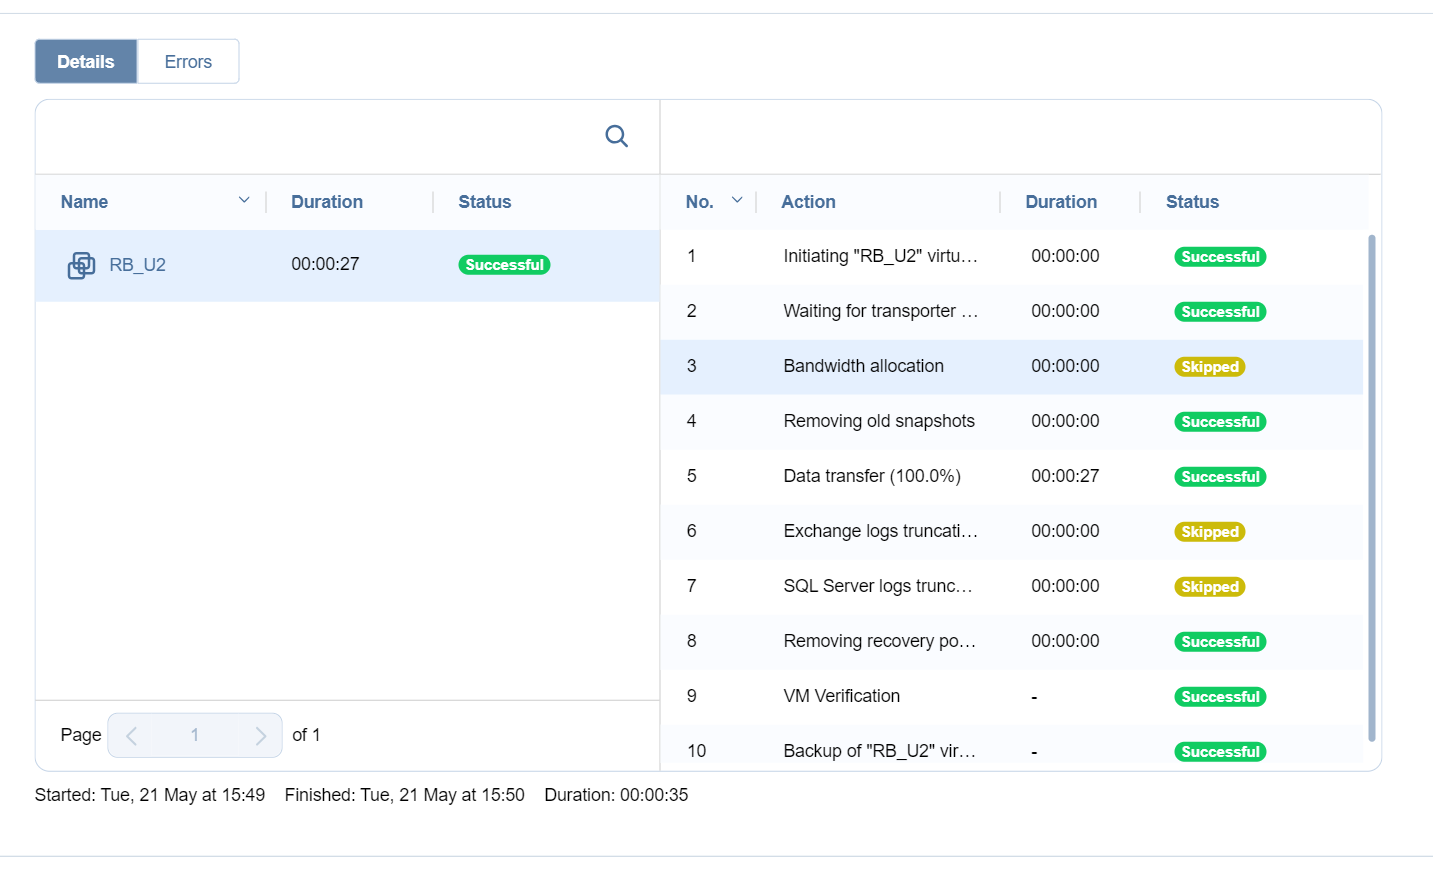
The Job Run Details popup window opens displaying the following details:
-
On the Details tab:
-
Name: The column displays the name of the job object.
-
Duration: The column displays the real-time duration for job processing. For completed jobs, the column shows the total duration for job processing.
-
Status: The column displays the last run status of the job.

-
Notes
You can click on any of the columns in the window to sort the list alphabetically or numerically. Additionally, you can use the search field for the specific job object.
On the right side, you can find the list of the job runs for this job and their durations. Clicking each specific run displays the detailed list of actions that were performed during the job run, their status, and the amount of time each of these actions took.
If the job was never retried, the right pane shows the actions that NAKIVO Backup & Replication took when running this job.
-
On the Errors tab, you can view all the alarms associated with this job.
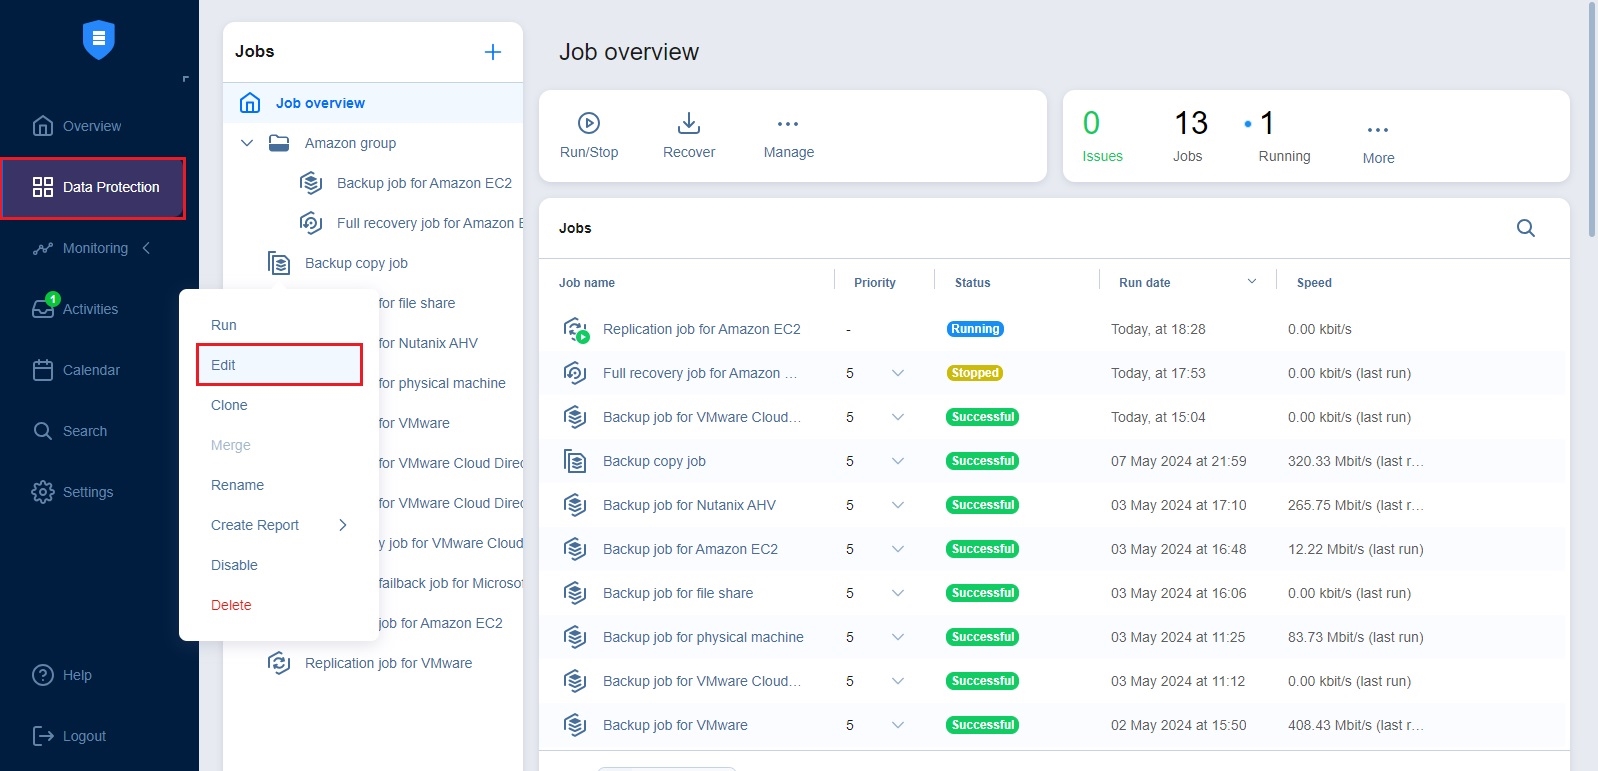
Renaming Jobs
-
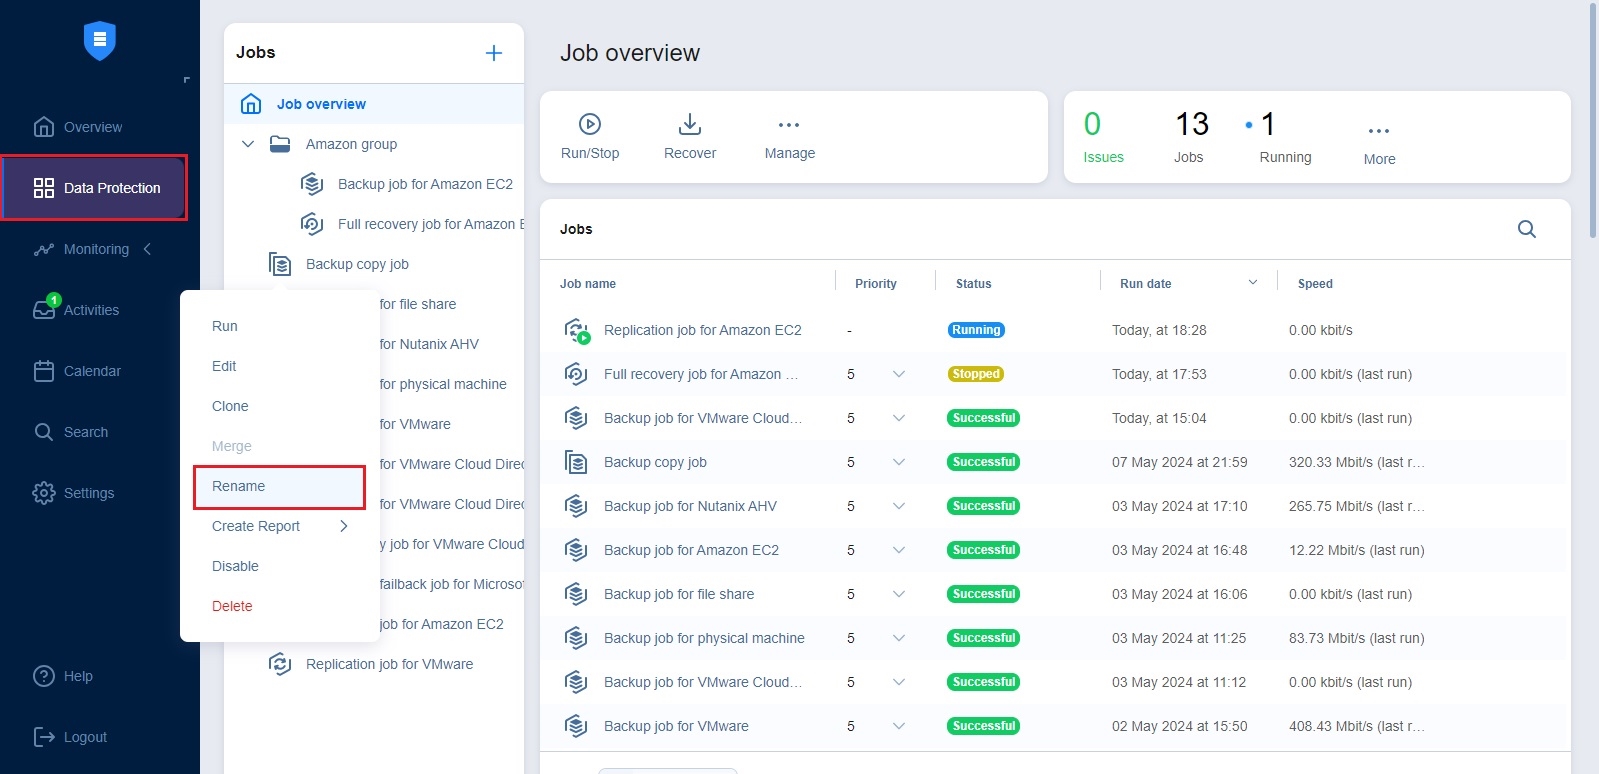
From the list of jobs, right-click on the job you want to rename.
-
Click Rename.
-
In the dialog box that opens, specify the new name for the job and click Rename.

Note
You can also rename jobs by selecting a job and clicking Manage > Rename.
Editing Jobs
To edit a job, follow the steps below:
-
Right-click on the job you want to edit from the list of jobs.
-
Click Edit.
-
In the Edit wizard, click the needed page to open it for editing.
-
Make the required changes and click Save or Save & Run.

Notes
You can edit the job while it is running, but the changes will be applied only when the job run has completed.
You can also edit jobs by selecting a job and clicking Manage > Edit.
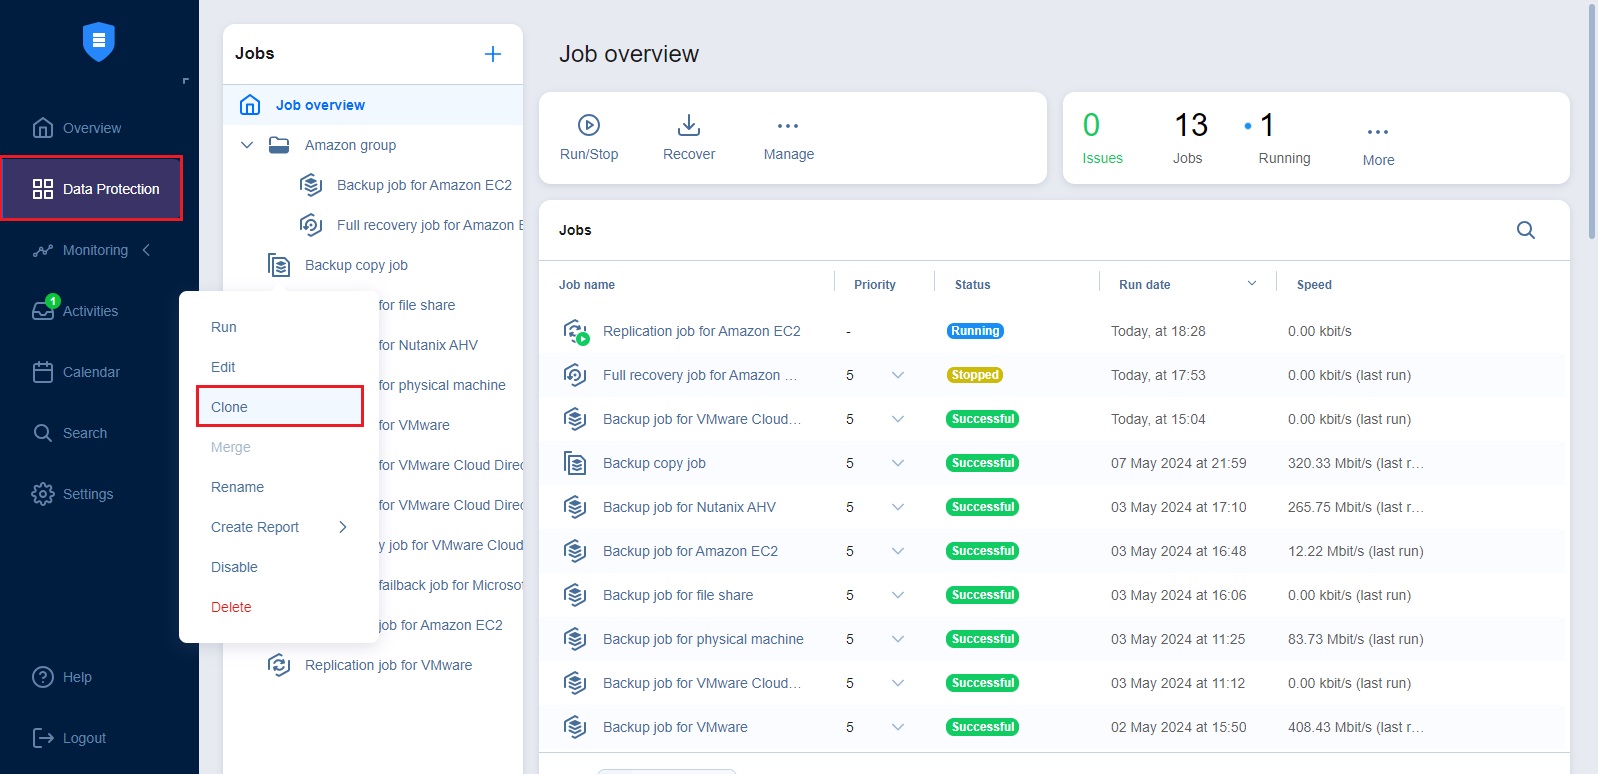
Cloning Jobs
To clone a job, follow the steps below:
-
Right-click on the job you want to clone from the list of jobs.
-
Click Clone.
Note
You can also clone jobs by selecting a job and clicking Manage > Clone.
Merging Jobs
NAKIVO Backup & Replication allows you to merge jobs of the same type. Before doing this, make sure to check feature requirements and how the feature works. To merge the jobs, do the following:
-
From the list of jobs, right-click on the source job you want to merge.
-
Click Merge.
-
Choose the target job for the merge and click Apply.
-
After the merge is finished, click Close to close the popup.

Notes
The Merge button may be unavailable in the following cases:
The selected job does not meet the feature requirements.
The selected job is currently running.
There are no target jobs available to merge the selected job with.
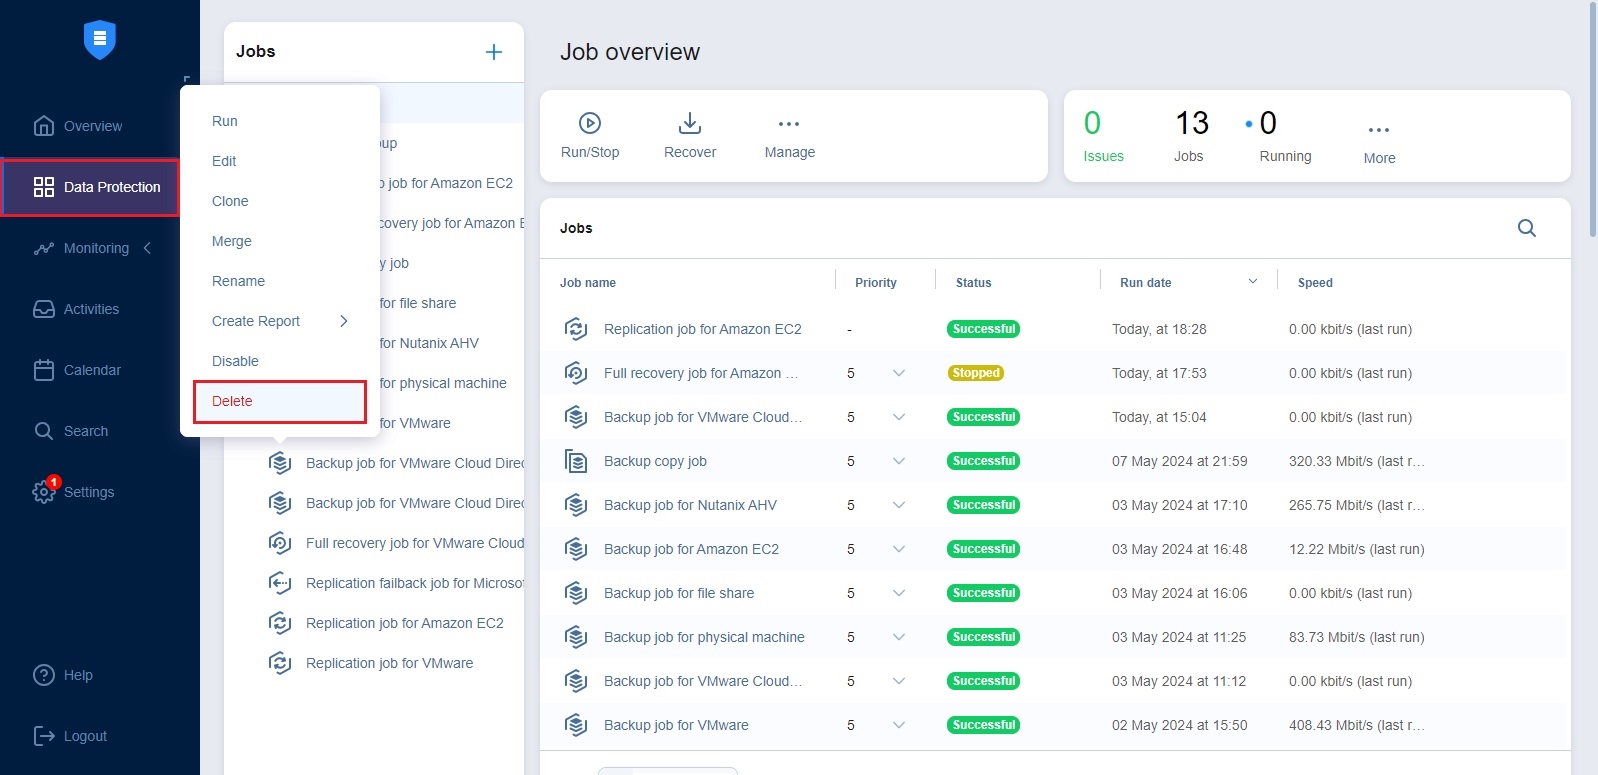
Deleting Jobs
To delete a job follow the steps below:
-
Right-click on the job you want to delete from the list of jobs.
-
Click Delete.
-
In the dialog box that opens, select one of the following:
-
Delete job and keep backups
-
Delete job and backups
Note
If the job has target objects, the options in the dialogue box allow you to keep or delete the job and either of the following:
-
backups
-
replicas
-
recovered VMs
-
recovered instances
-
replicas and their journals
Note that replicas, recovered VMs, and recovered instances are deleted in the powered off state.
-
-
Click Delete
Notes
-
You can also delete jobs by selecting a job and clicking Manage > Delete.
-
Backups can also be deleted from Backup Repositories.
-

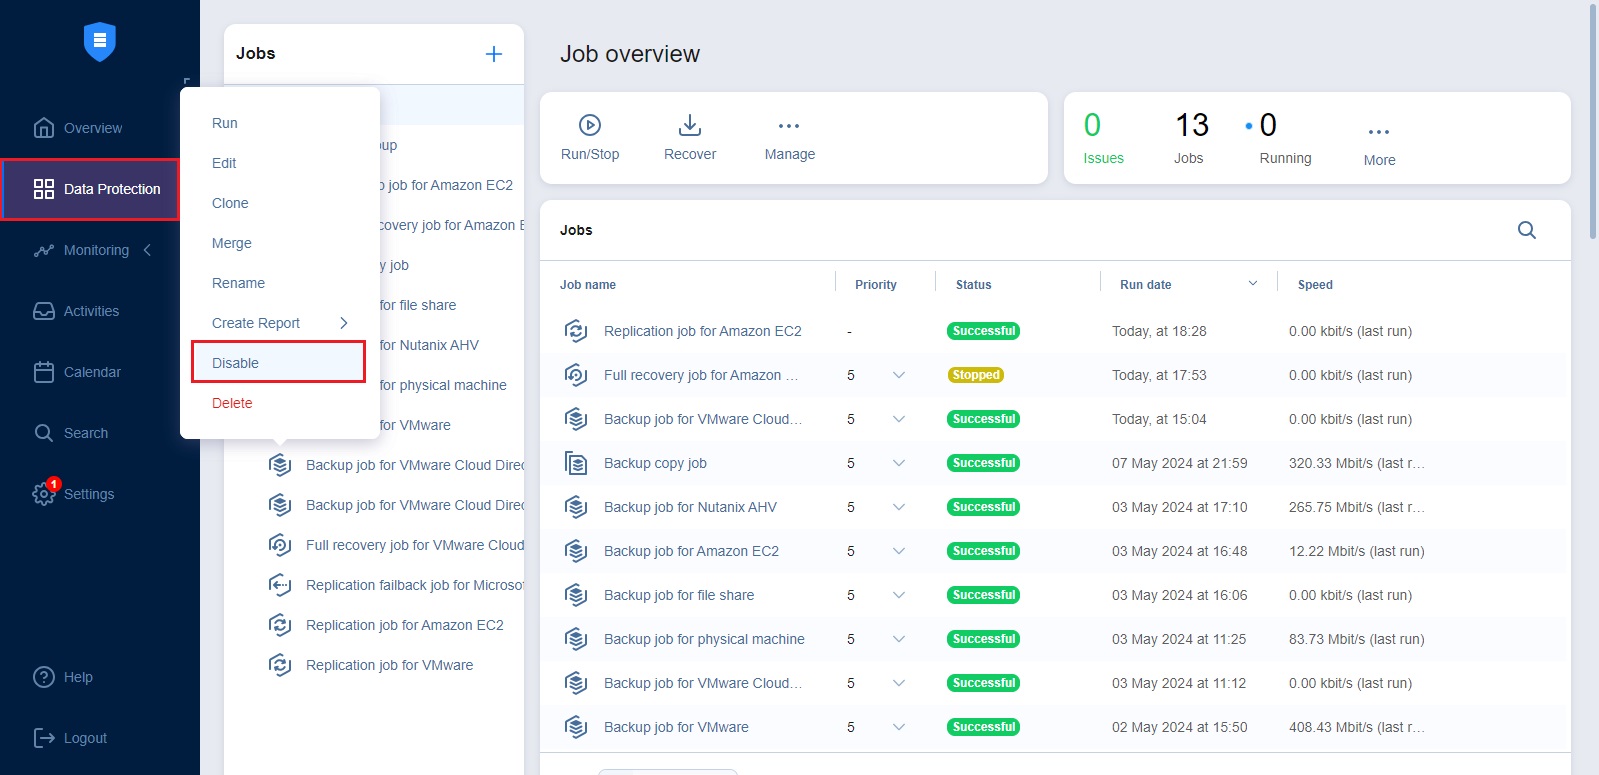
Disabling and Enabling Jobs
NAKIVO Backup & Replication provides you with the ability to disable jobs. A disabled job does not run based on the schedule and cannot be run on demand.
-
From the list of jobs, right-click on the job you want to disable.
-
Click Disable.
To enable a job, select Enable from the Manage menu.
Note
You can also manage jobs by selecting a job and selecting the desired action from the Manage menu.
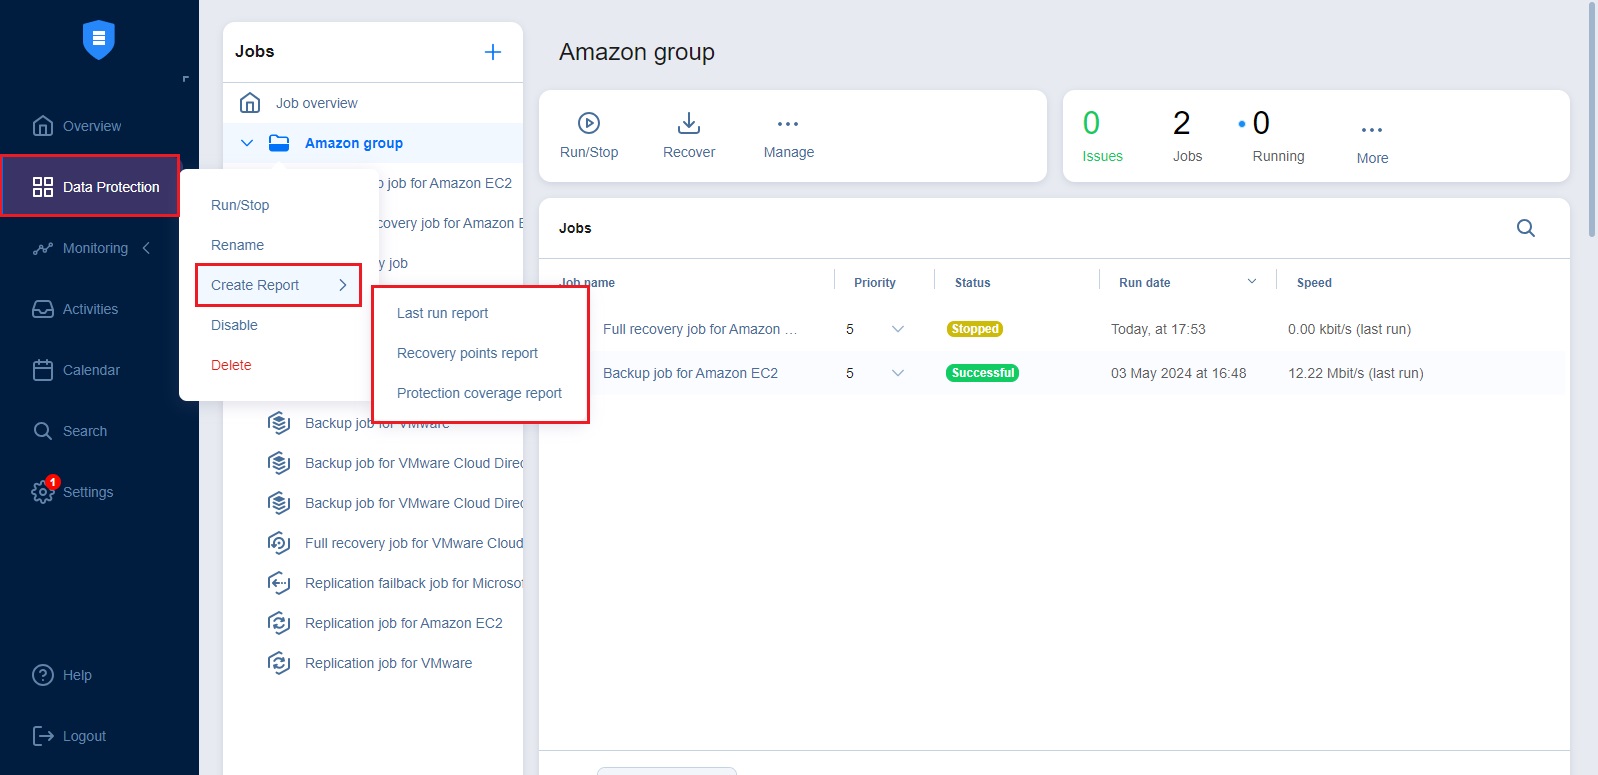
Grouping Jobs
Groups are folders which allow you to:
-
Logically arrange jobs (to represent organizations, locations, services, etc.).
-
Perform bulk actions with all or selected jobs in a group.
Creating Groups
To create a group, follow the steps below:
-
In the Data Protection menu, click Create and then click Job group.
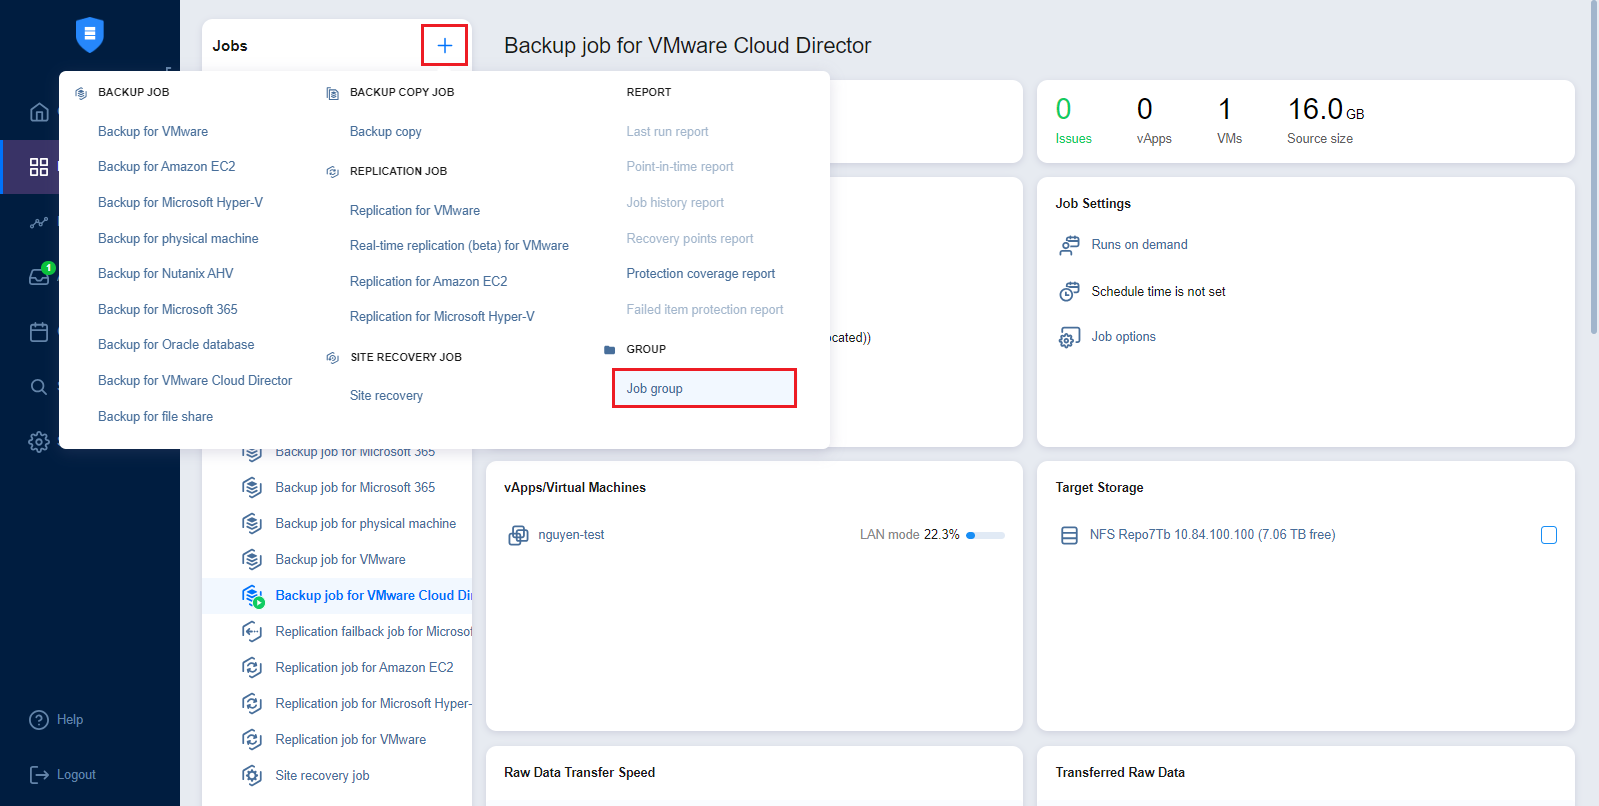
-
Type in the group name in the dialog box that opens and click Create.

The following actions are available to manage groups:
-
To add a job to a group, simply drag the job into the group.
-
To remove a job from the group, drag the job outside the group.
-
To delete a group, right-click the group and choose Delete from the shortcut menu that opens. Confirm the group deletion when prompted to do so. Note that when deleting a group, the jobs in the group are not deleted. The jobs are moved to the parent group (or to Overview).
-
To rename a group, double-click the group and enter a new name.
-
To enable or disable all jobs inside a group, click the Enable/Disable switch.
-
To run jobs available in a group, click Run/Stop and then click Run Jobs. In the dialog box that opens, select the jobs you want to run and click Run Jobs.
-
To stop running the jobs available in a group, click Run/Stop and then click Stop Jobs. In the dialog box that opens, select the jobs you want to stop and click Stop Jobs.
-
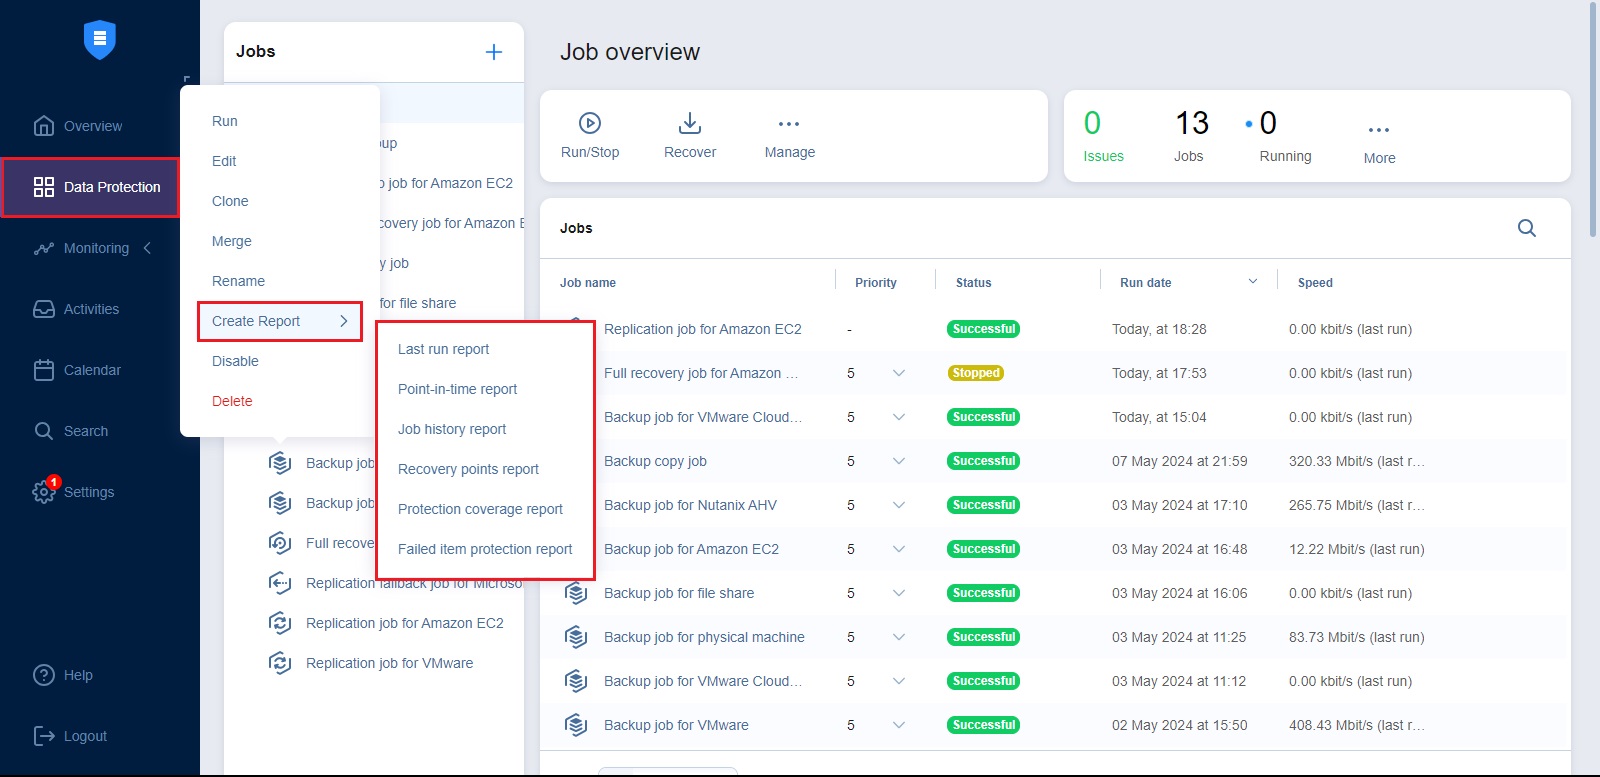
To create a report, click Create Report. In the dialog box that opens, select one of the following reports from the Create Report menu:
-
Last run report: Provides data on the last run of the job. Choose either the PDF or CSV format and click Create.
-
Recovery points report: Contains information regarding the sizes of recovery points for backups/replicas for the chosen job or jobs.
-
Protection coverage report: Contains information about all VMs and instances protected by backup/replication jobs, as well as about all unprotected VMs and instances.
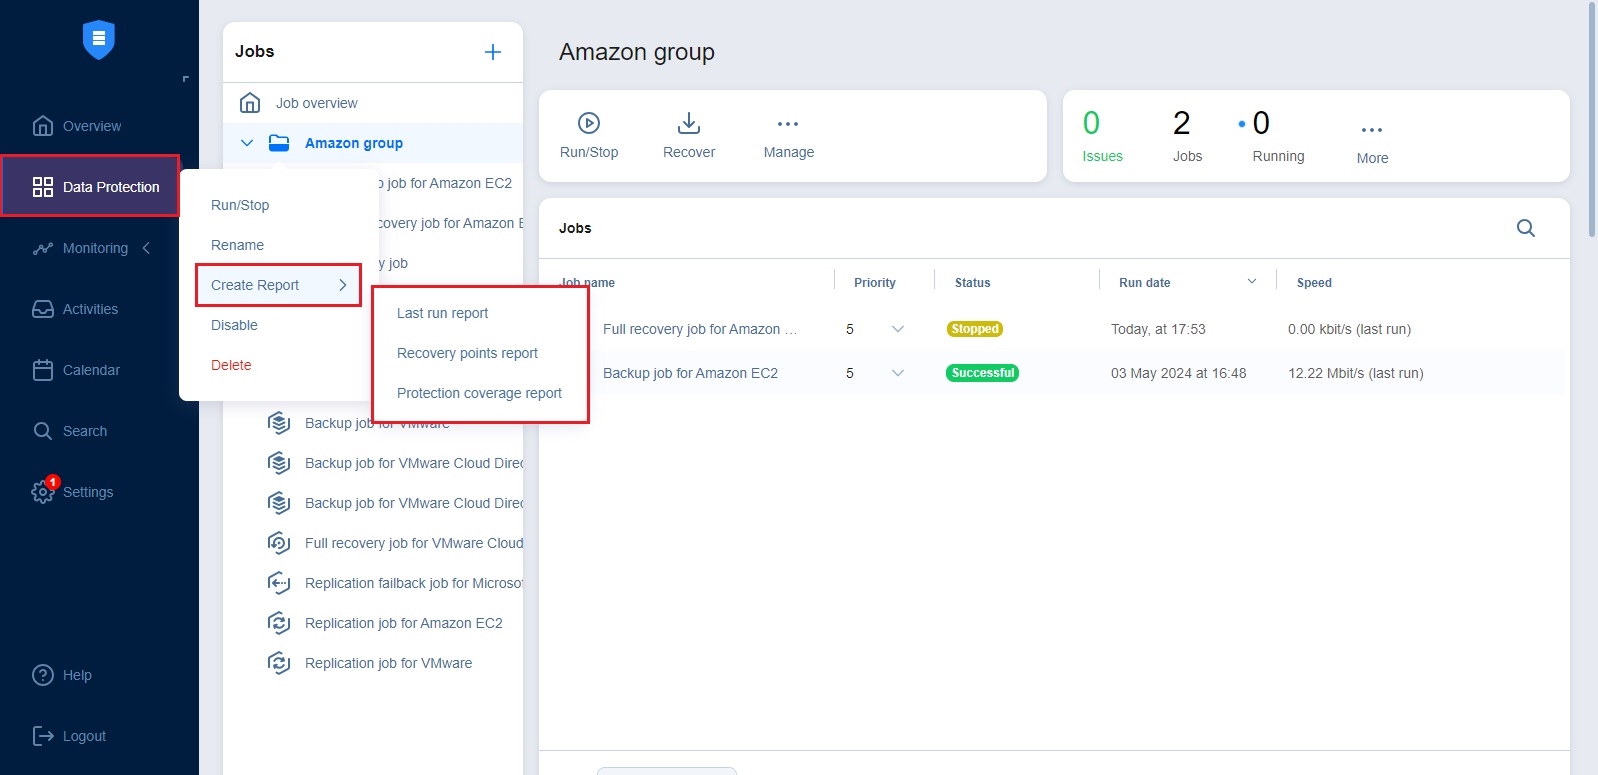
-
-
Choose either the PDF or CSV format and click Create.
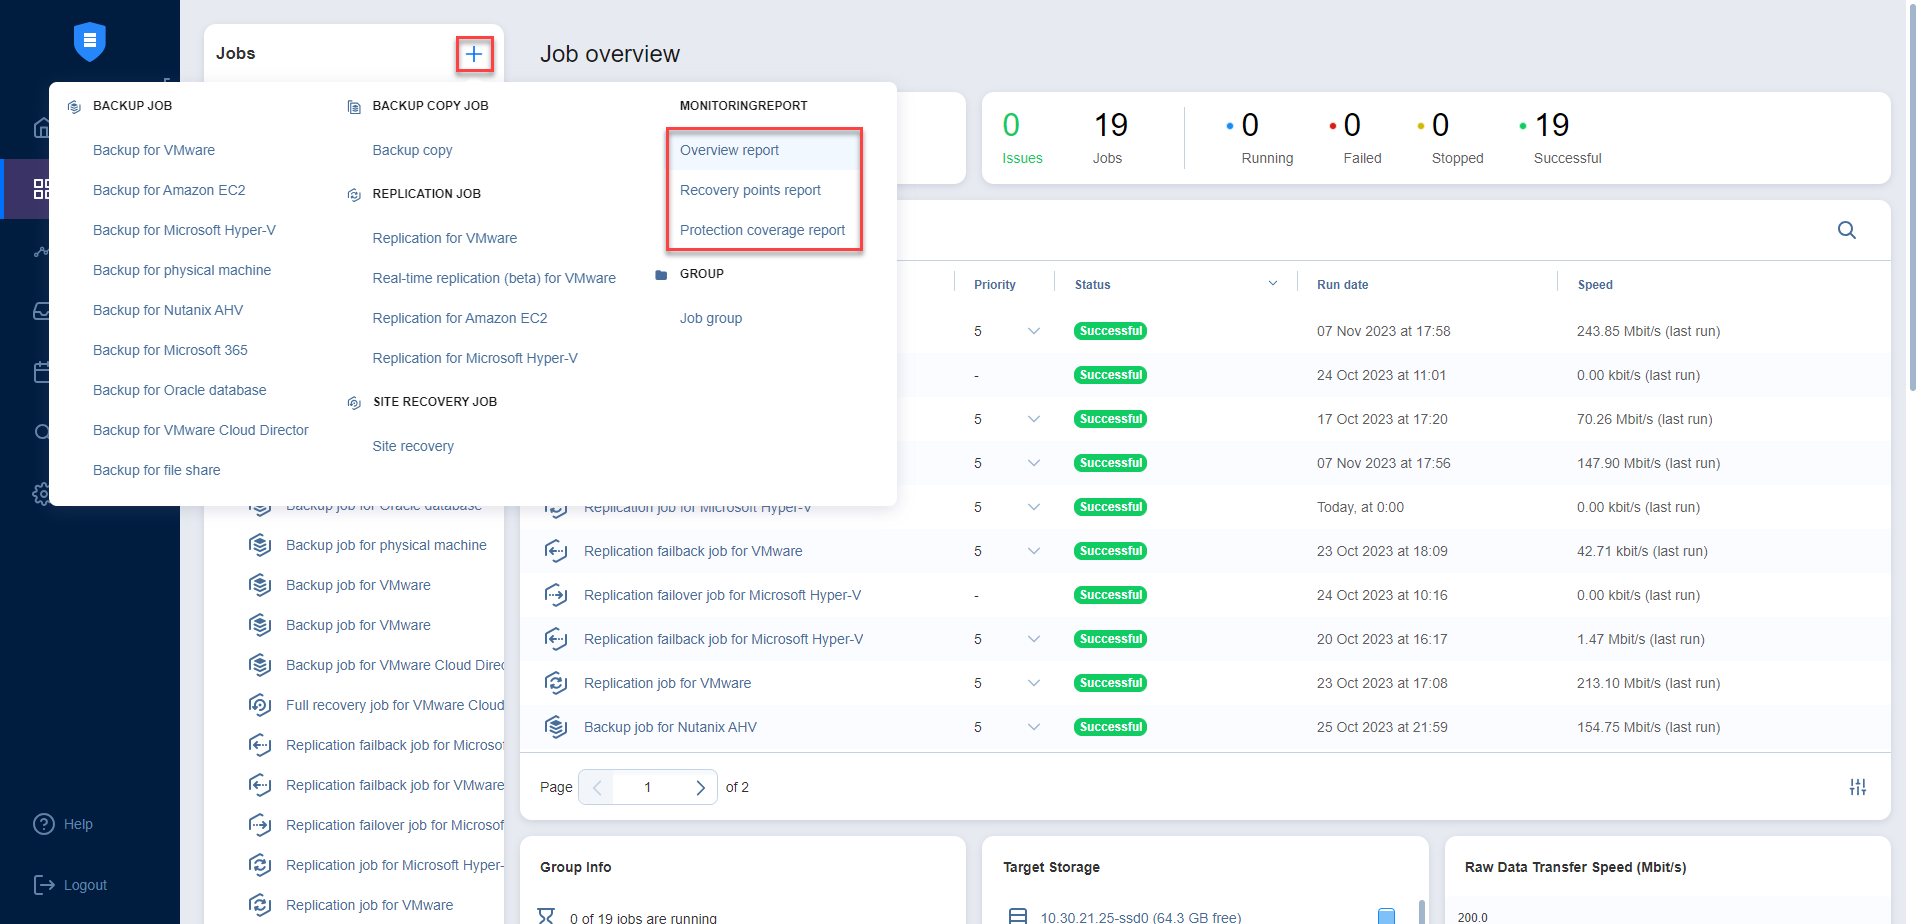
Creating Job Reports
To create a general report for all your jobs:
-
Select Overview in the Data Protection menu.
-
Click Create Report.
-
Choose one of the following reports:
-
Overview report: Contains information about the status and errors of all jobs.
-
Recovery points report: Contains information about the recovery points of backups/replicas for the chosen job or jobs created within a specific period.
-
Protection coverage report: Contains information about all VMs and instances protected by backup/replication jobs, as well as about all unprotected VMs and instances. Choose either the PDF or CSV format for the Protection coverage report and click Create.
-
-
Choose a location to save the report and click Save.

To generate reports from for an individual job, do the following:
-
Go to the list of jobs.
-
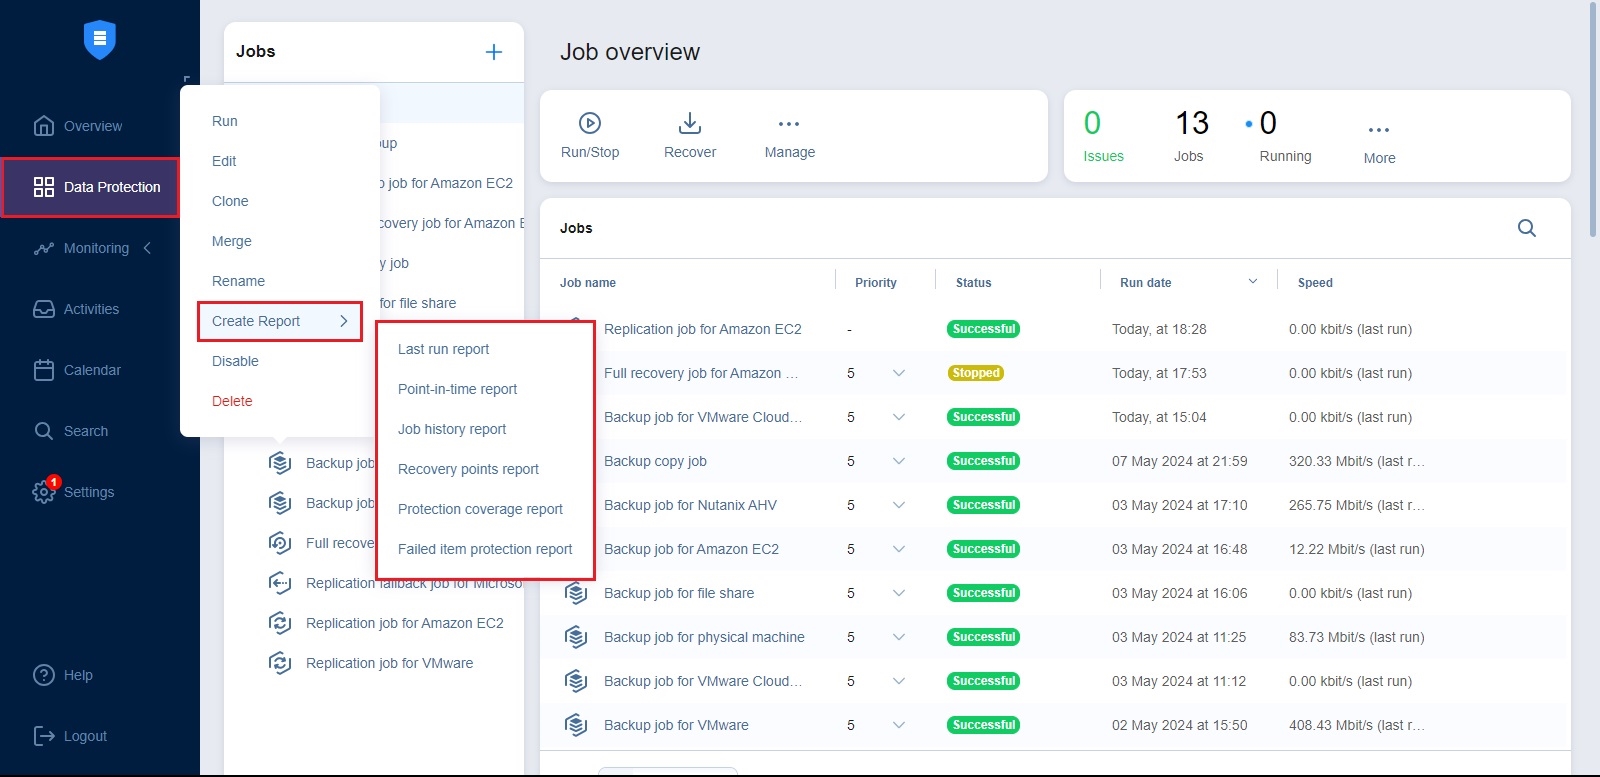
Select the job that you need to generate a report for and right-click it or click Create.
-
Select one of the following reports from the Create Report menu:
-
Last run report: Provides data on the last run of the job.
-
Job history report: Provides data on job runs that occurred during a specified time period. To generate a report, pick a start date on the left and finish date on the right side of the popup and click Create.
Job history reports feature the Calendar View hyperlink. Clicking on it opens the high-level calendar view page with the summary of the backup status of every backup item within a single job.
The report data is organized in separate blocks of weeks each consisting of two columns:
-
Item Name - displays the job object(s) name as ordered in the corresponding job
-
Day of the week (Date) - displays the status for processing each job object
Possible statuses:
-
Successful – displayed for successful object processing
-
Failed – displayed for failed object processing
-
Skipped – displayed for skipped object processing
-
Stopped – displayed for stopped object processing
-
-
The status field is empty if no object processing was scheduled on a particular day.
-
The columns representing weekdays that are not included in the reported range are empty.
-
Weekdays are displayed when there is at least one run on the week.
Notes
-
The enhanced Calendar View report data is displayed from old to new for all reports where the Job Runs block is shown except for the Monitoring area and the Point-in-time report.
-
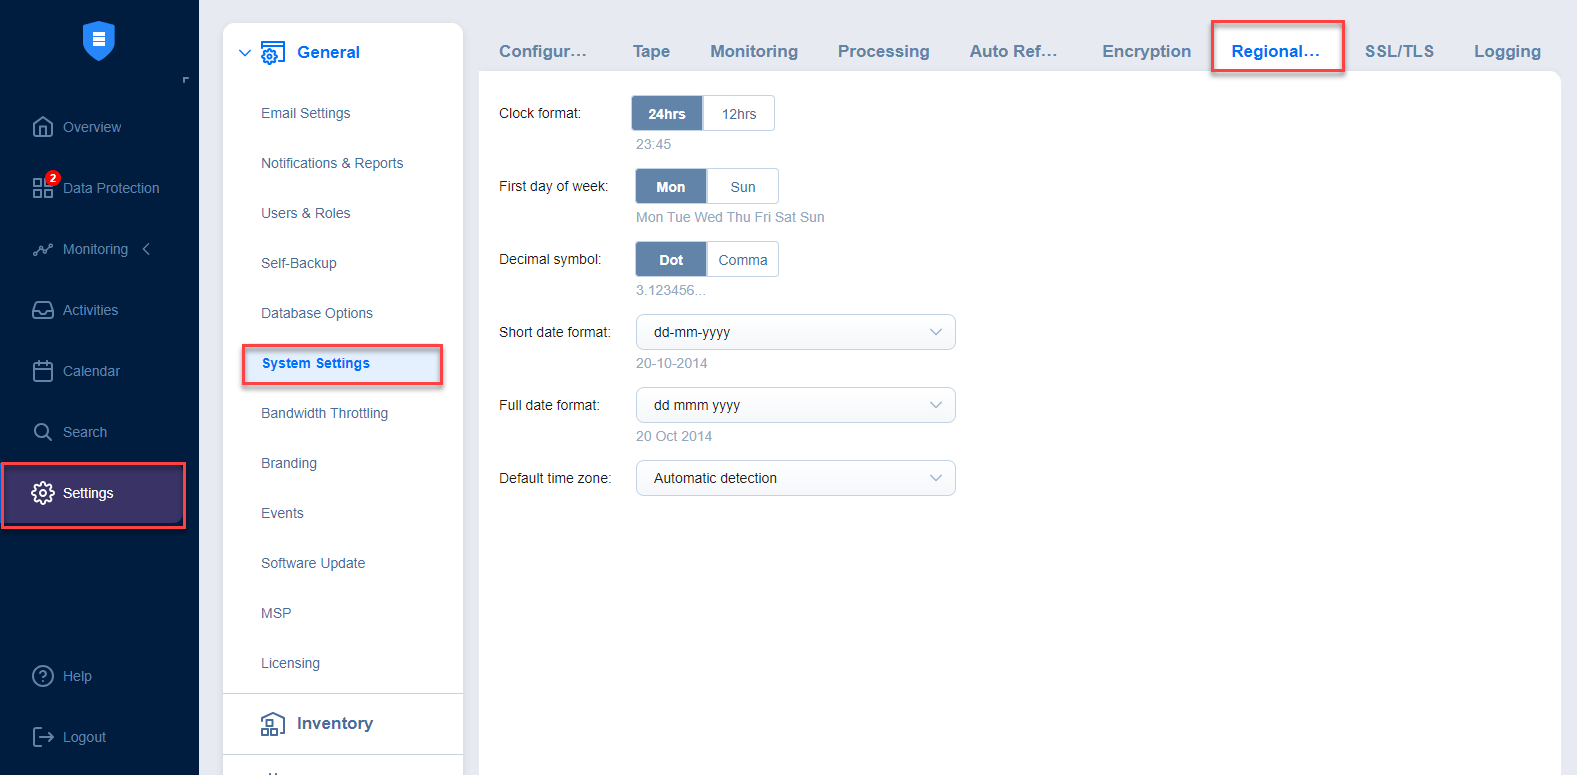
To customize the first day of the week, go to the Settings > General tab > System Settings > Regional Format tab and select the needed day in the First day of week selector.

-
-
Point-in-time report: Provides data on a particular job run. To generate a report, choose a date in the popup and click Create.
-
Recovery points report: Contains data of recovery points created within specific period.
-
Protection coverage report: Contains information about all VMs and instances protected by backup/replication jobs, as well as about all unprotected VMs and instances.
-
Failed item protection report: Contains information about job objects for which processing failed during the last job run. Only backup and replication jobs are included.
-
Site recovery job report: Contains a summary of the site recovery job, including the result of passing the Recovery time objective value, information about all actions performed, and all registered alarms and notifications.
-