First Steps with NAKIVO Backup & Replication
When you log in to NAKIVO Backup & Replication for the first time, the initial configuration wizard opens.
Proceed as follows:
-
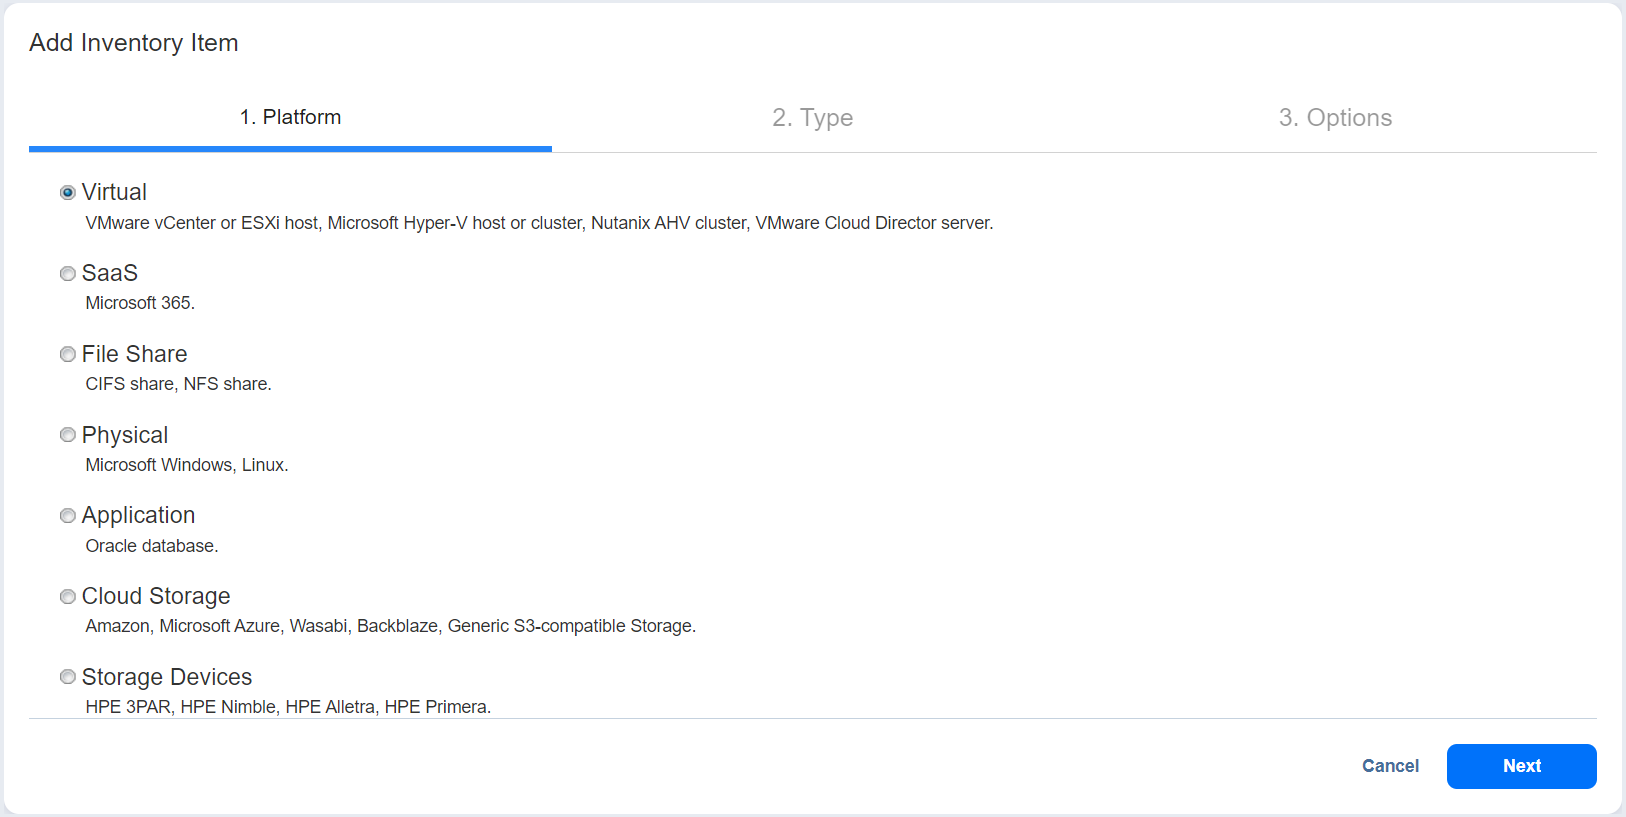
On the Inventory page of the wizard, click Add New.

-
Select one of the given options:
-
Virtual
-
SaaS
-
File Share
-
Physical
-
Application
-
Cloud Storage
-
Storage Devices
-

-
Proceed with adding items as described in the Inventory article.
-
On the Nodes page of the wizard, you will find information about the Transporter component of the NAKIVO Backup & Replication.

-
To deploy a new Transporter or add an existing one, click Got it and proceed as described in the Transporters article.
-
To move to the next page of the wizard, click Next.
-
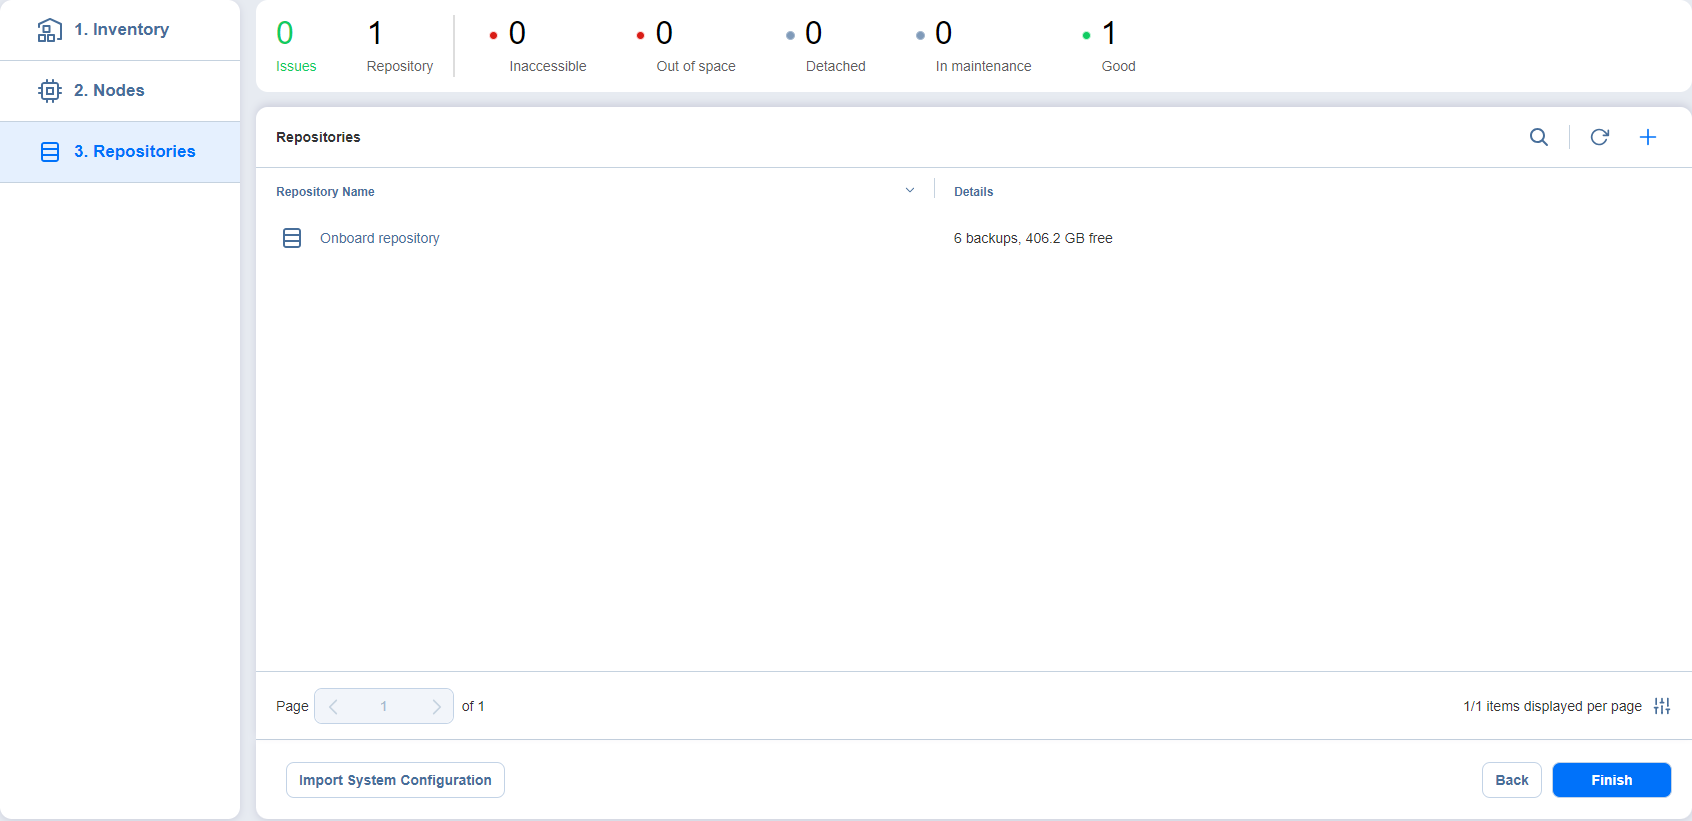
On the Repositories page of the wizard, you can add a local or a remote Backup Repository to your application by clicking Add Backup Repository.
-
Click Finish.
-
The Jobs menu of the application opens. Proceed by creating backup
and replication jobs.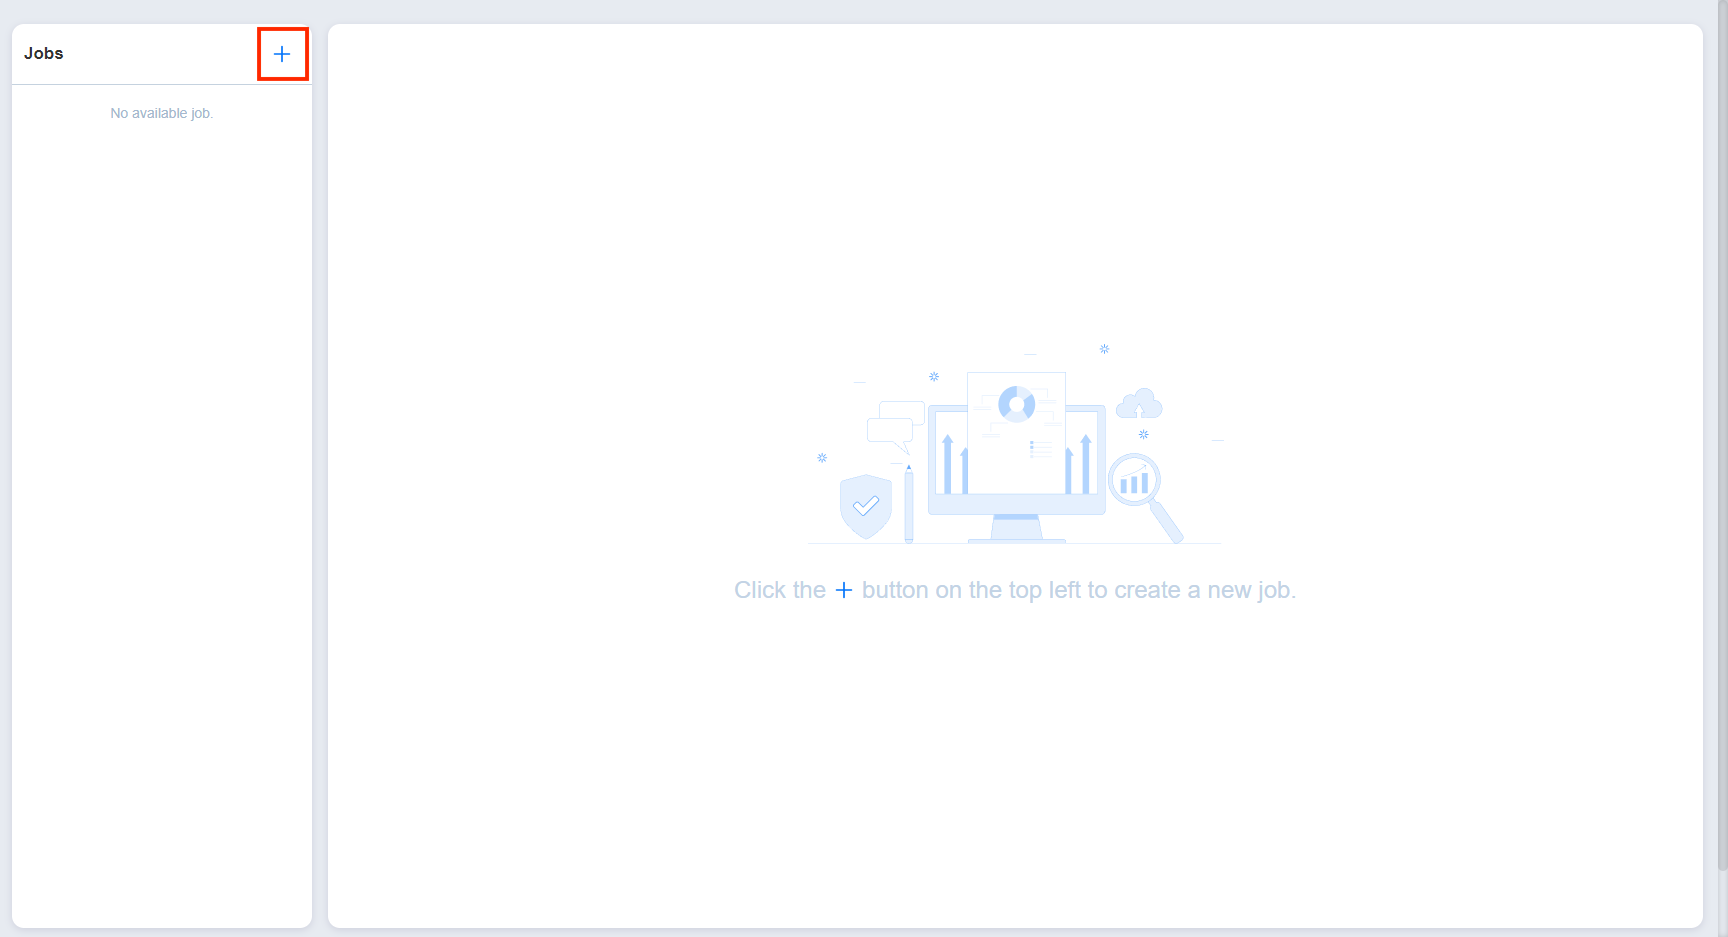
If your current license type is Free and the Trial license has not yet been applied to the current deployment of NAKIVO Backup & Replication, a dialog box appears. Using this dialog box, you can contact the sales team to change your license type or try the full functionality of the solution for 15 days. If you do not want to upgrade your license type right away, you can do it at any time in the Help menu.
Note
If you switch the license type to Trial, the product will automatically go back to using your Free license after expiration.