Managing Tenants Details
In the Tenants table, you can edit, disable, enable, or delete tenants.
-
To open the Tenant details popup window, hover over the corresponding row and click the ellipsis Manage button.
-
Then select the corresponding item in the list of actions:
-
View details: Click to open the Tenant details popup.
-
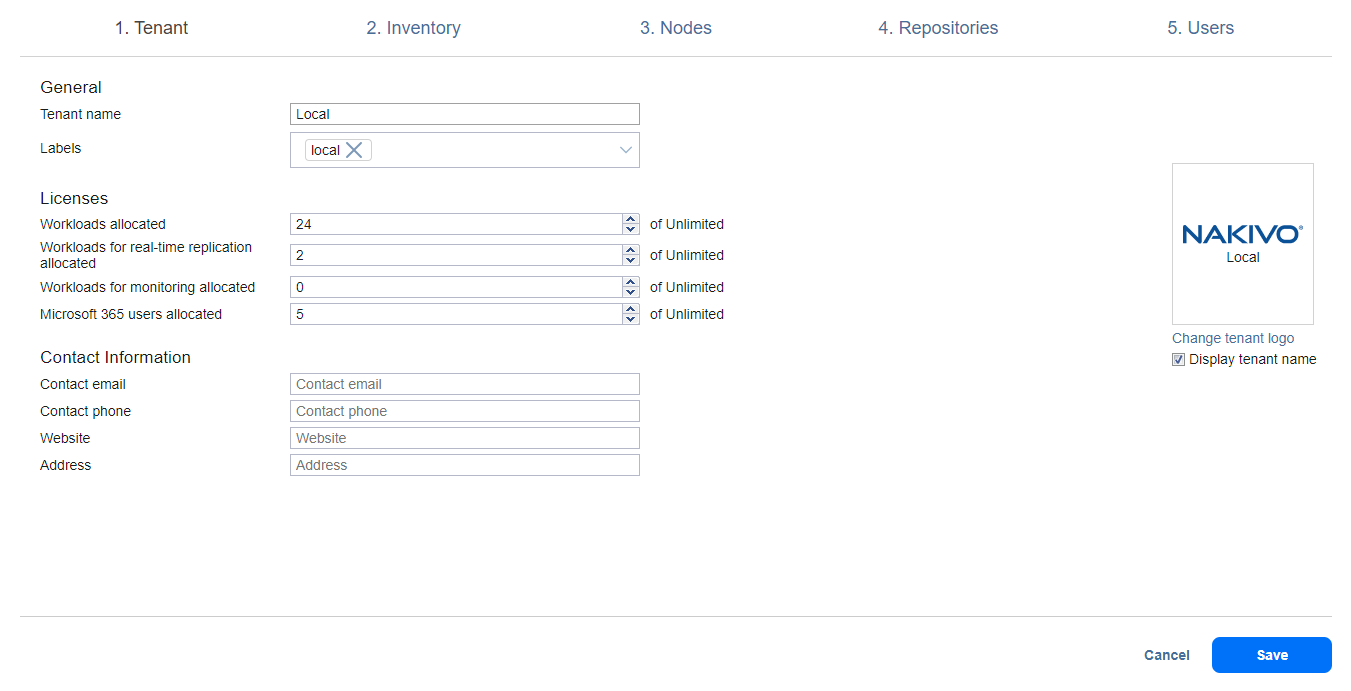
Edit: Click to open the tenant editor.
-
Enable/Disable: Click to enable/disable the selected tenants.
Note
The option is not displayed if the tenant is disabled/enabled.
-
Delete: Click to delete the selected tenants. You can select to delete the tenants and keep the tenant data or completely delete the tenant and all related data.
-
-
In the confirmation dialog box that opens, confirm or cancel the selected action.
These actions, except Edit, can also be done in bulk by selecting at least 2 items in the table or checking the box in the upper left pane to select all users and clicking the ... (ellipsis) button.
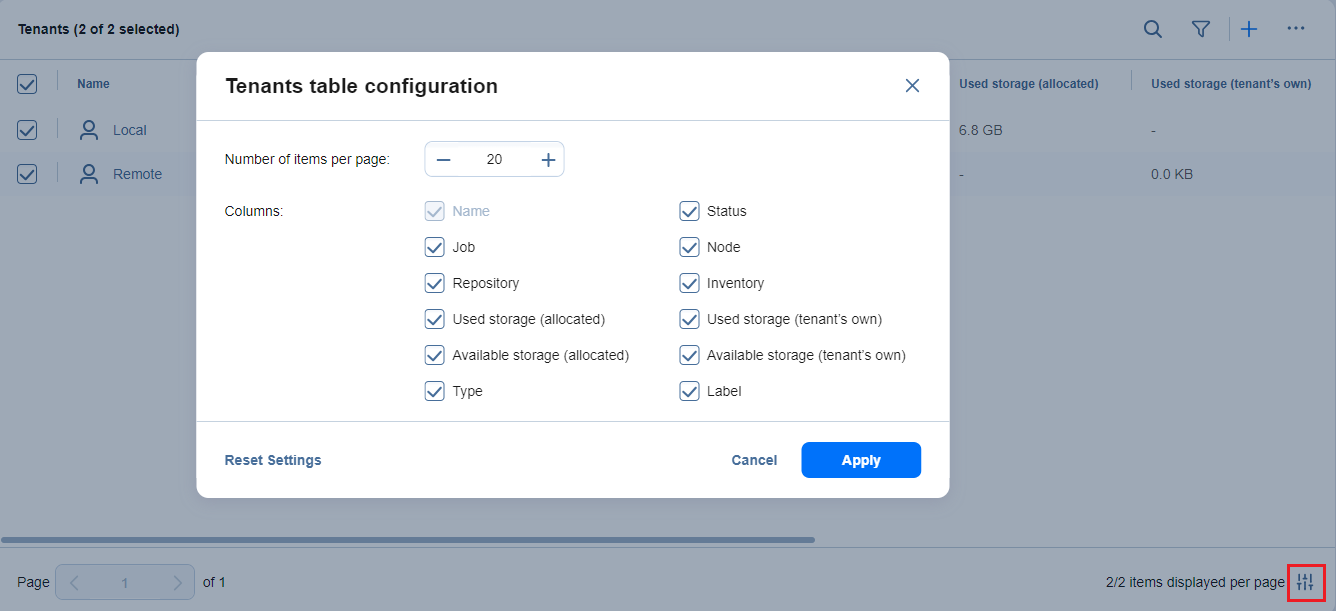
Optionally, you can show/hide columns or modify the number of items per page in the Tenants table configuration table. In the lower right corner, click the controls icon. In the dialog box that opens, select/deselect checkboxes and click Apply.
Click Reset Settings to reset the configuration settings to the default.
Click the Cancel or X button to close the dialog box without applying any changes.


