Object Recovery Wizard for Microsoft AD Server: Options
On the Options page of the wizard, you can set up the following options for your object recovery job:
Recovering Objects to the Original Location
Follow the steps below to recover objects of your Microsoft Active Directory server to the original location:
-
In the Recovery type list, select Recover to original location.
-
If you have selected multiple objects or container(s) that include one or more “user” objects, the Recover of user object list becomes available. Select either of the following options:
-
User will be disabled: If this option is selected, NAKIVO Backup & Replication disables all recovered “user” objects and the corresponding user accounts are disabled after importing these objects to Active Directory.
-
User must change password at next log on: If this option is selected, NAKIVO Backup & Replication generates a new password for each recovered “user” object. The
passwords.txtfile is added to the ZIP archive with recovered objects, and it contains the new passwords. After importing the “user” objects to Active Directory, corresponding users are forced to change the password on the next log on.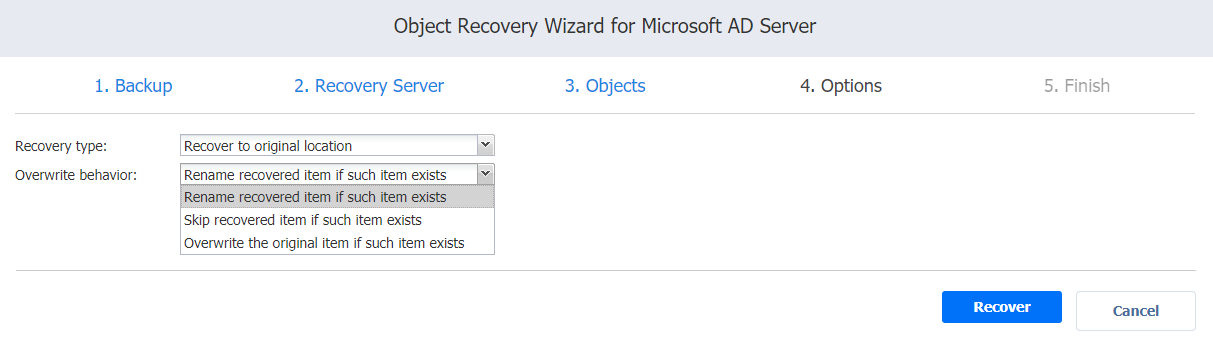
-
-
In the Overwrite behavior list, select what you wish to do if the recovered item conflicts with an existing one:
-
Rename recovered item if such item exists
-
Skip recovered item if such item exists
-
Overwrite the original item if such item exists
-
- If you have chosen to recover a full database (
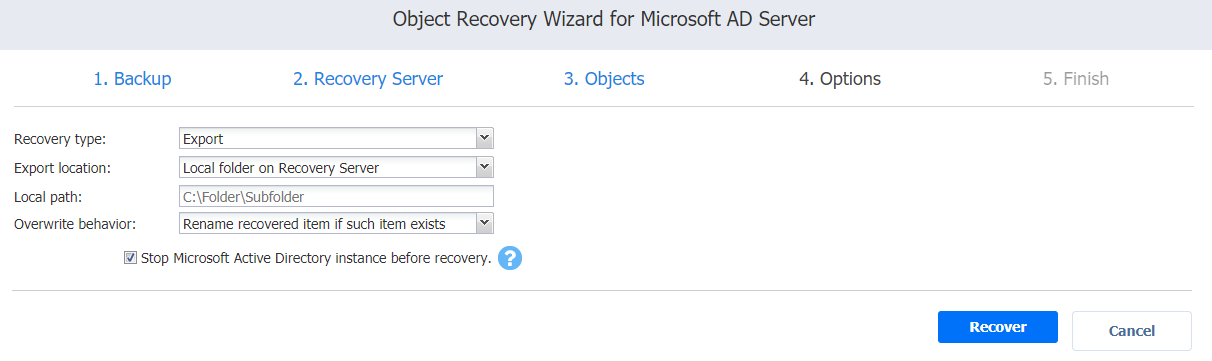
ntds.ditfile) on the Recovery Server pageput a checkmark in theStop Microsoft Active Directory instance before recovery checkbox to stop the instance before the recovery process begins.This option is recommended for the safe recovery of Active Directory objects.
-
Click Recover.


Notes
Some attributes may be skipped for the selected object(s) depending on the Active Directory system settings.
In case the recovery process fails, theVM will be reverted to the snapshot taken on the Recovery Server page of the wizard
Exporting Active Directory Objects
Follow the steps below to export recovered objects of your Microsoft Active Directory server to a custom location:
-
In the Recovery type list, select Export. A number of options become available for setting up a custom location.
-
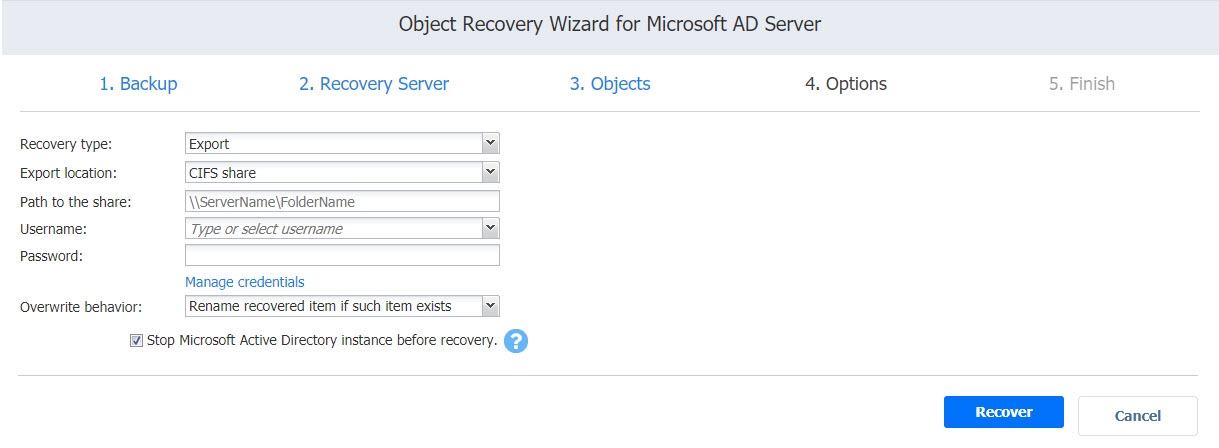
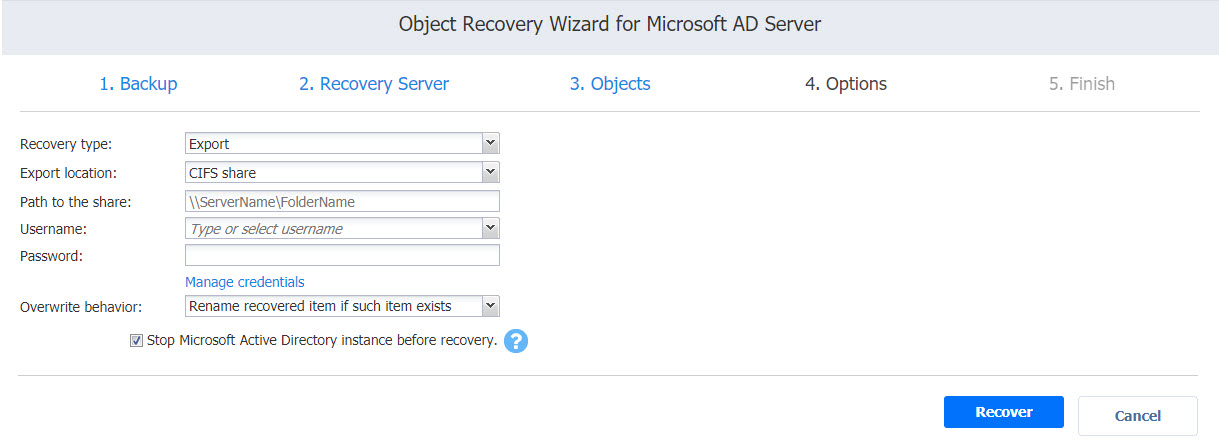
In the Export location list, select the appropriate location type:
-
Local folder on Recovery Server: If this option is selected, you will have to enter the path to a local folder on the recovery server in the Local path field.
-
CIFS share: If this option is selected, enter the following values:
-
Path to the share
-
Username
-
Password
-
-
-
In the Overwrite behavior list, select what needs to be done if the recovered item conflicts with an existing item. Refer to the section above for an explanation.
-
Click Recover.

The Finish page of the wizard opens informing you that Microsoft Active Directory object recovery has started. To view the object recovery progress, open the Activities tab.
To close the wizard, click Close.