Managing Job Policies
With policies, you can create rules that easily add matching items to NAKIVO Backup & Replication jobs. For example, you can create a backup job that meets the following criteria: (a) size of VM is more than 4 GB, (b) number of VM CPU sockets is more than 2, and (c) VM name contains "Ubuntu". Any policy is applied to a single job. In the NAKIVO Backup & Replication job wizard, job policy is accessible from the Policy view of the Source page.
Every job policy contains at least one rule. Refer to Managing Policy Rules for details.
Job policies are available for the following job types:
- Backup jobs
- Replication jobs
- Backup copy jobs
- Failover jobs
- Failback jobs
- Several actions of the Site Recovery job
Learn how to save, edit, and remove job policies in these sections:
Saving Job Policy
Follow the steps below to save a policy rule:
-
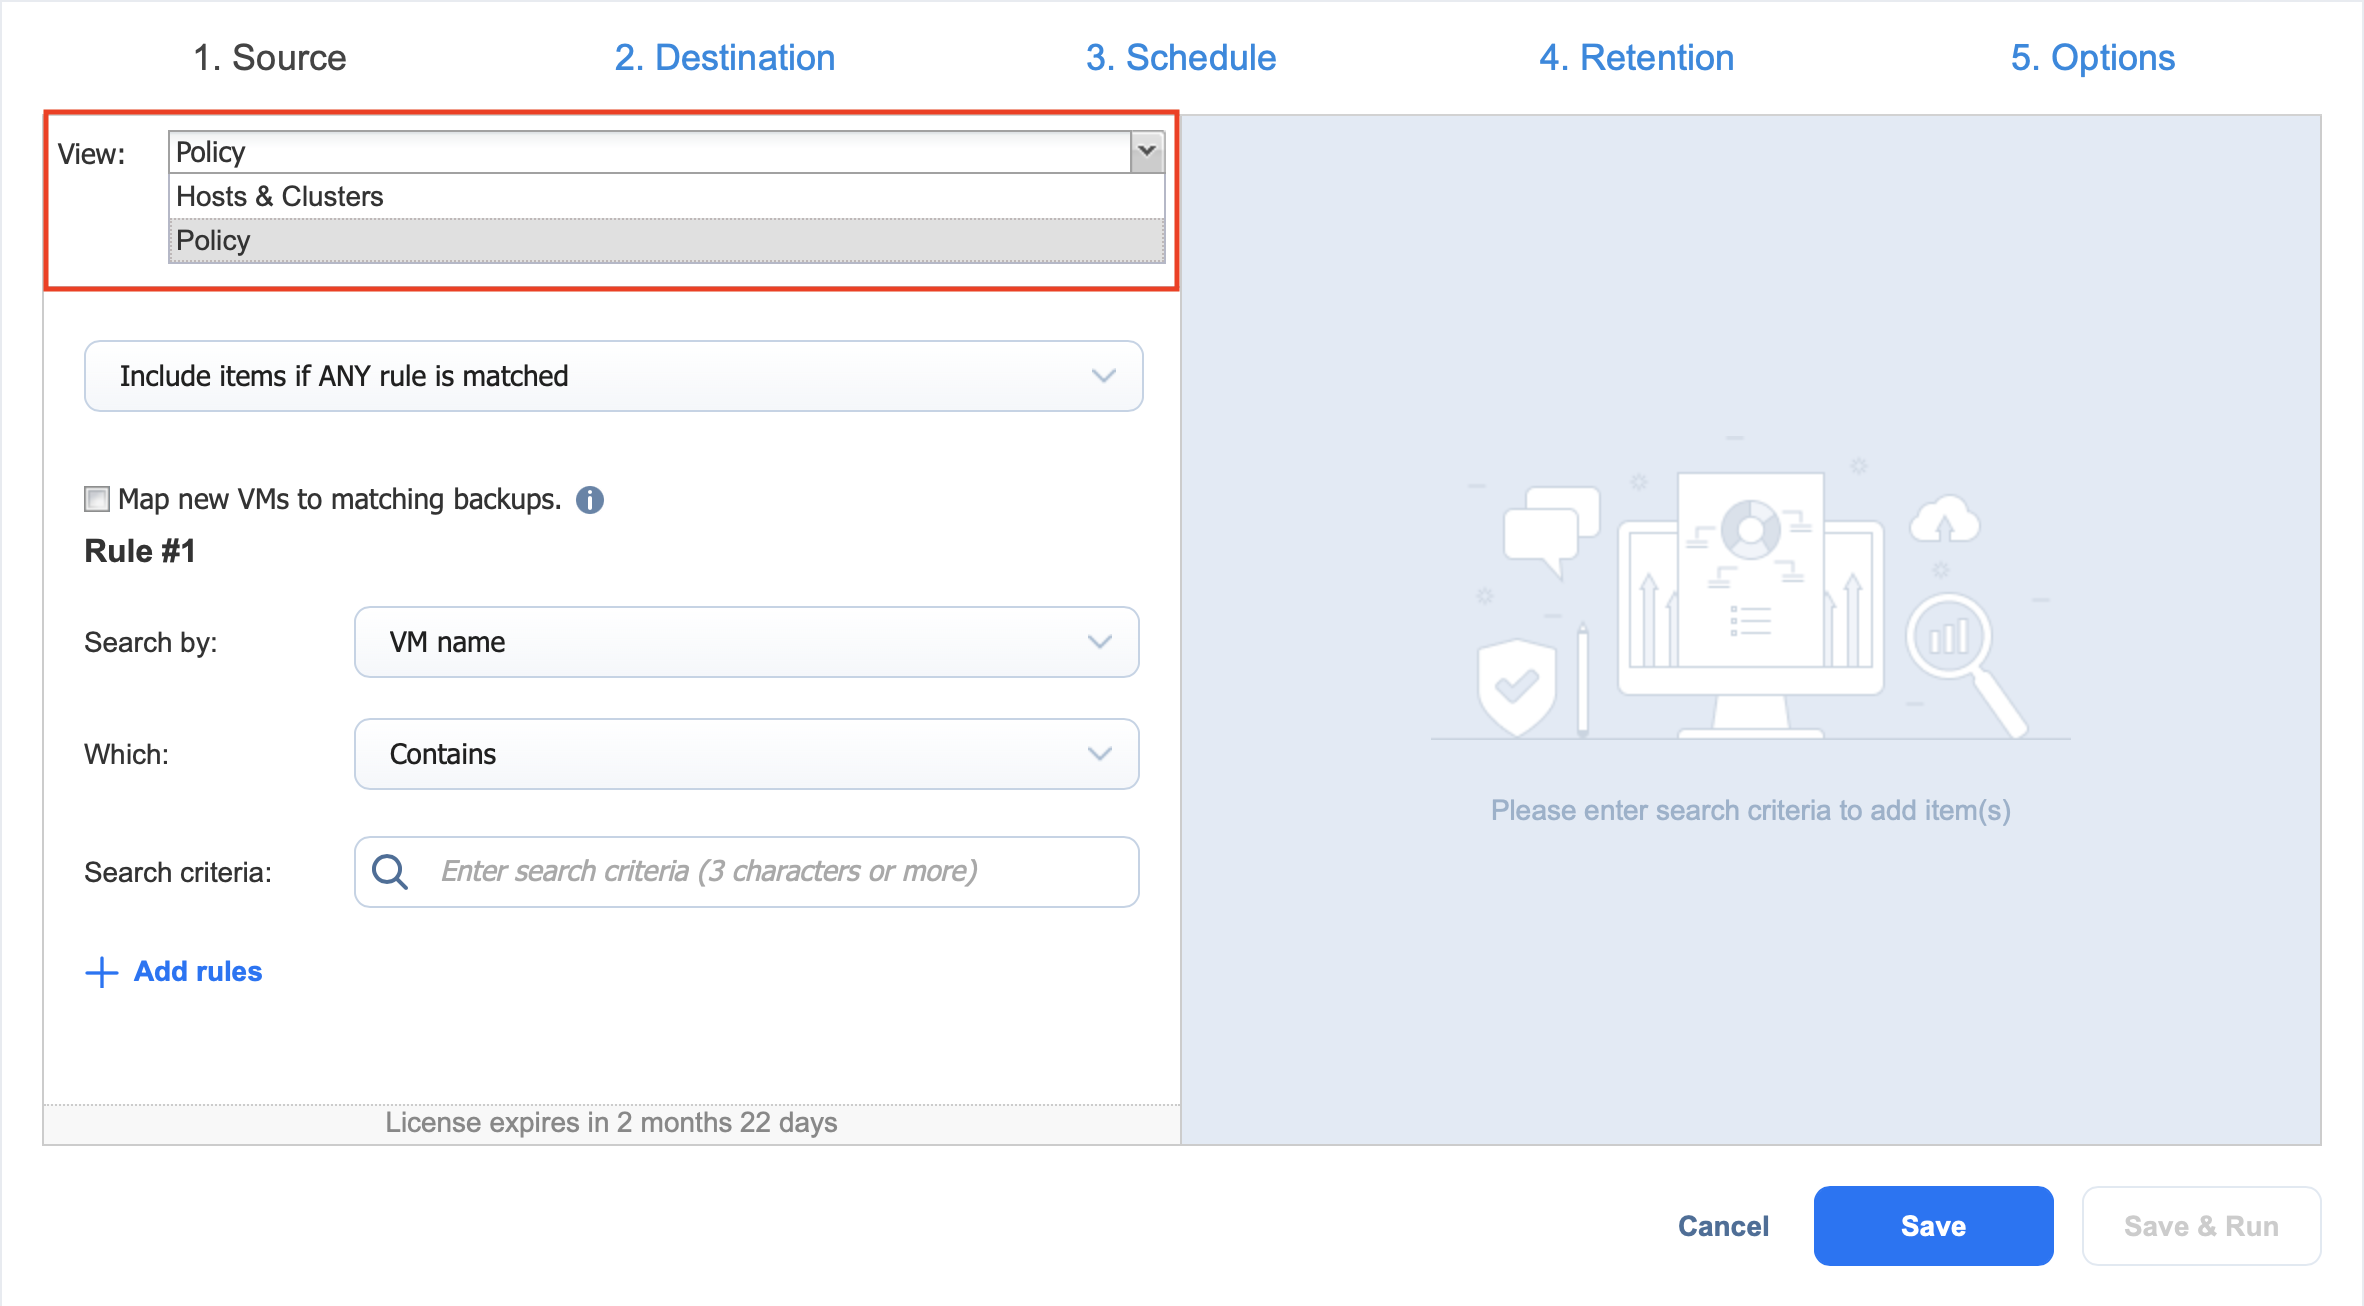
Make sure your job is opened in the Policy view.
-
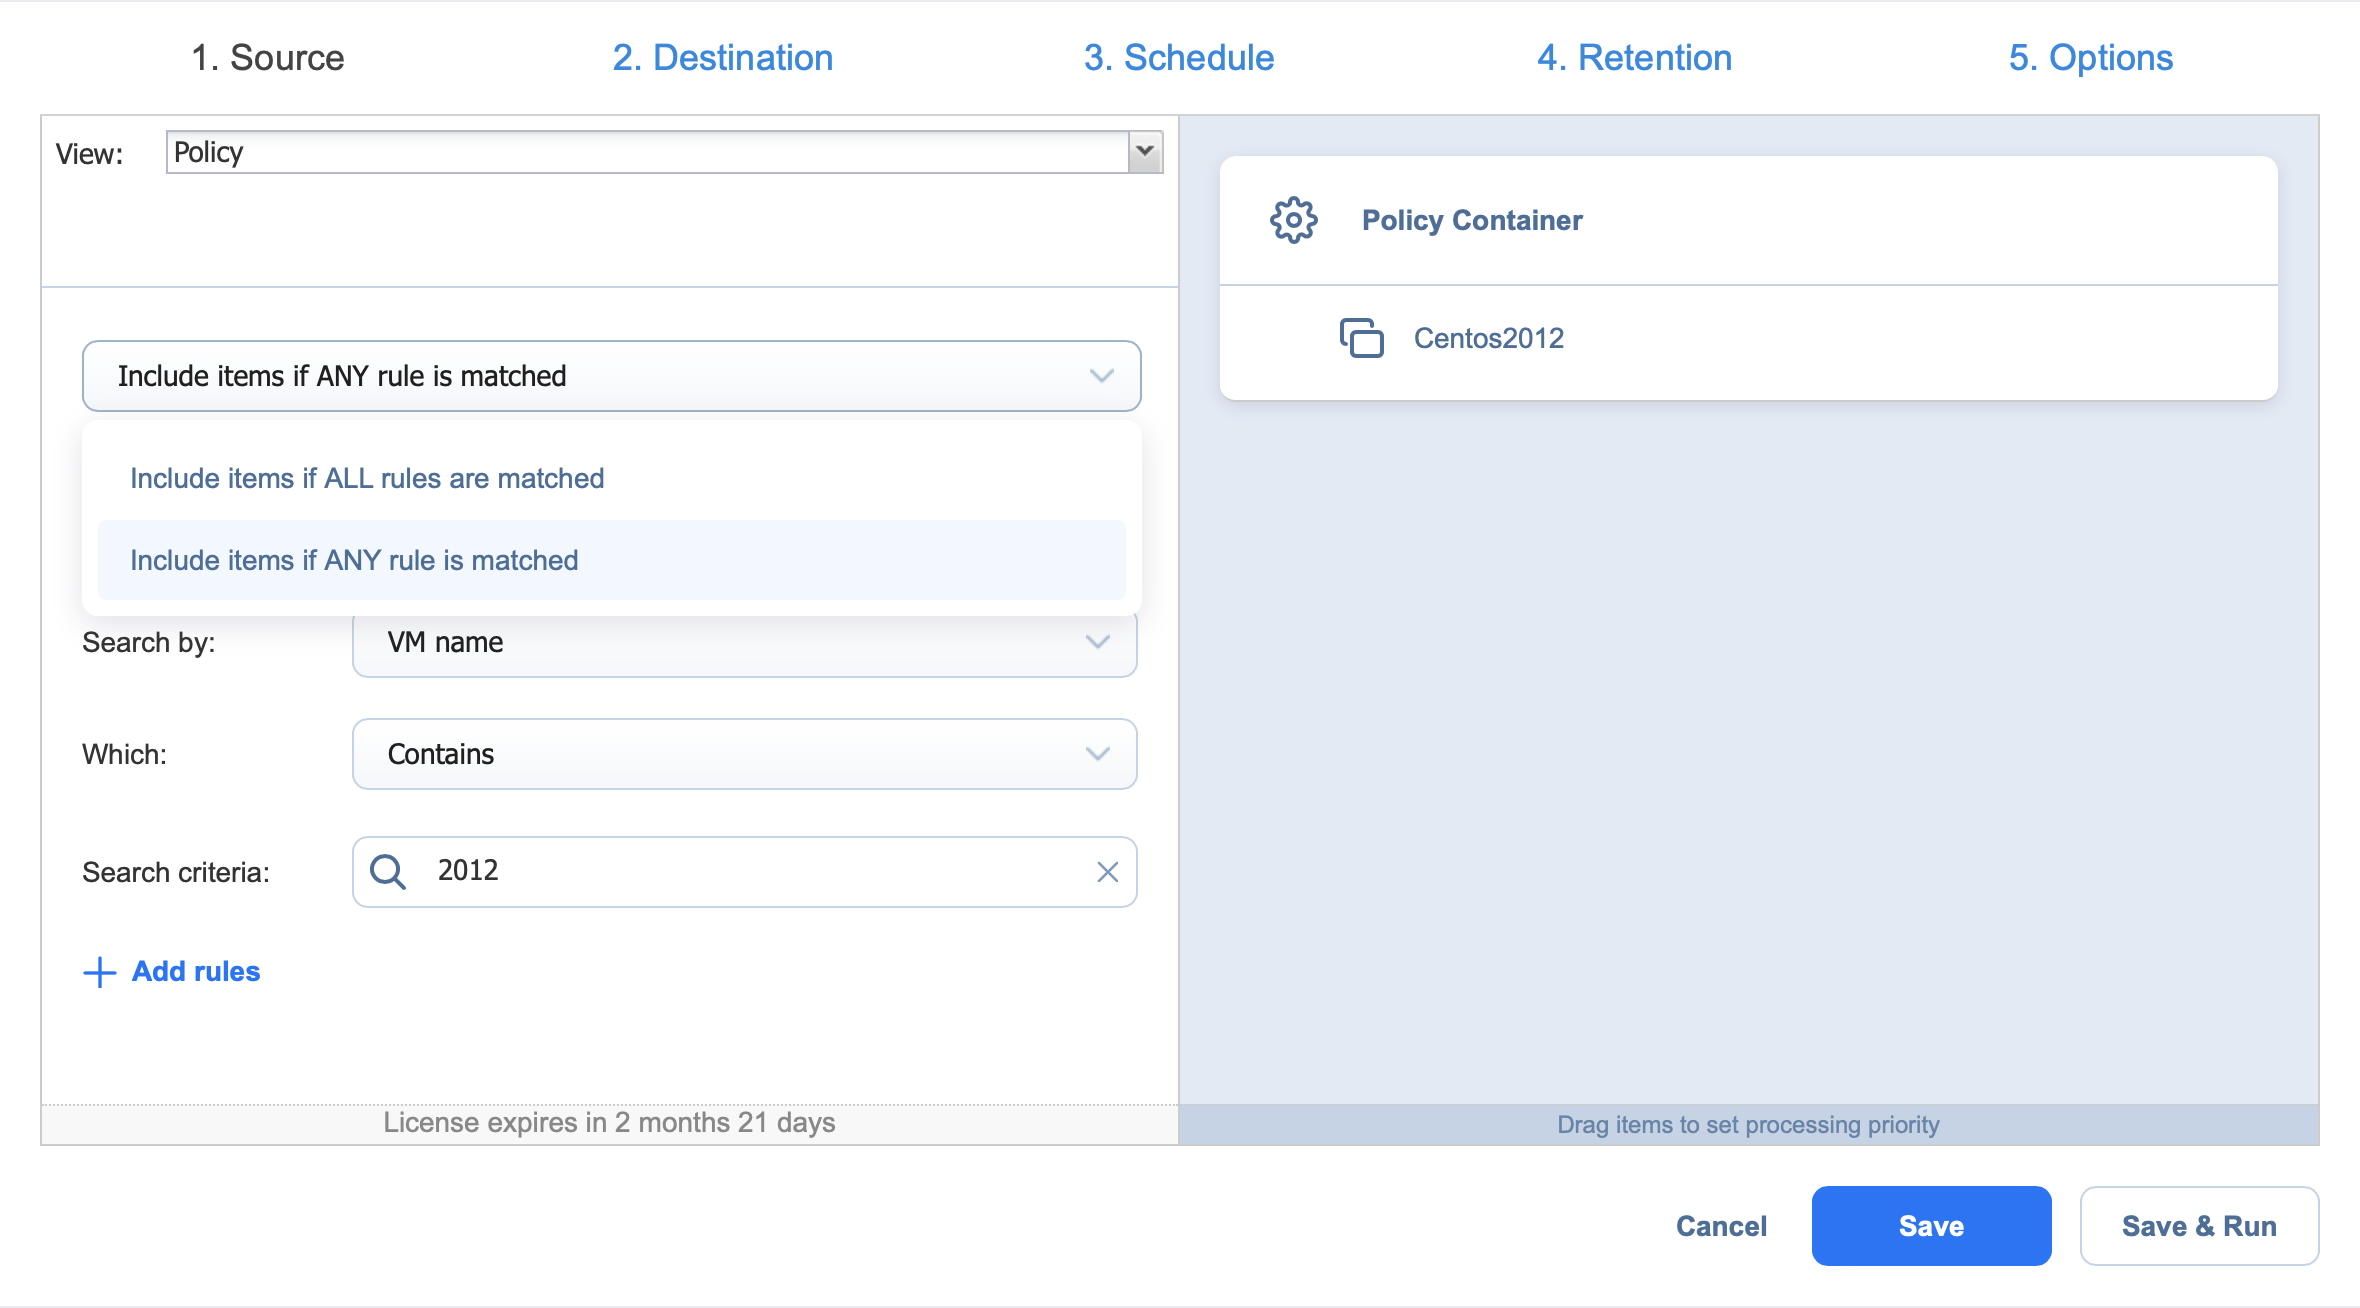
Choose either of the following Condition for your job policy:
-
Include items if ALL rules are matched: If selected, the logical AND will be applied to the set of policy rules.
-
Include items if ANY rule is matched: If selected, the logical OR will be applied to the set of policy rules.
-
-
Map new VMs/instances/machines to matching backups: If the checkbox is selected, NAKIVO Backup & Replication maps new workloads, added to the job as compliant to the configured policy rules, to matching backups within the specified destination. This option is only available for VMware/Hyper-V/Amazon EC2/Physical machine backup jobs.
-
Provide the necessary policy rules. Refer to Managing Policy Rules for details. Make sure that at least one item matches the available set of policy rules.
-
Save your job.

Editing Job Policy
Follow the steps below to edit a job policy:
-
Make sure your job is opened in the Policy view.
-
Change the necessary parameters of your job policy:
-
Condition.
-
Add, edit or delete policy rules. Refer to Managing Policy Rules for details.
-
-
Save your job.
Removing Job Policy
Follow the steps below to remove an entire job policy:
-
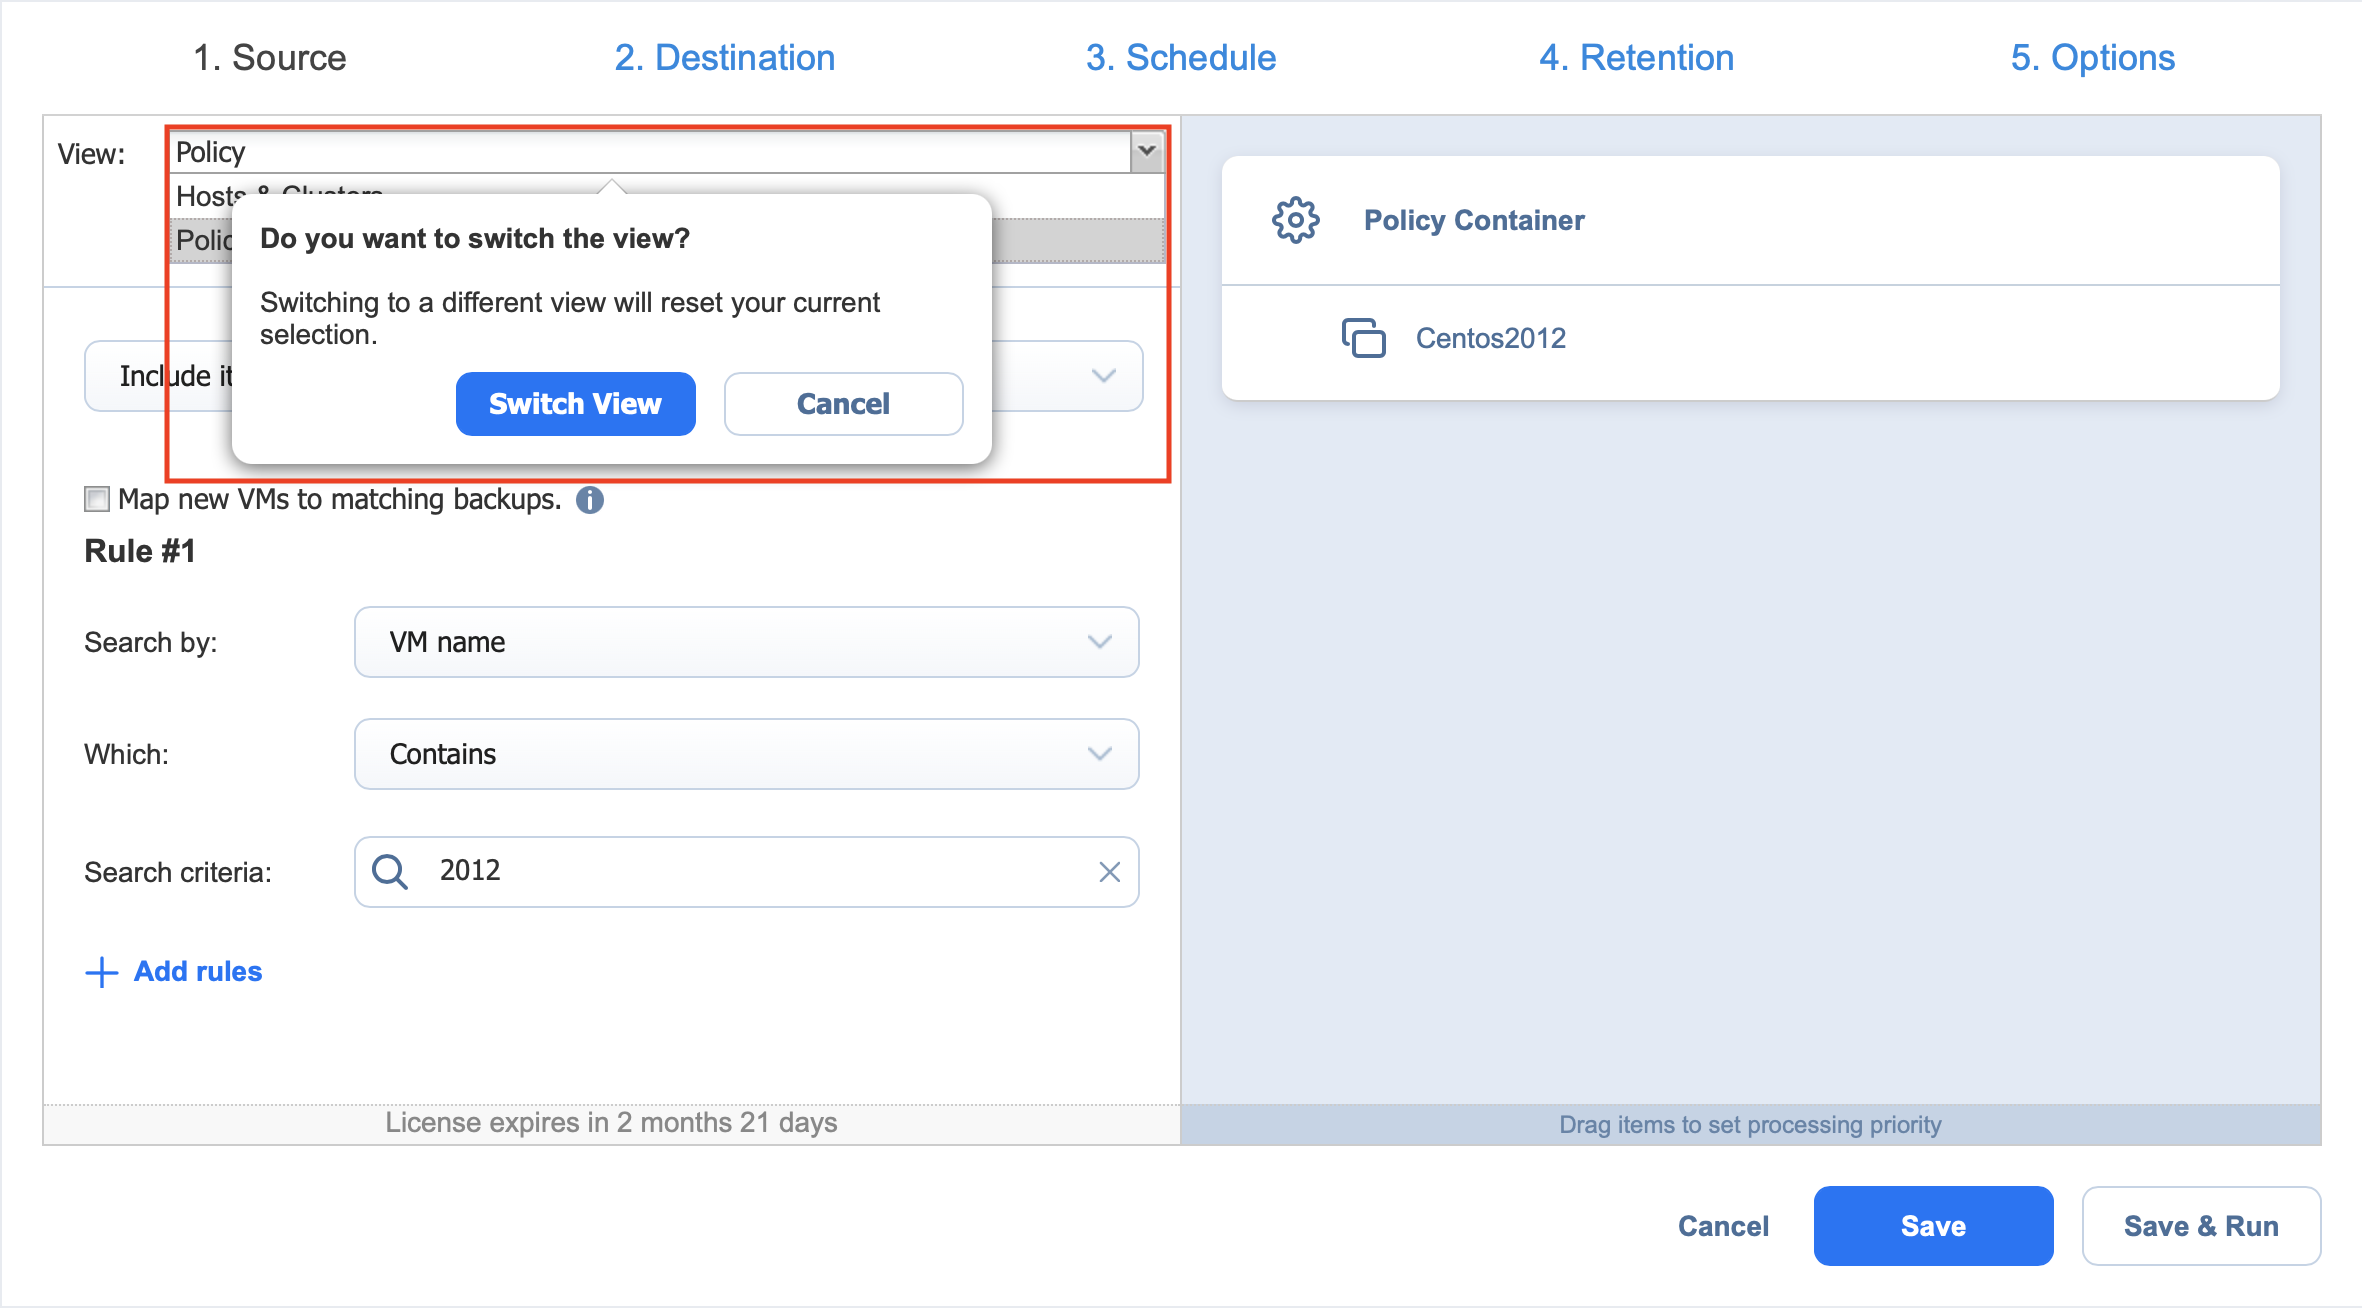
Make sure your job is opened in the Policy view.
-
Switch to any other inventory view available on the list.
-
A dialog opens warning you that switching to a different view will reset your selection for the current job. Click Switch View to confirm your operation.
-
Save your job.