Support Bundles
NAKIVO Backup & Replication provides you with the ability to create support bundles – a zipped collection of the product logs and system information. Sending a support bundle to the NAKIVO Support Team allows them to quickly identify the root cause of issues and suggest a proper solution.
Creating Support Bundles
To create a support bundle, follow the steps below:
Important
Before creating a support bundle, make sure Email settings are configured.
-
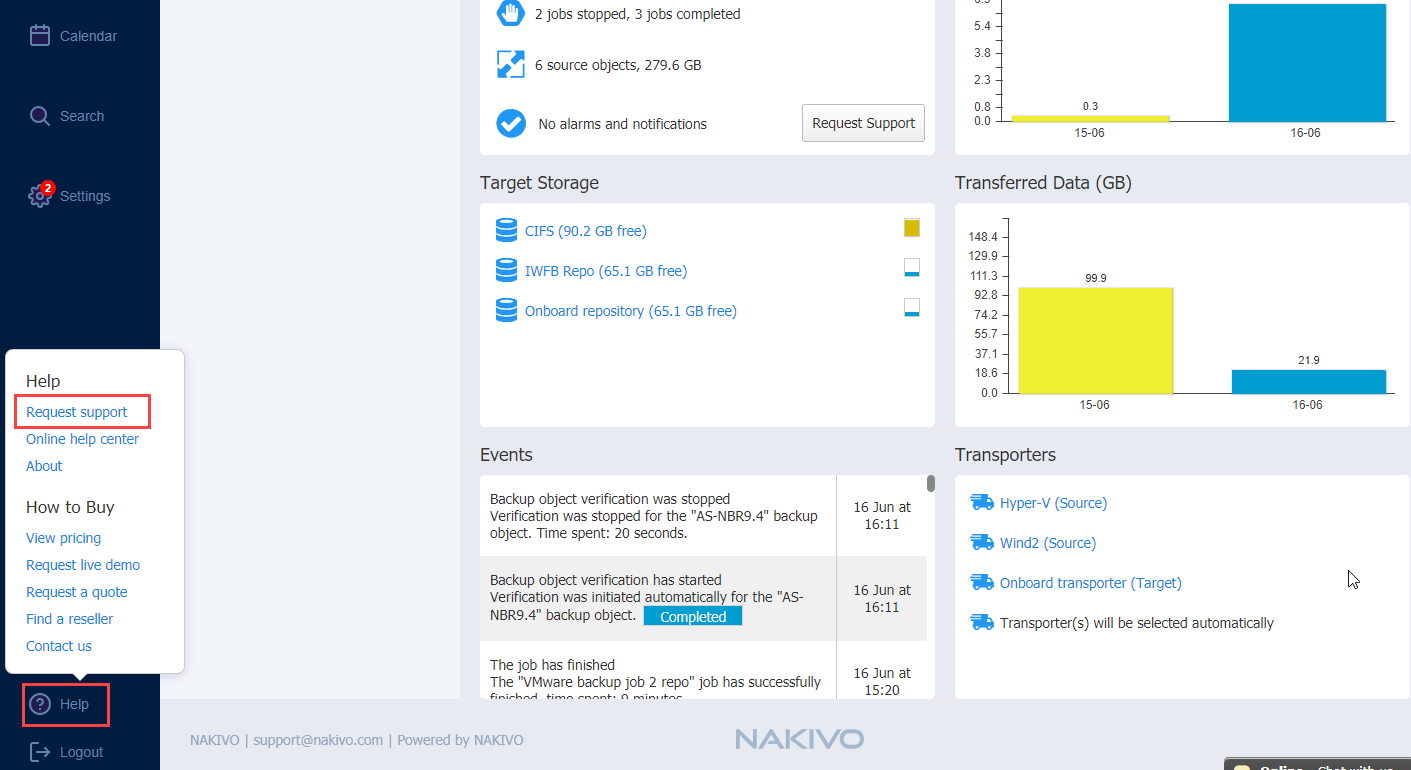
Click the "?" (Help) icon in the lower-left corner of the web UI.
-
Select and click Request support . The dialog box will appear.
-
Enter a description of your problem in the Please describe the problem you're experiencing box.
-
Enter your email address in the Contact email box.
-
If necessary, upload an attachment by clicking Browse.
-
Select Include logs of all tenants if you wish to include log files of all tenants to the support bundle.
-
Select Include main database if you want to include your main database.
-
Select Include tenant databases if you wish to include tenant databases containing most of the tenant configuration, including inventory, transporters, repositories, and jobs.
-
Click Create & Send Support Bundle to send the support bundle to NAKIVO Support Team. You will receive an answer from the NAKIVO Support Team within one business day.
-
Optionally, click Download to save the support bundle on your machine.
Sending Support Bundles Manually
Some support bundles may become overly large in size. This can occur due to large log files or file dumps. In such cases, it is recommended to upload these files manually.
To do this, follow these steps:
-
Open the Upload Files to NAKIVO Supportpage.
-
In the Files section, click Browse and select up to three files. You can select more than three files by clicking Add Another File.
Note
You can upload any files relevant to your issue: logs, file dumps, or the support bundles that you have manually downloaded from the product's UI. -
Enter your email address in the Contact email field.
-
You can also enter the ID of your support ticket in the Ticket ID field if you have one opened.
-
Optionally, enter a description in the Description field.
-
Click Upload when you’re done uploading the file(s).
Note
Wait for a successful upload notification before closing the page.