Managing Jobs
Using the Dashboard, you can easily manage your jobs. Go to the Manage menu to rename, edit, delete and enable/disable jobs.
- Renaming Jobs
- Editing Jobs
- Cloning Jobs
- Deleting Jobs
- Disabling and Enabling Jobs
- Grouping Jobs
- Creating Job Reports
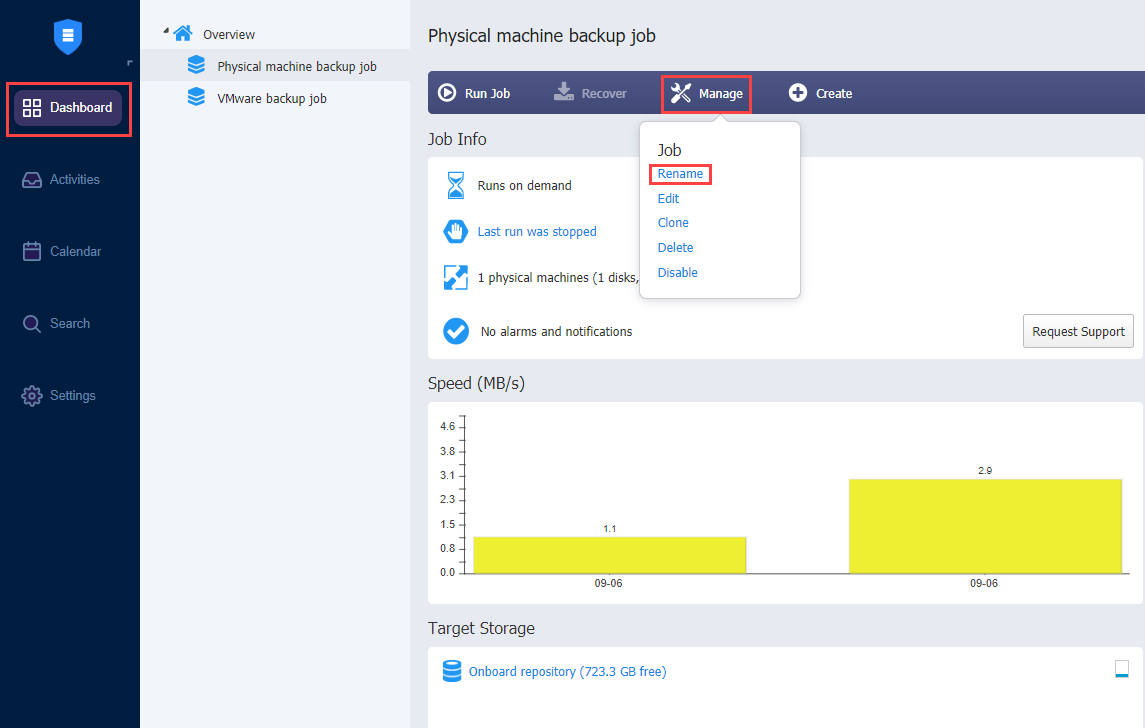
Renaming Jobs
-
From the list of jobs, select the job you wish to rename.
-
On the Dashboard, click Manage.
-
Click Rename.
-
In the dialog box that opens, specify the new name for the job.
-
Click Rename.
Note
You can also rename jobs by right-clicking on a job and selecting Rename from the Manage Job menu.
Editing Jobs
To edit a job, follow the steps below:
-
Select the job you wish to edit from the list of jobs.
-
On the Dashboard, click Manage.
-
Click Edit.

-
In the Edit wizard, click the necessary page to open it for editing.
-
Make the required changes and then click Save or Save & Run.
Notes
- You can edit the job while it is running, but the changes will be applied only when the job run has completed.
- You can also edit jobs by right-clicking on a job and selecting Edit from the Manage Job menu.
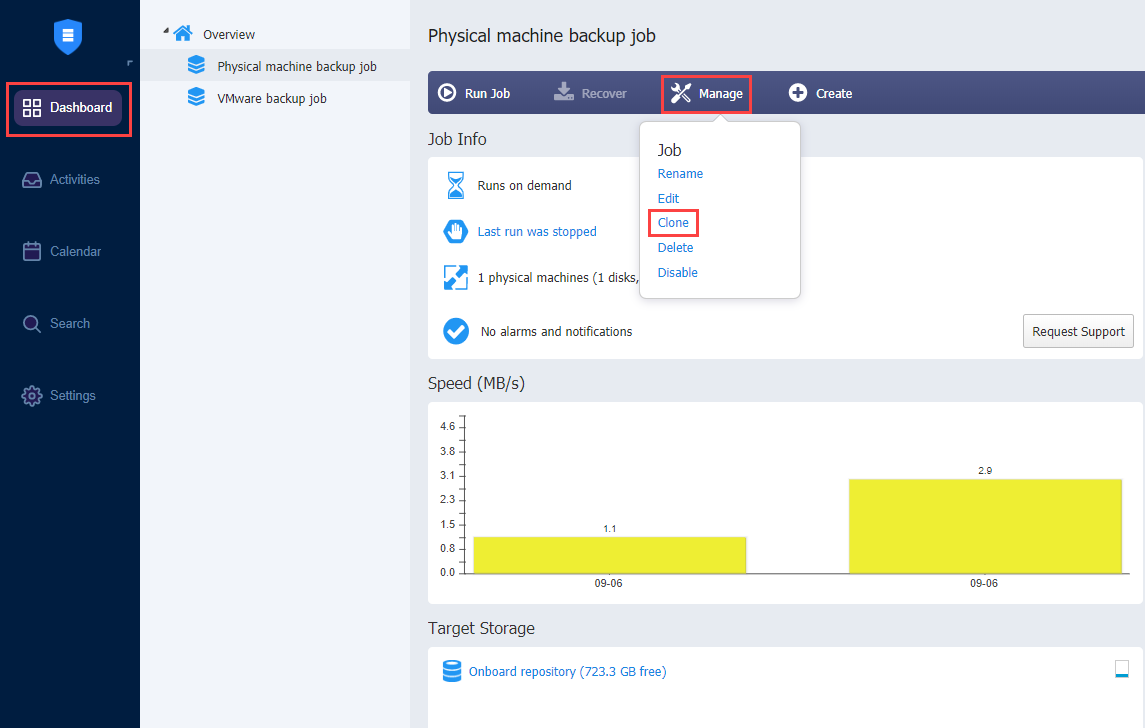
Cloning Jobs
To clone a job, follow the steps below:
-
Select the job you would like to clone from the list of jobs.
-
On the Dashboard, click Manage.
-
Click Clone.
Note
You can also clone jobs by right-clicking on a job and selecting Clone from the Manage Job menu.
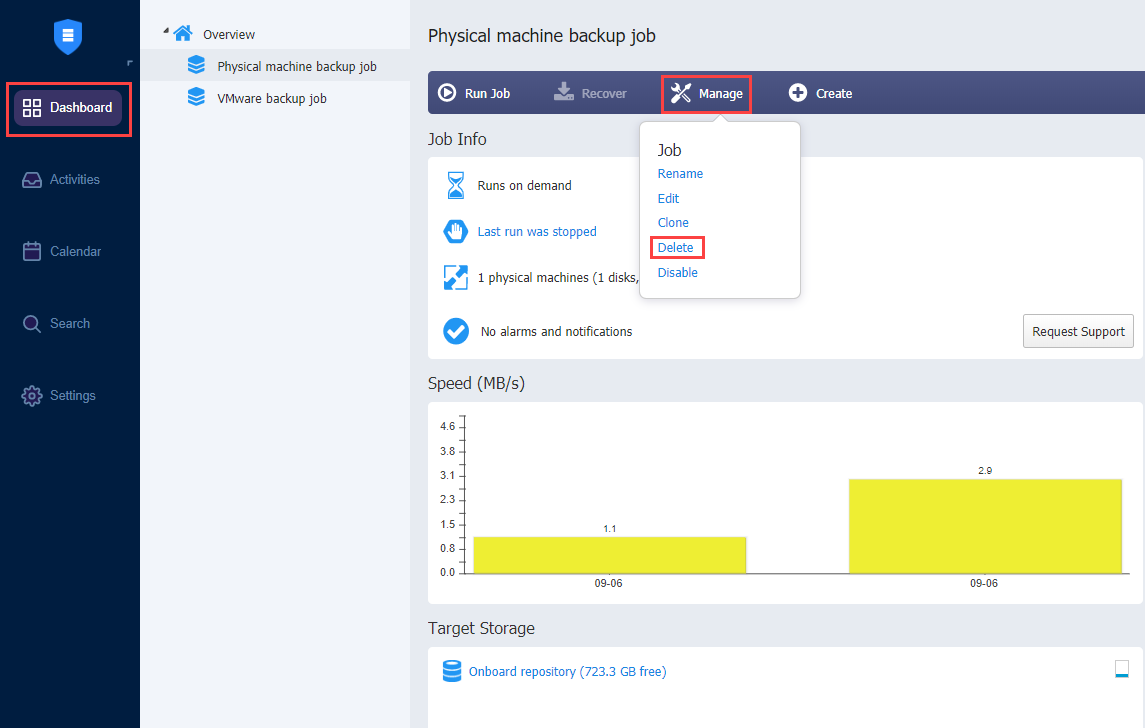
Deleting Jobs
To delete a job follow the steps below:
-
Select the job you want to delete from the list of jobs.
-
To clone a job, follow the steps below:
-
Select the job you would like to clone from the list of jobs.
-
On the Dashboard, click Manage.
-
Click Clone.
Note
You can also clone jobs by right-clicking on a job and selecting Clone from the Manage Job menu.Deleting Jobs
To delete a job follow the steps below:
-
Select the job you want to delete from the list of jobs.
-
On the Dashboard, click Manage.
-
Click Delete.
-
From the dialog box that opens, select one of the following:
-
Delete job and keep backups
-
Delete job and keep backups
-
-
Click Delete
Notes
-
You can also delete jobs by right-clicking on a job and selecting Delete from the Manage Job menu.
-
Backups can also be deleted from Backup Repositories.
-
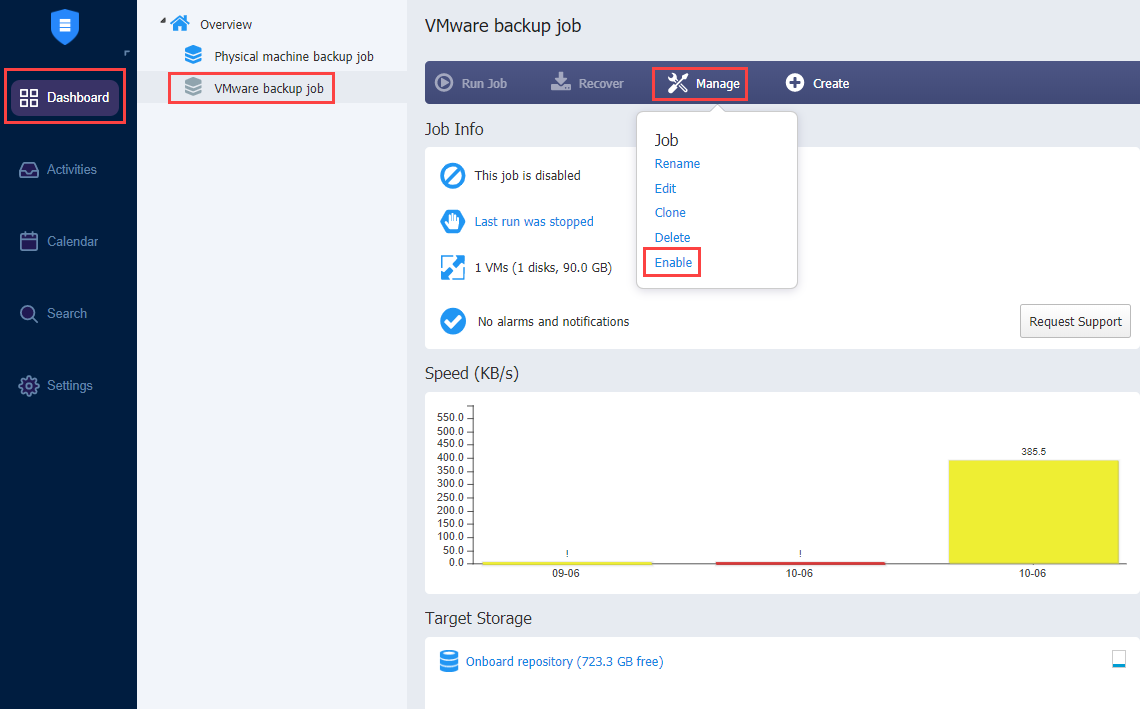
Disabling and Enabling Jobs
NAKIVO Backup & Replication provides you with the ability to disable jobs. A disabled job does not run on a schedule, nor can it be run on demand.
To disable a job, follow the steps below
-
From the list of jobs, select the job you want to disable.
-
On the Dashboard, click Manage.
-
Click Disable.

To enable a job, select Enable from the Manage menu.
Note
You can also disable/enable jobs by right-clicking on a job and selecting Disable/Enable from the Manage Job menu.%20for%20M365.png)
Grouping Jobs
Groups are folders which allow you to:
-
Logically arrange jobs (to represent organizations, locations, services, etc.).
-
Perform bulk actions with all or selected jobs in a group.
Creating Groups
To create a group, follow the steps below:
-
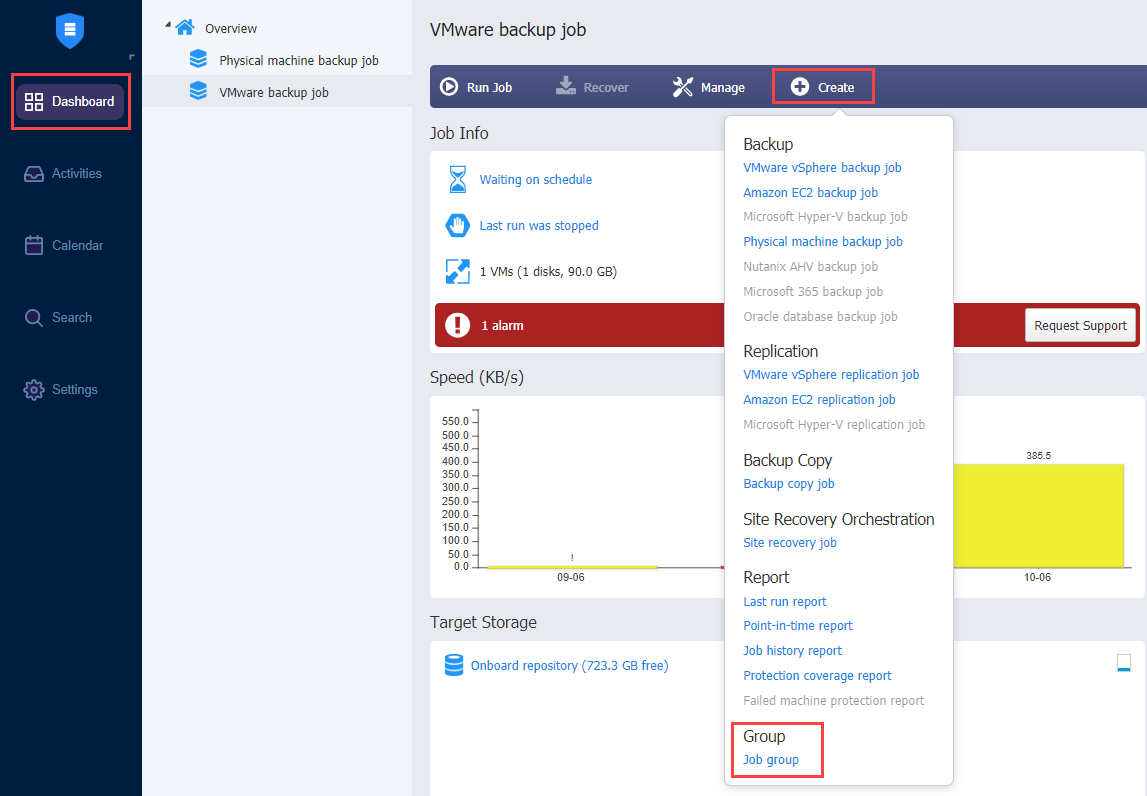
On the Dashboard, click Create and then click Job group.
-
Type in the group name in the dialog box that appears and click OK.
The following actions are available to manage groups:
-
To add a job to a group, simply drag the job into the group.
-
To remove a job from the group, drag the job outside the group.
-
To delete a group, right-click the group and choose Delete from the shortcut menu that appears. Confirm the group deletion when prompted to do so. Note that when deleting a group, its jobs are not deleted and are moved to the parent group (or Overview).
-
To rename a group, double-click the group and enter a new name.
-
To enable or disable all jobs inside a group, click the Enable/Disable switch.
-
To run jobs available in a group, click Run/Stop and then click Run Jobs. In the dialog box that appears, select the jobs you wish to run and click Run Jobs.
-
To stop running the jobs available in a group, click Run/Stop and then click Stop Jobs. In the dialog box that appears, select the jobs you would like to stop and click Stop Jobs.
Creating Job Reports
To create a general report for all your jobs:
-
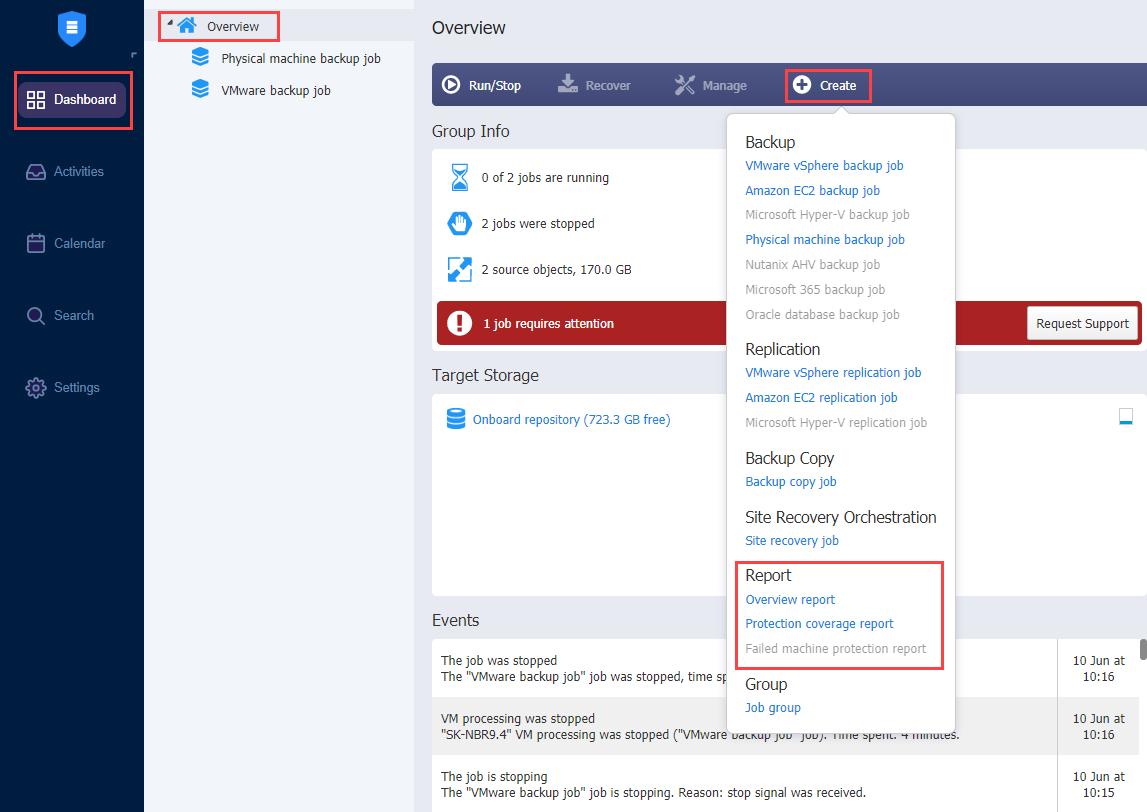
Select Overview on the Dashboard.
-
Click Create.
-
Choose one of the following reports in the Report section:
-
Overview report: Contains information about the status and errors of all your jobs.
-
Protection coverage report: Contains information about all VMs and instances protected by backup and/or replication jobs, as well as about all unprotected VMs and instances. Choose either PDF or CSV formats for your Protection coverage report and click Create.
-
Failed machine protection report: Contains information about all VMs and instances which had failed to be protected by backup and/or replication jobs, and the error message. Select the date range for your Failed machine protection report and click Create.
-
-
Choose a location to save the report and click Save.
To generate reports from for an individual job, do the following:
-
Go to the list of jobs.
-
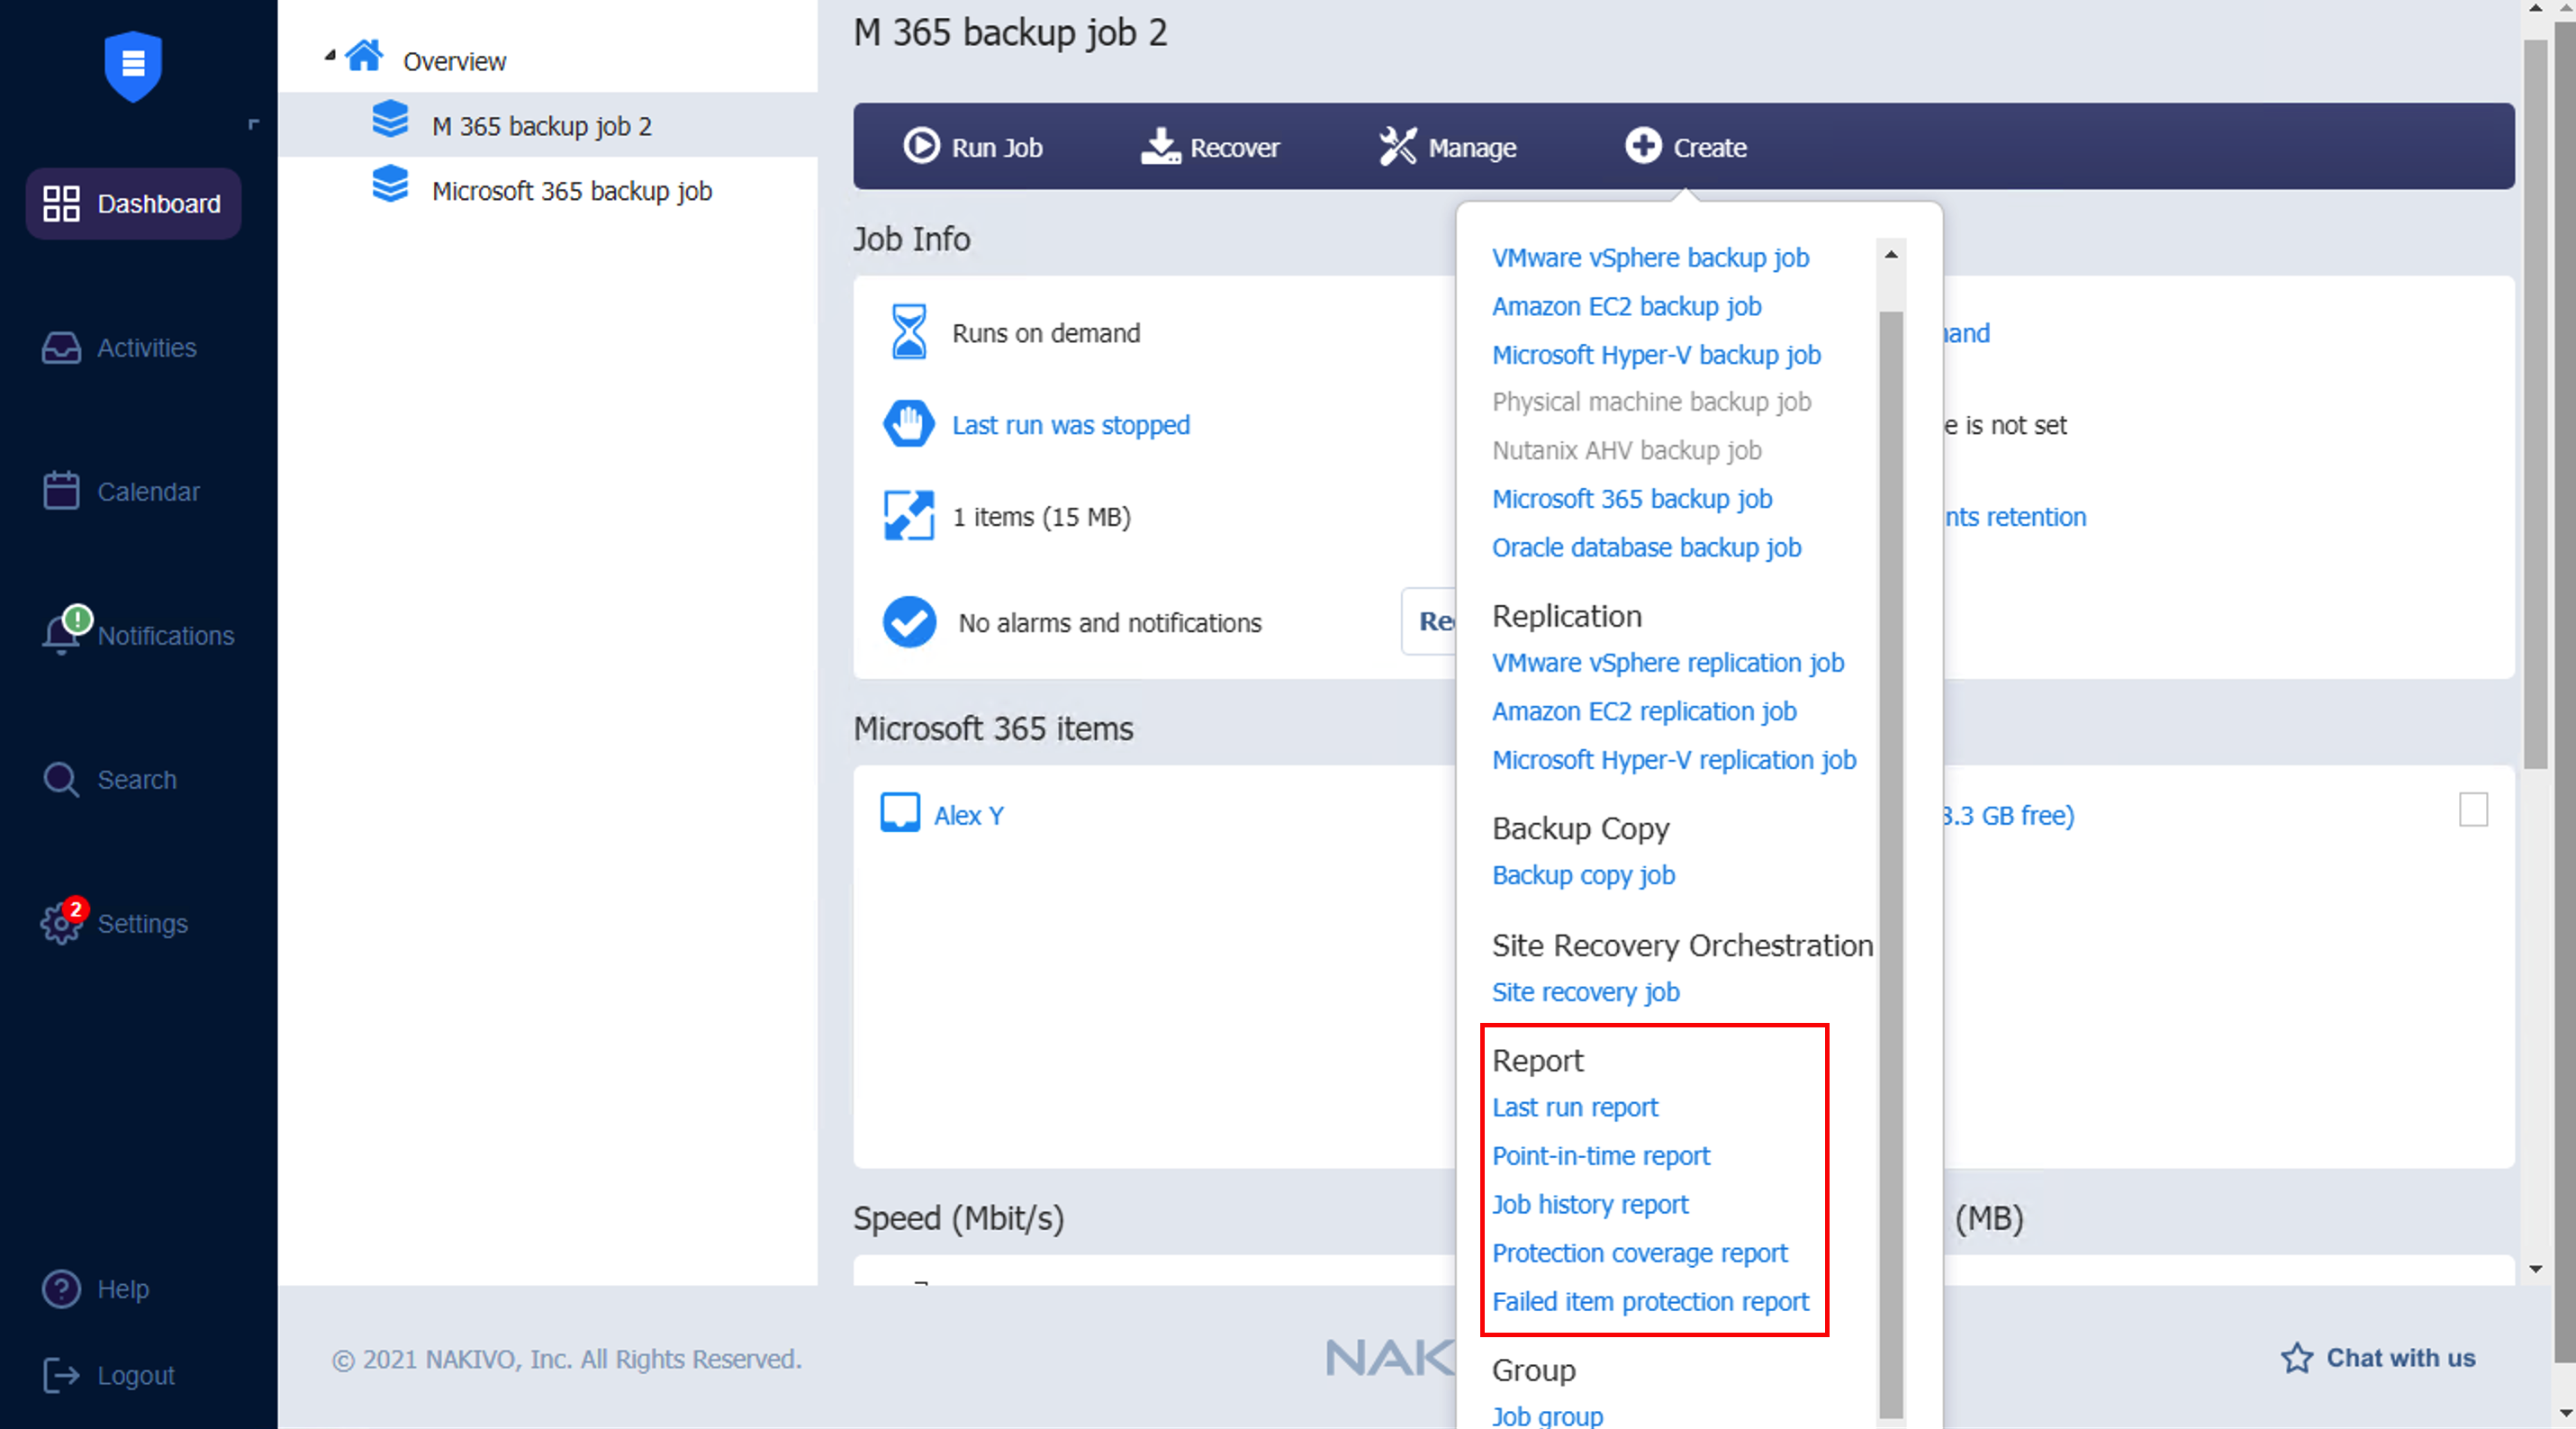
Select the job that you need to generate a report for and right-click on it or click Create.
-
Select one of the following reports from the Create report menu:
-
Last-run report: Provides data on the last run of the job.
-
Point-in-time Report: Provides data on a particular job run. To generate a report, pick a date in the popup that appears and click Create.
-
Job history report: Provides data on job runs that occurred during a specified time period. To generate a report, pick a start date on the left and finish date on the right in the popup that appears and click Create.
-
Protection coverage report:Contains information about all VMs and instances protected by backup and/or replication jobs, as well as about all unprotected VMs and instances.
-
Failed machine protection report: Contains information about job objects processing of which were failed during the last job run. Only backup and replication jobs included.
-
Site Recovery Job report: Contains a summary of the Site Recovery Job, including the result of passing the Recovery time objective value, information about all actions performed, and all registered alarms and notifications.
-
-