Managing Certificates
NAKIVO Backup & Replication provides you with the ability to create and store certificates for Microsoft 365 authentication. Refer to the following topics:
Importing a Certificate
To import an existing certificate, do the following:
-
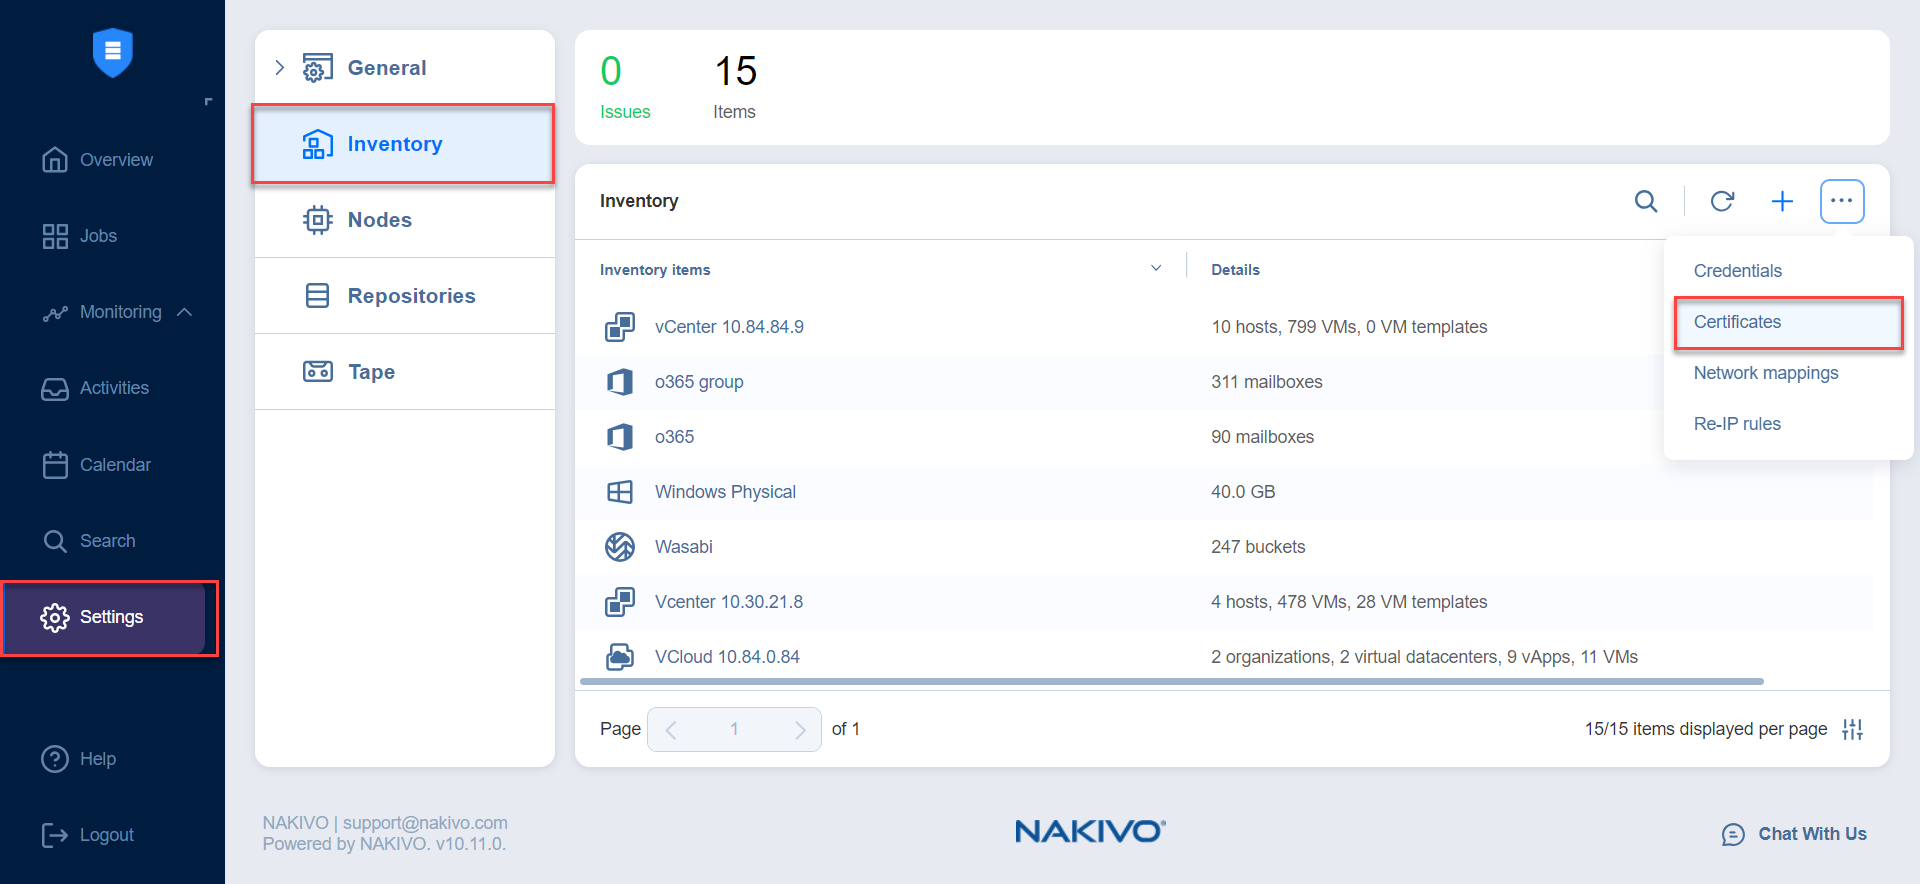
Click Settings in the left pane of the product.
-
Go to the Inventory tab.
-
Click Manage.
-
In the dialog that opens, click Certificates.
-
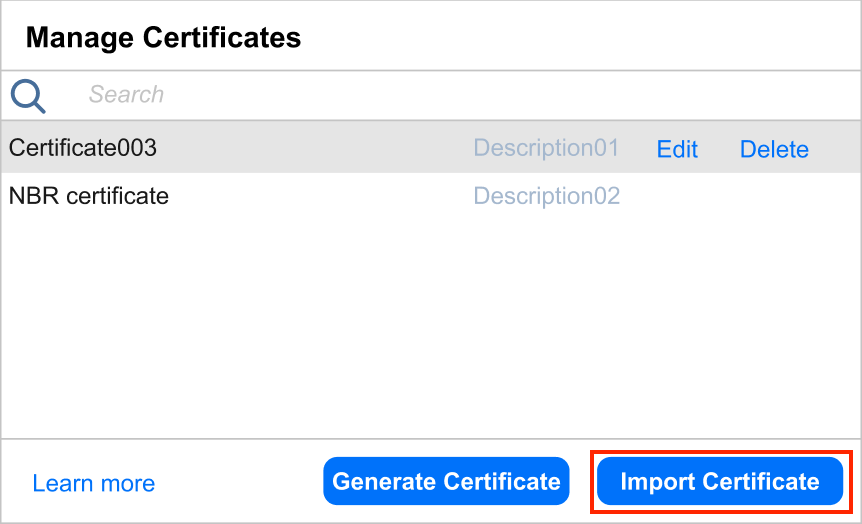
In the Manage Certificates dialog that opens, click Import Certificate.

-
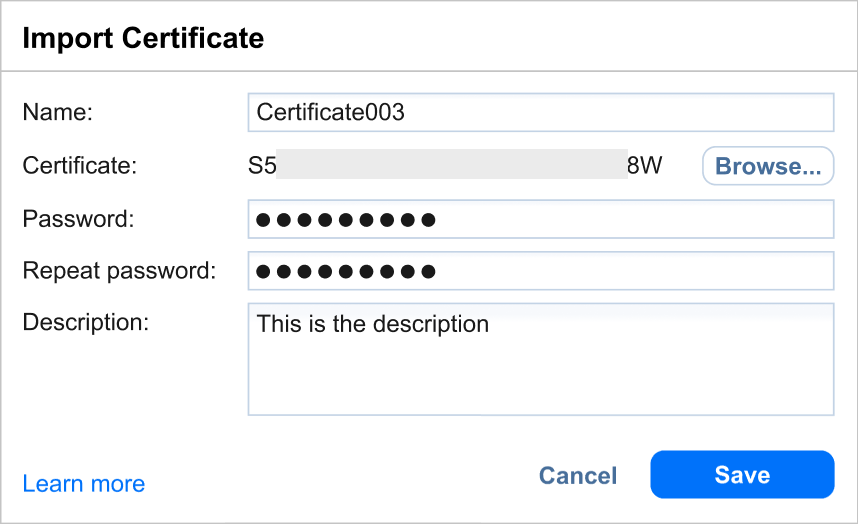
In the resulting Import Certificate pop-up, enter a display name for the certificate in the Name field.
-
In the Certificate row, click Browse… and upload a certificate in the required .
pfxformat. -
Enter the certificate password if needed in the Password and Repeat password fields.
-
Optionally, add a description for the certificate in the Description field.
-
Click Save.

NAKIVO Backup & Replication will check if the certificate is valid. If it is, the certificate will become available for Microsoft 365 authentication.
Generating a New Certificate
To generate a new self-signed certificate, do the following:
-
Click Settings in the left pane of the product.
-
Go to the Inventory tab.
-
Click Manage.
-
In the dialog that opens, click Certificates.
-
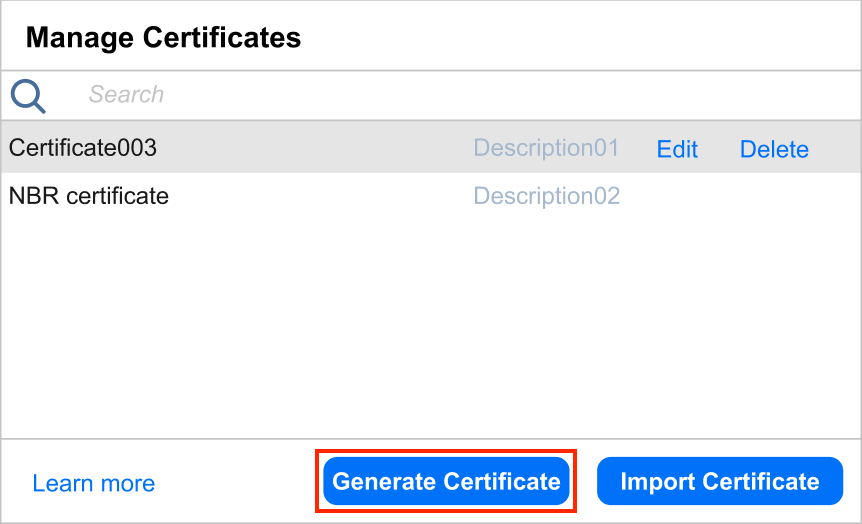
In the Manage Certificates dialog that opens, click Generate Certificate.

-
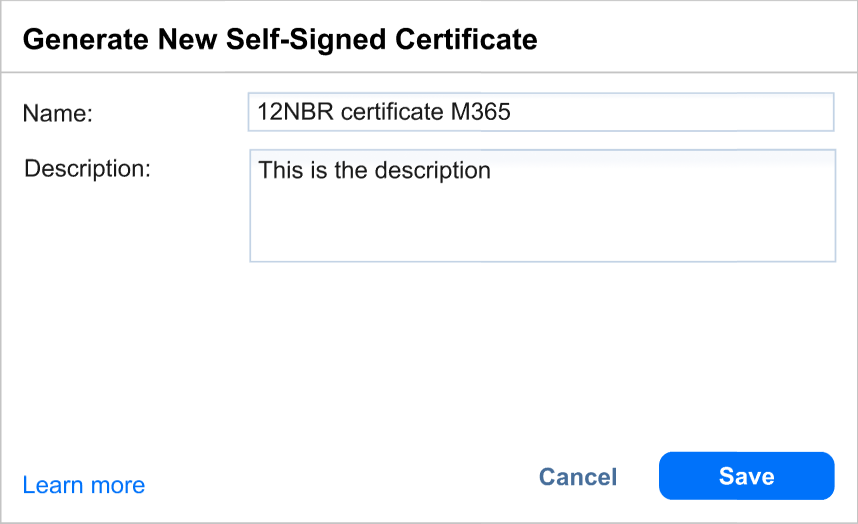
In the resulting Generate New Self-Signed Certificate pop-up, enter a display name for the certificate in the Name field.
-
Optionally, add a description for the certificate in the Description field.
-
Click Save to generate a new self-signed certificate and add it to the list of saved certificates. NAKIVO Backup & Replication will automatically download the new certificate to the browser.

You can now use this certificate for Microsoft 365 authentication.
Editing Certificates
To edit a certificate, do the following:
-
Click Settings in the left pane of the product.
-
Go to the Inventory tab.
-
Click Manage.
-
In the dialog that opens, click Certificates.
-
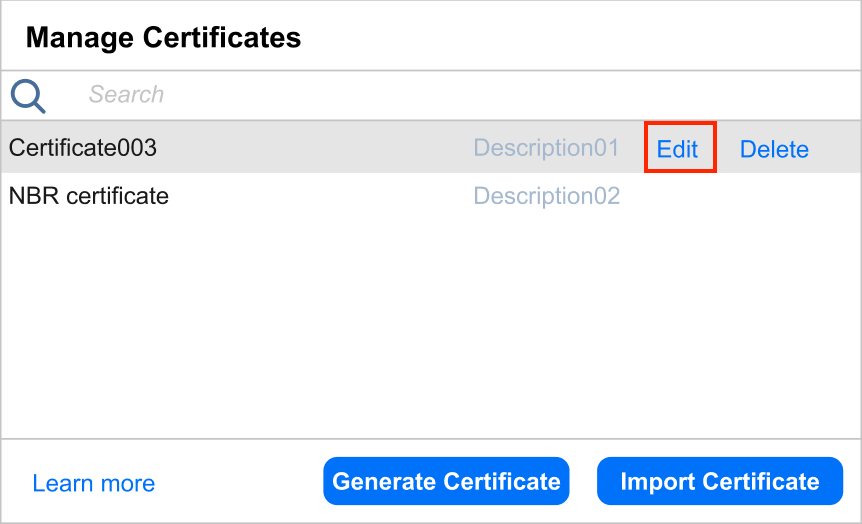
In the Manage Certificates dialog box that opens, hover over the certificate you want to edit and click Edit.
-
Edit any necessary fields and click Save when done.

Deleting Certificates
To delete a certificate, do the following:
-
Click Settings in the left pane of the product.
-
Go to the Inventory tab.
-
Click Manage.
-
In the dialog that opens, click Certificates.

-
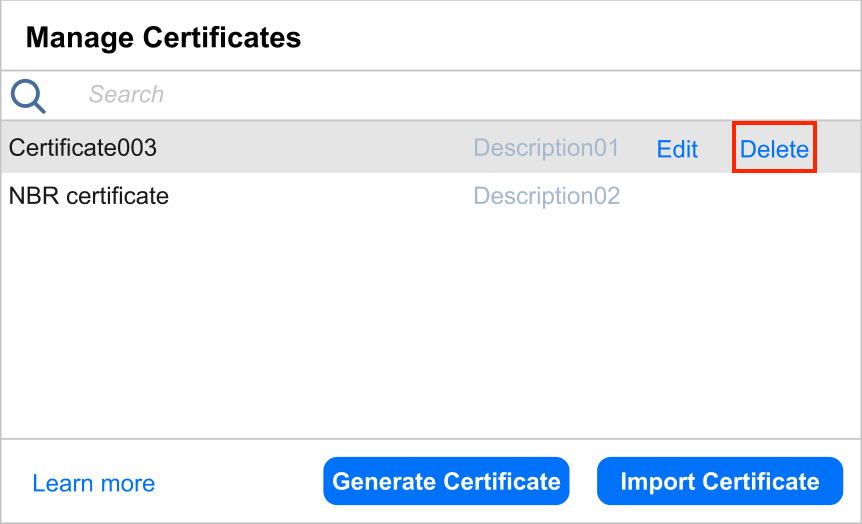
In the Manage Certificates dialog box that opens, hover over the certificate you want to delete and click Delete.
-
In the confirmation pop-up that opens, click Delete to confirm deletion.