Enabling Two-Factor Authentication
Two-factor authentication can be enabled in either of the following pages:
-
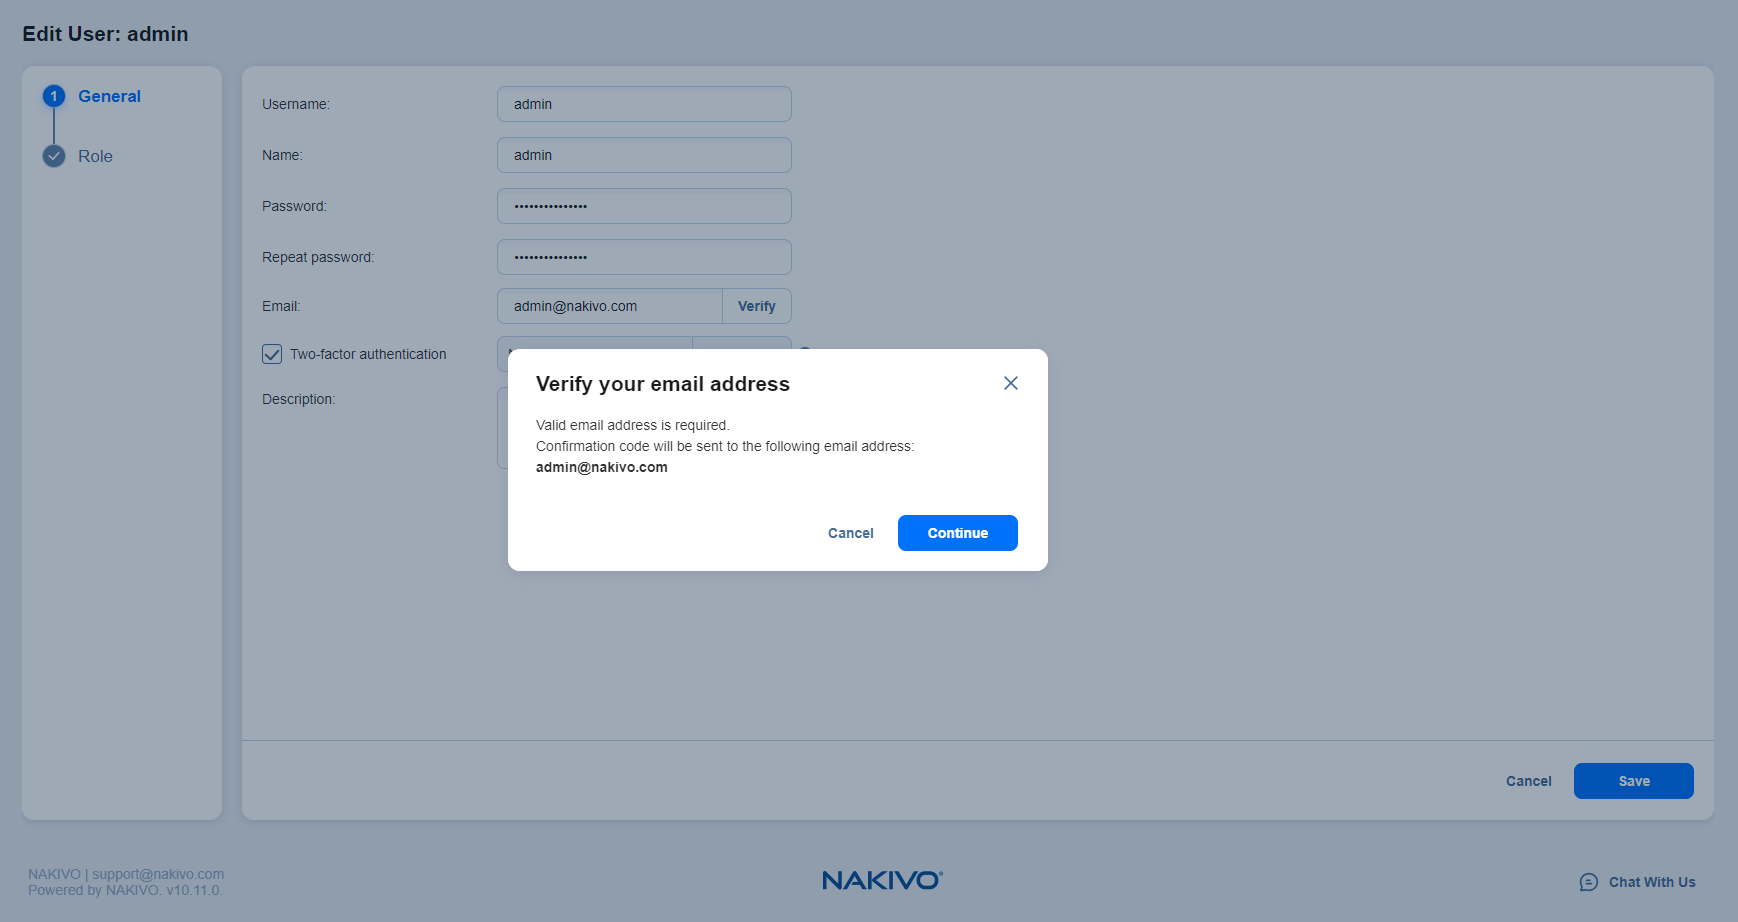
On the Editing local user page, select the Two-factor authentication checkbox.
Notes
-
The two-factor authentication is disabled for:
-
Direct Connect users
-
Users without User management permission
-
-
Users without User management permission cannot enable Two-factor authentication.
-
Users without Administrator role or Configuration permission can only configure Two-factor authentication on the login screen of NAKIVO Backup & Replication.
-
It is possible to enable Two-factor authentication only after configuring Email Notifications.
-
-
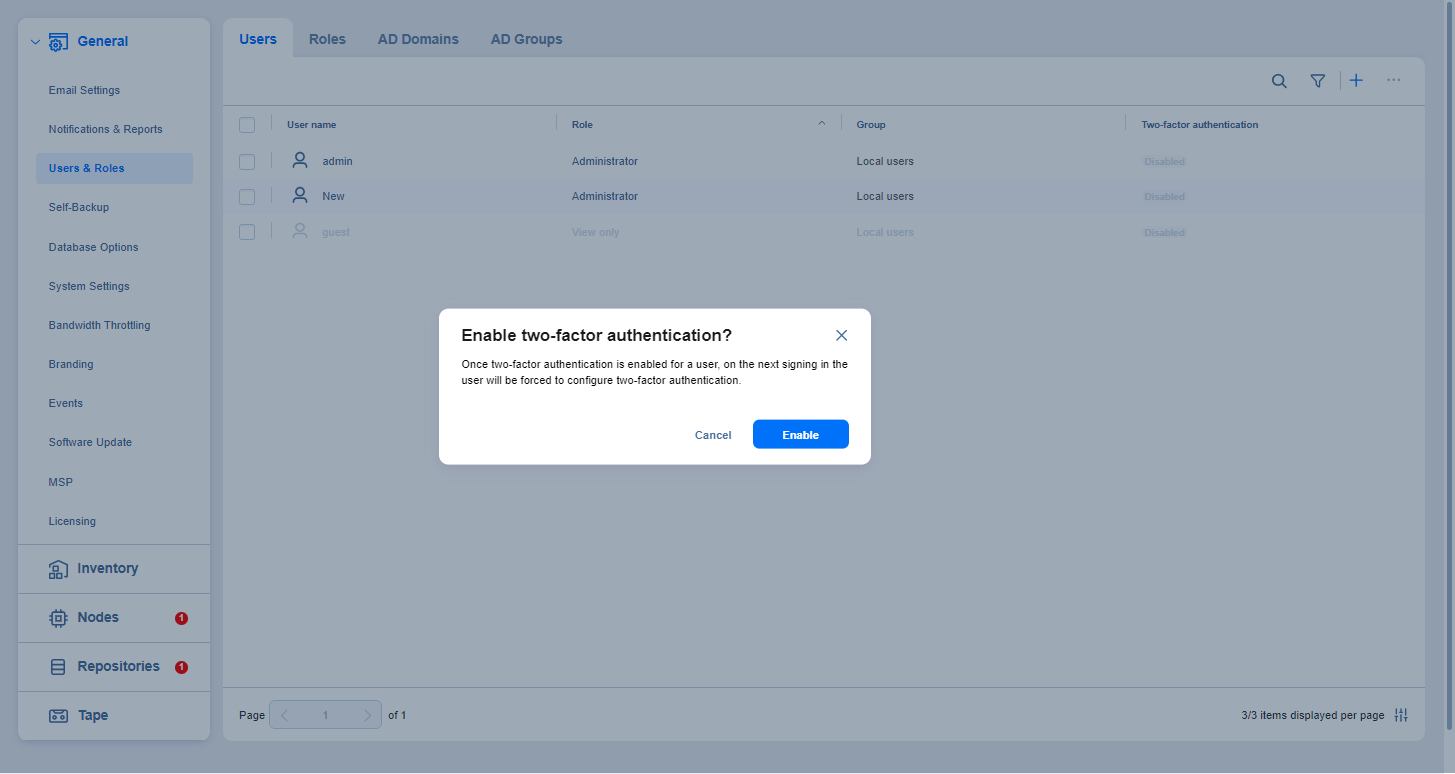
On the Users view, hover over user’s name and select Manage > Enable two-factor authentication.


Note
Once two-factor authentication is enabled but not configured for a user, on the next signing in the user will be forced to configure it.
Proceed with configuring two-factor authentication:
-
Click Enable in the dialogue window that appears.
Note
-
The two-factor authentication feature is disabled for MSP users drilled down into an ST instance (remote tenant).
-
-
Click Continue in the Verify your email address popup that appears.
Note
-
Optionally, you can enter the new email address for the user.
-
Also, you can select Configure to proceed with 2FA configuration.
-
-
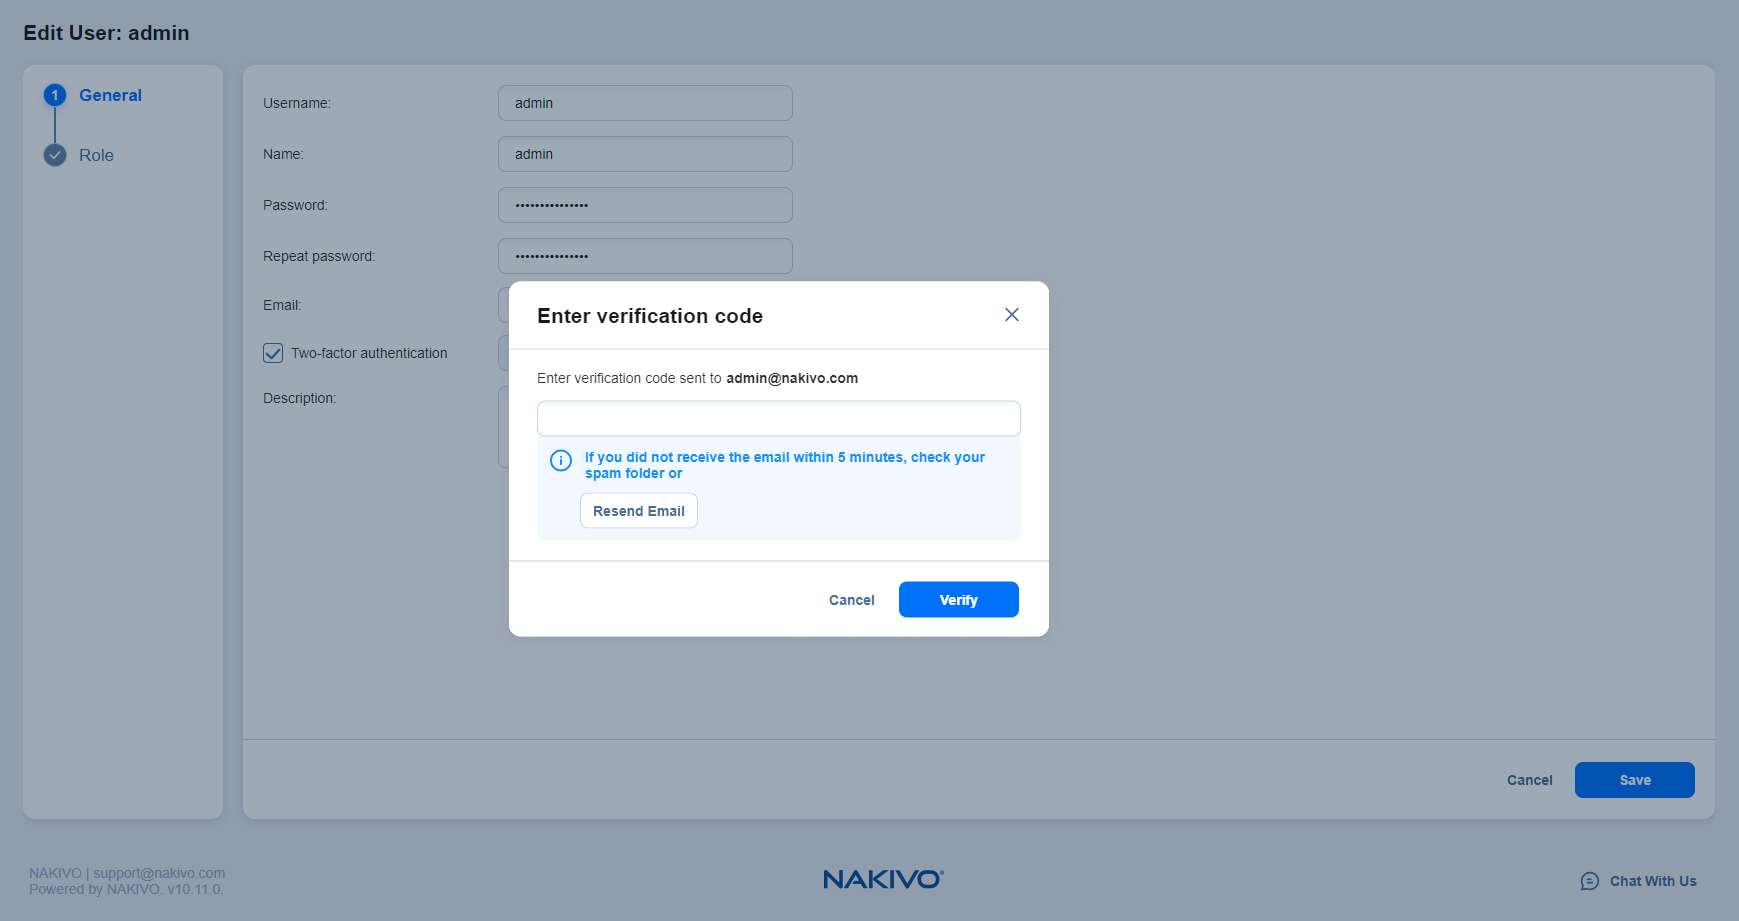
Enter the verification code that was sent to the specified email address, and click Verify.
-
Optionally, enter the alternative email address that can be used in case the primary one becomes unavailable, and select Continue. Alternatively, select Skip to skip this step.
-
If you have entered the alternative email address during the previous step, enter the verification code that was sent to the specified email, and click Continue to proceed with Google Authenticator configuration. Alternatively, when configuring 2FA on the Editing local user page, select Cancel on the Get Google Authenticator popup to set up Google Authenticator later.
Note
When configuring 2FA on the login screen, clicking Cancel returns you to the main login screen.


