Adding an MSP
To add an MSP to which you would like to link your NAKIVO Backup & Replication instance, you need the Master tenant’s hostname or IP address, port number, and the remote tenant credentials they have generated for you. Once you obtain the above information, follow the steps below:
-
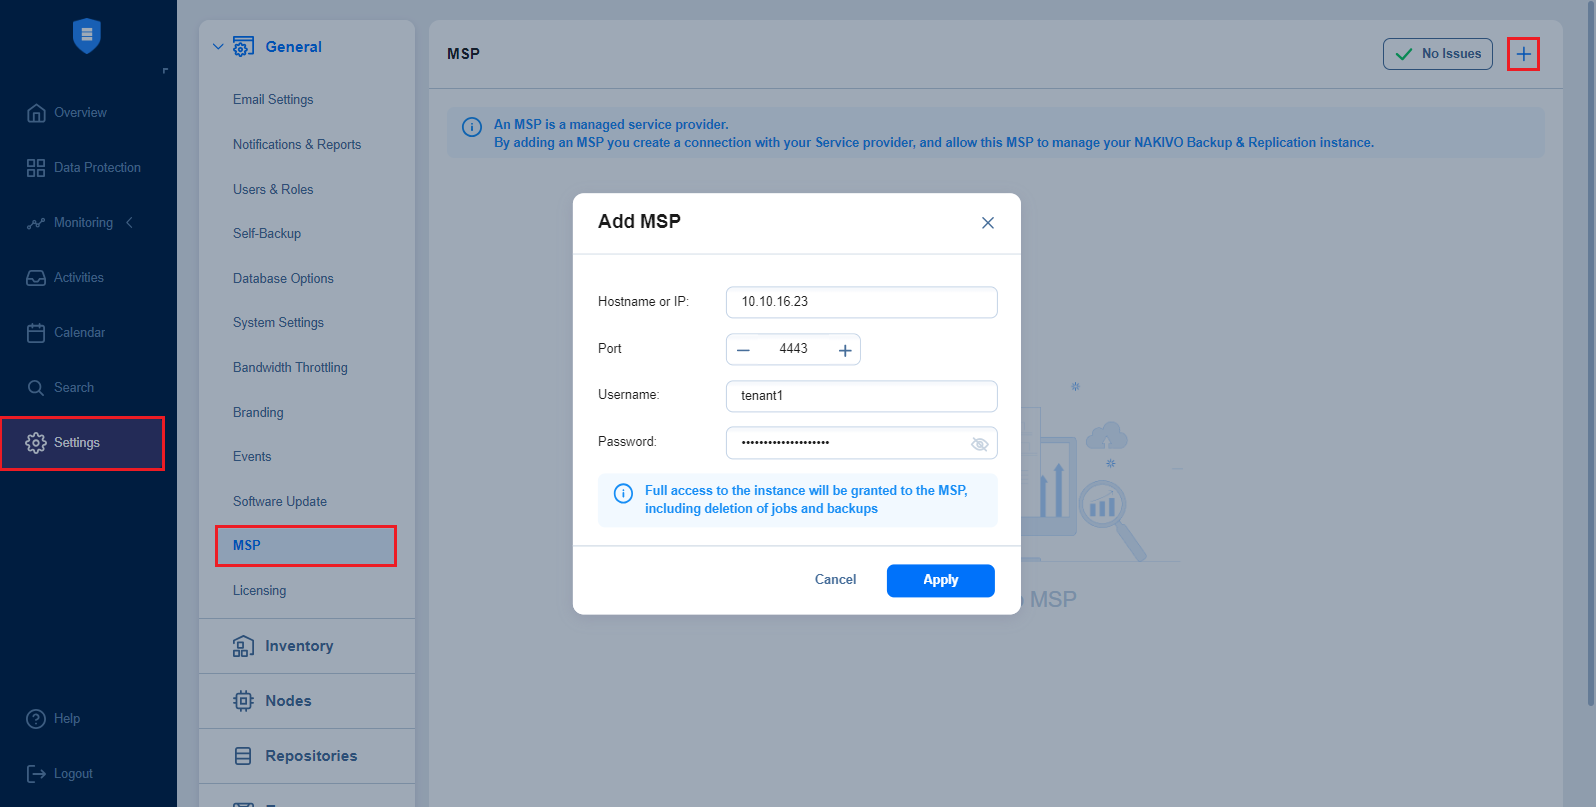
Go to Settings and click the + button in the top right corner.
-
Fill in the Hostname or IP, Port, Username, and Password fields based on the information provided by your Master tenant (MSP).

-
Click Apply. The following screen will display the MSP’s certificate details.
Notes
-
Your version of NAKIVO Backup & Replication must be the same as the MSP’s version. Otherwise, you cannot connect to MSP’s instance of NAKIVO Backup & Replication.
-
The MSP uses a separate listening port for communication with a remote tenant's instance (port 6702 is used by default). If the MSP changes the listening port used, the connection may be interrupted. For more information on required TCP ports, see the MSP Console section in Feature Requirements.
-
-
Read through the MSP’s certificate details and click Accept.
-
The added MSP should now appear in your MSP menu.

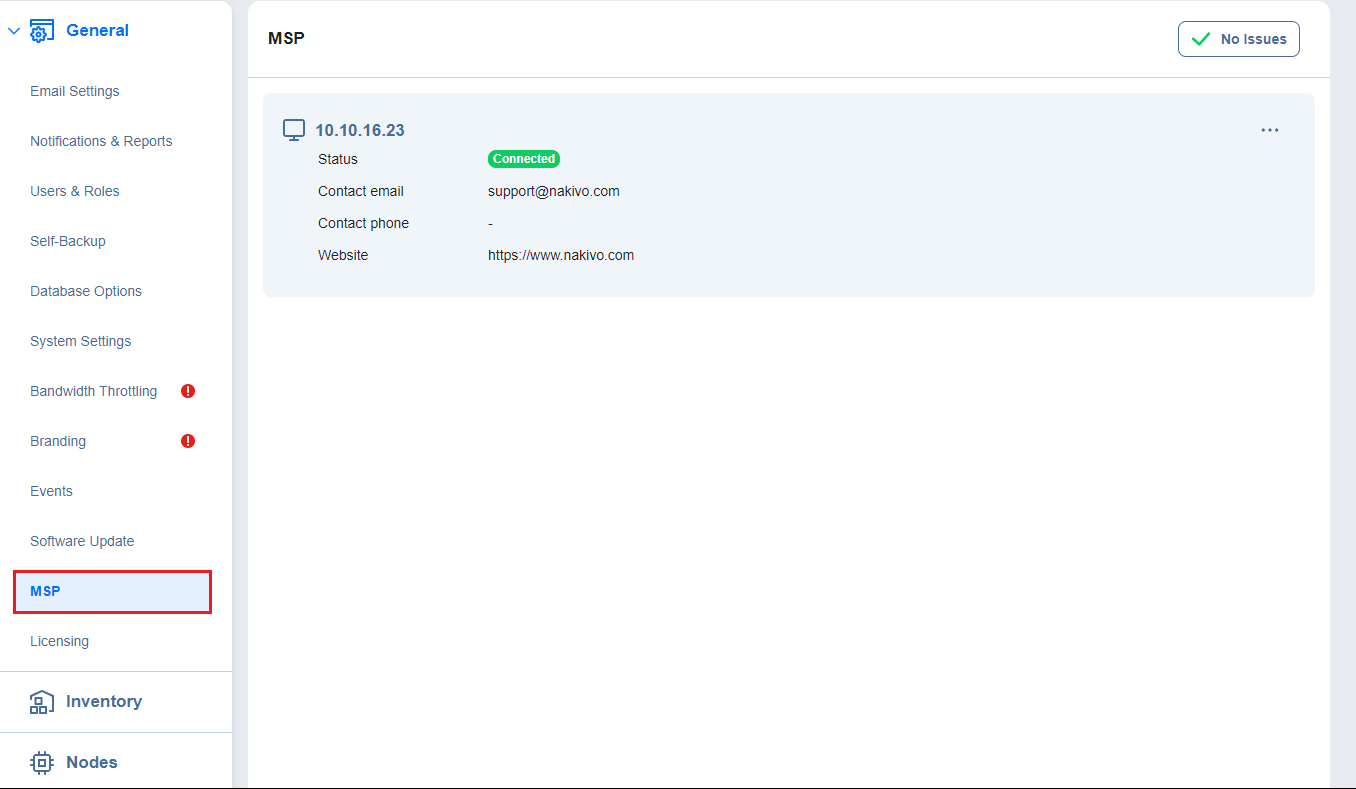
Once the MSP is added, you have successfully established a connection with the Master tenant as a remote tenant. This allows the Master tenant to access your instance of NAKIVO Backup & Replication as long as the connection is active.