Failback Job Wizard for Microsoft Hyper-V: Options
On the Options page of the wizard, specify the options for the Microsoft Hyper-V failback job as described in the following sections:
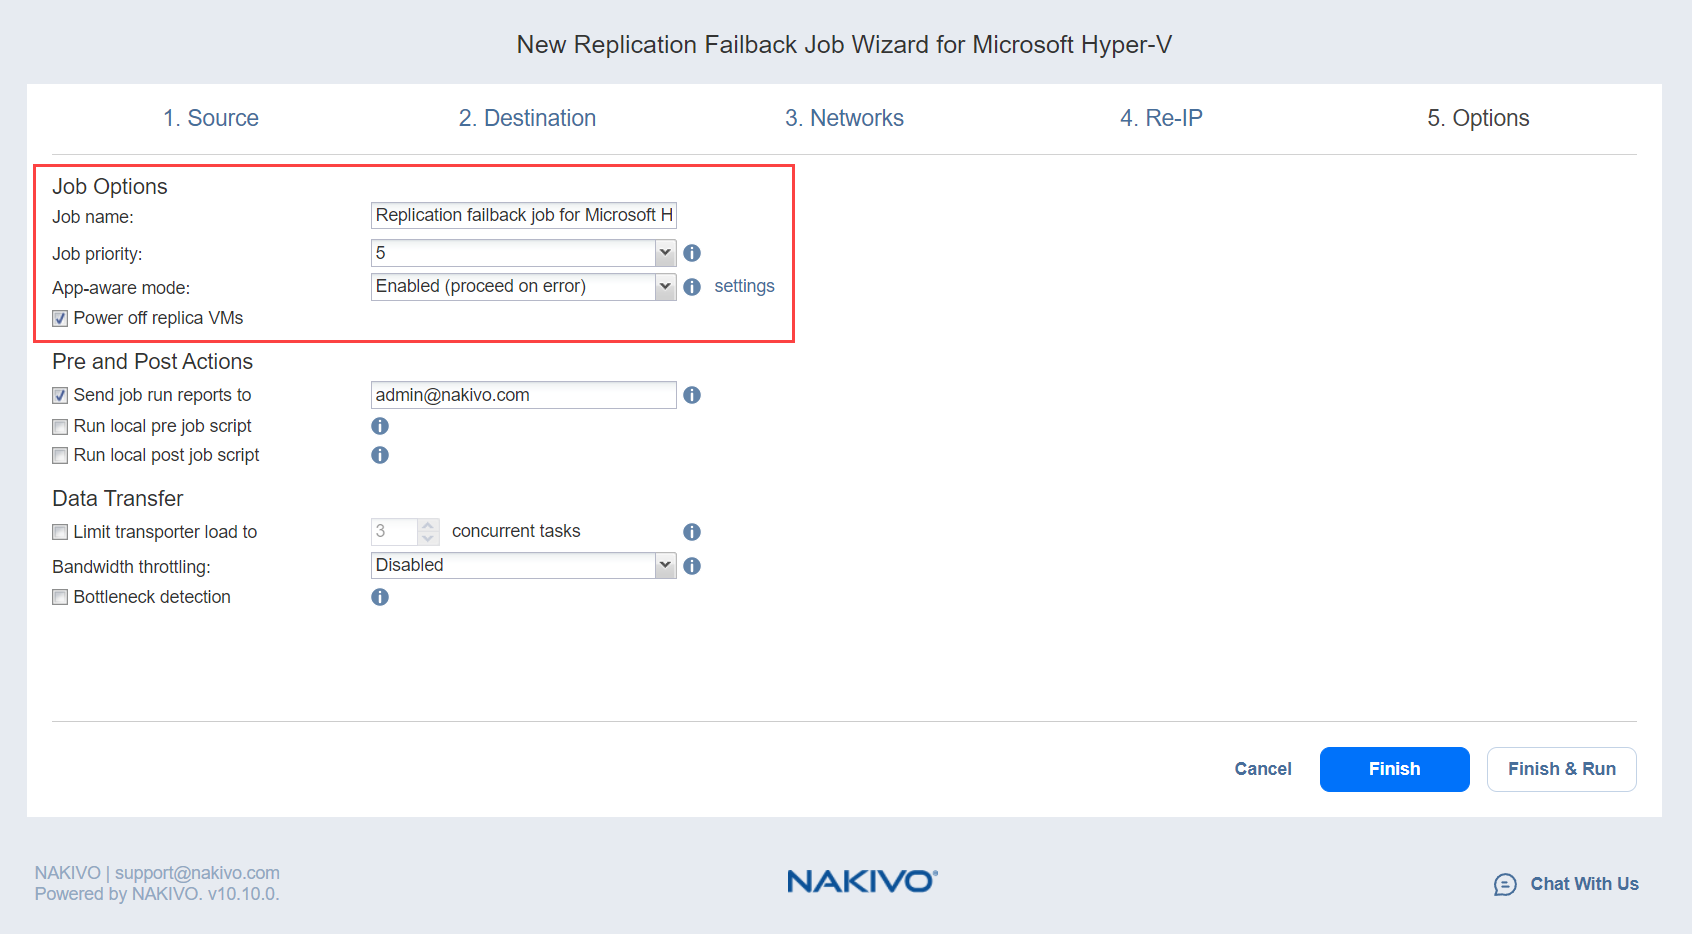
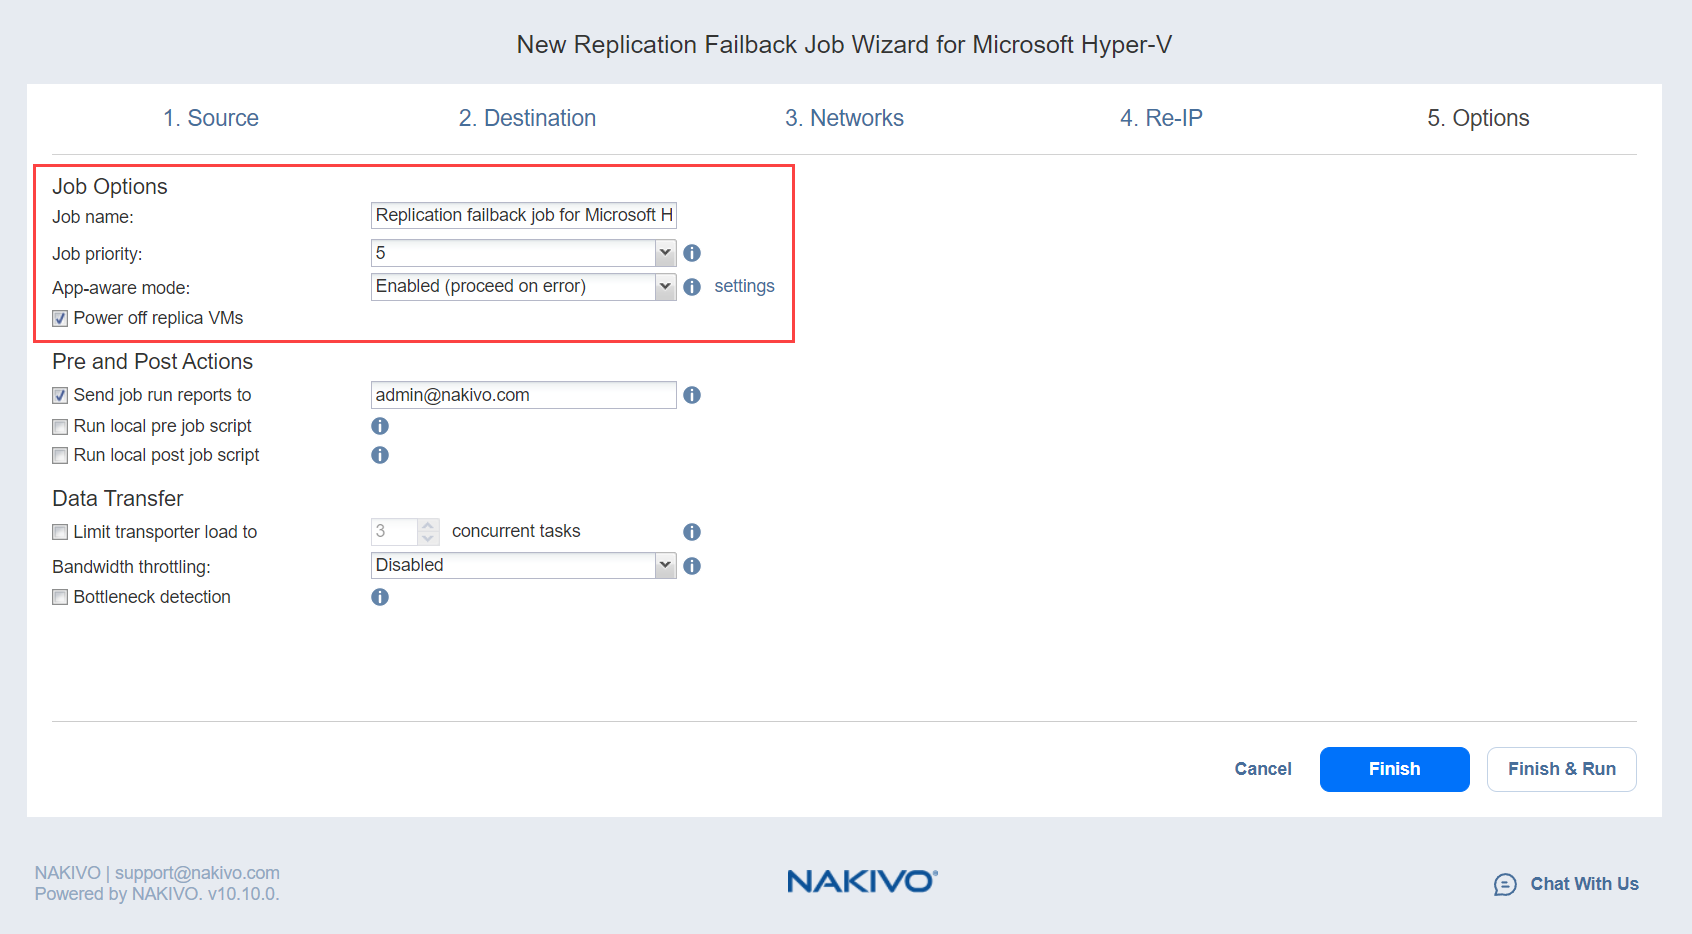
Job Options
-
In the Job name box, enter a string of 50 or fewer characters specifying the name of your failback job.
-
Select a Job Priority level between 1 and 5, with 1 being the highest priority. Jobs with higher priority levels are prioritized by Transporters during job processing.
Note
This option is only available in the Enterprise, Enterprise Essentials, Enterprise Plus, MSP Enterprise, and MSP Enterprise Plus editions. -
Select Power off replica VMs to power off the replica workloads during the failback.
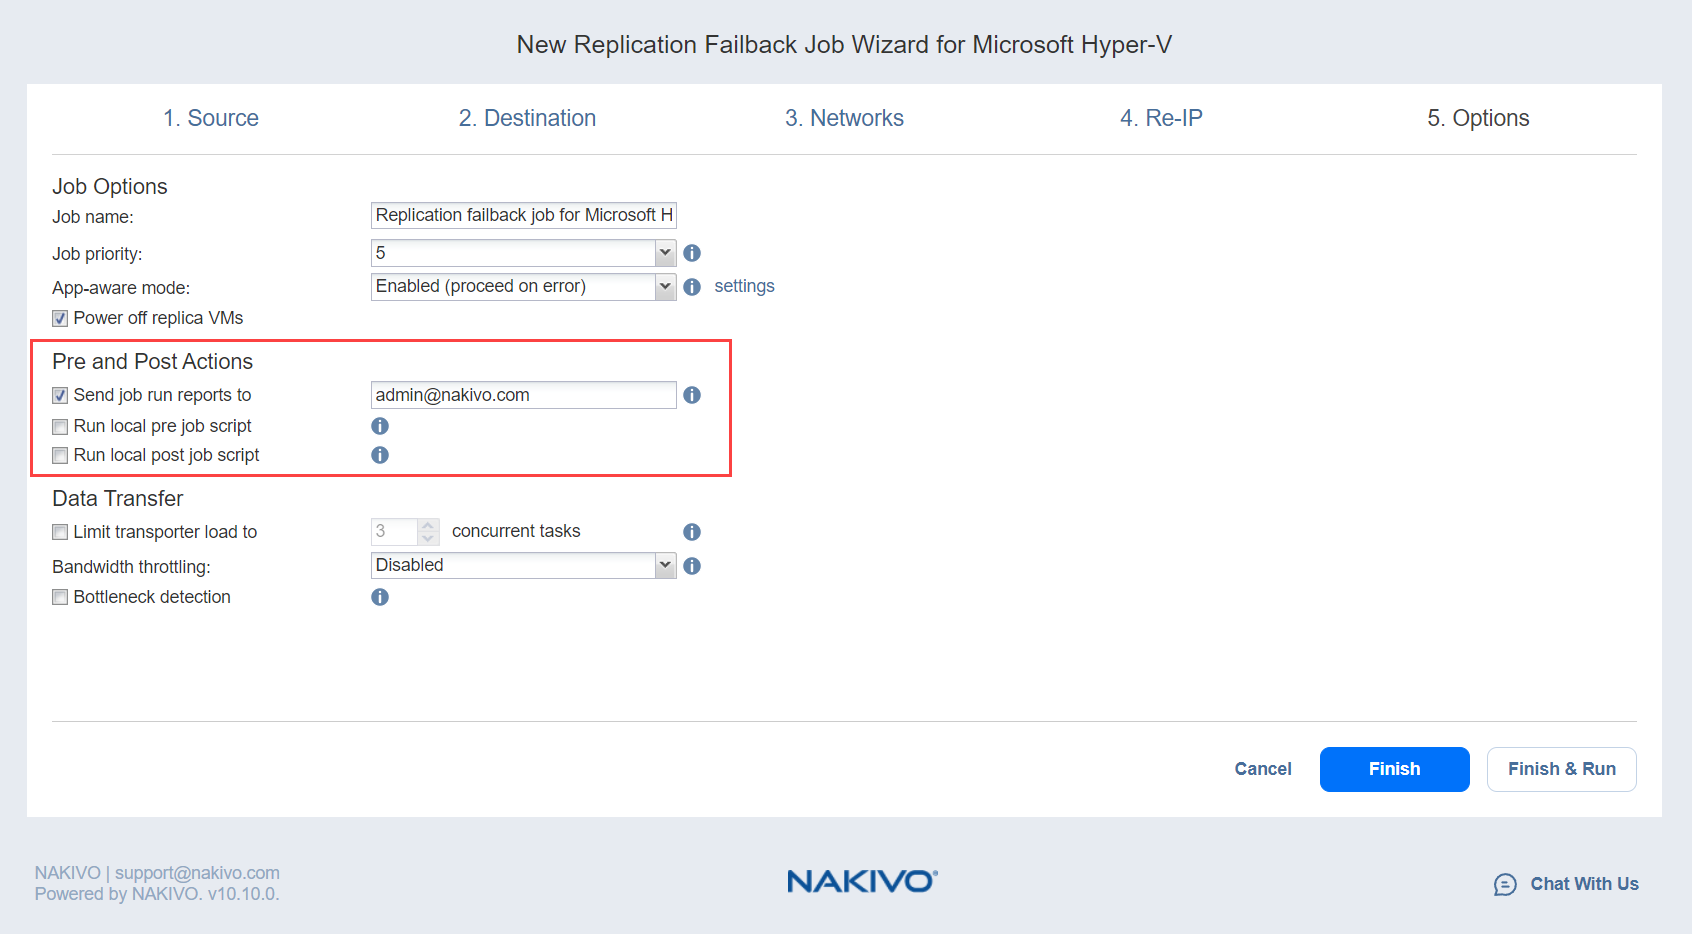
Pre and Post Actions
If needed, enable pre and post actions for the failback job:
-
Send job run reports to: When selected, a job report is sent to the specified recipients each time the failback job is completed. This overrides the default setting specified in the NAKIVO Backup & Replication Settings.
-
Run local pre job script: When selected, a dialog box opens in which you can specify the following options of the pre-job script to be run:
-
Script path: A local path to the script on the machine where the Director is installed. A script interpreter should be specified as well.
-
Job behavior: The following options are available:
-
Wait for the script to finish: This is the default option.
-
Do not wait for the script to finish.
-
-
Error handling: The following options are available:
-
Continue the job on script failure: This is the default option.
-
Fail the job on script failure.
-
-
-
Run local post job script: When selected, a dialog box opens in which you can specify options of the post-job script to be run on the machine where the product is installed. Proceed to set the options as described for pre-job scripts.

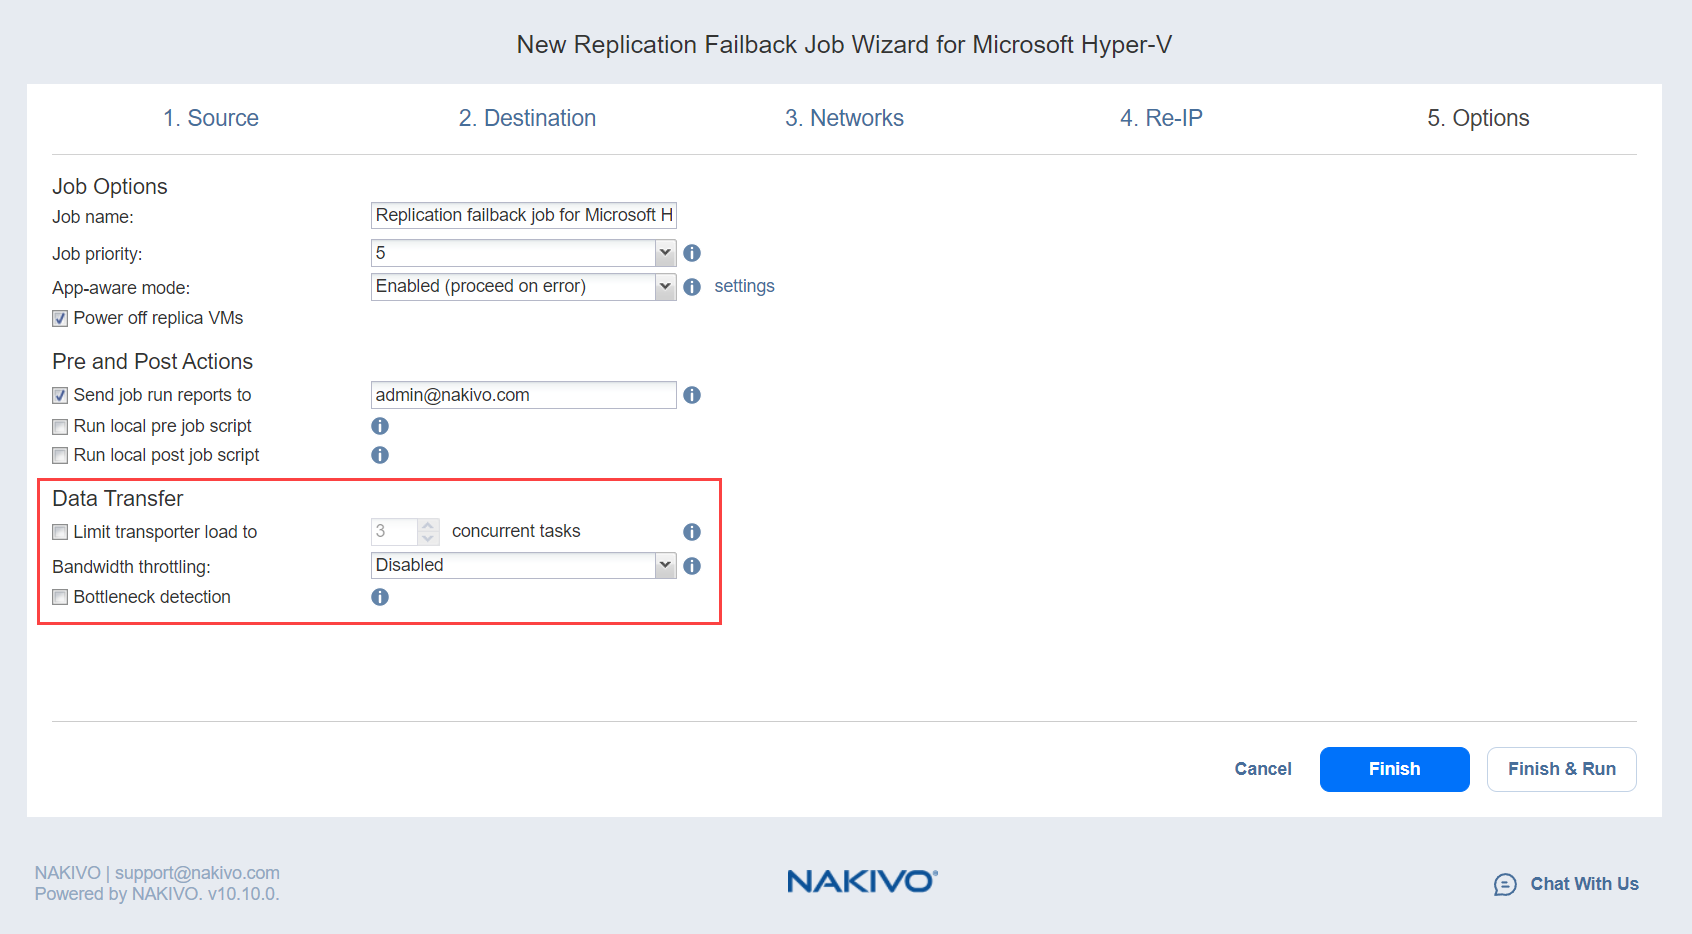
Data Transfer
In the Data Transfer section of the Options page, you can configure Transporter load, bandwidth load, and other options. Proceed as described in the sections below.
Transporter Load
You can limit the maximum number of Transporter tasks used by the job. By default, this number is set to 3 concurrent tasks.
To change the default number of tasks, do the following:
-
In the Data Transfer section, select the Limit transporter load to checkbox.
-
Specify the number of concurrent tasks in the corresponding box.
Bandwidth Throttling
Follow the steps below to regulate the speed of data transfer over the network for your backup job:
-
For the Bandwidth throttling option, choose Enabled.
Note
If bandwidth throttling is disabled for the current job, global bandwidth rules may still apply to your job. Refer to Bandwidth Throttling for details. -
Click the settings link that becomes available.
-
The Job Bandwidth Rules dialog box opens, displaying the list of available rules. You have the following options:
-
Create a new bandwidth rule for your backup job:
-
Click the Create New Rule button.
-
The New Bandwidth Rule dialog box opens. Refer to the Bandwidth Throttling topic for details on creating a bandwidth rule.
-
Click Save.
-
-
Activate an existing bandwidth rule for your job. Select the checkbox to the left of the required bandwidth rule. To deactivate a bandwidth rule for your job, deselect the corresponding checkbox.
-
Edit a bandwidth rule. Click the Edit link for a bandwidth rule and modify it in the Edit Bandwidth Rule dialog box that opens.
-
Disable a bandwidth rule. Click the Disable link. The bandwidth rule is disabled for all jobs.
-
Remove a bandwidth rule. Click the Remove link and then click Delete to confirm your operation.
-
Bottleneck detection
When the Bottleneck detection option is enabled, additional information is collected and recorded in NAKIVO Backup & Replication logs in the course of data transfer for the purpose of bottleneck detection. Check this option to enable the Bottleneck detection capability of the Transporters engaged in the job.
Click Finish or Finish & Run to complete the job creation.