Recovery Job Wizard for Nutanix AHV: Destination
On the Destination page, select a location for the recovered VMs. Proceed as described in these sections:
Setting the Same Cluster, Datastore and Network for All Recovered VMs
To recover all VMs to the same cluster or storage container, and to connect all recovered VMs to the same networks, follow the steps below:
-
If you selected a tape backup on the Backups page, select New VM(s) in the Recover to drop-down list. Otherwise, proceed to the next step.
-
From the Cluster drop-down list, select a cluster.
-
From the Datastore drop-down list, select a datastore.
-
From the Network drop-down list, select a network.

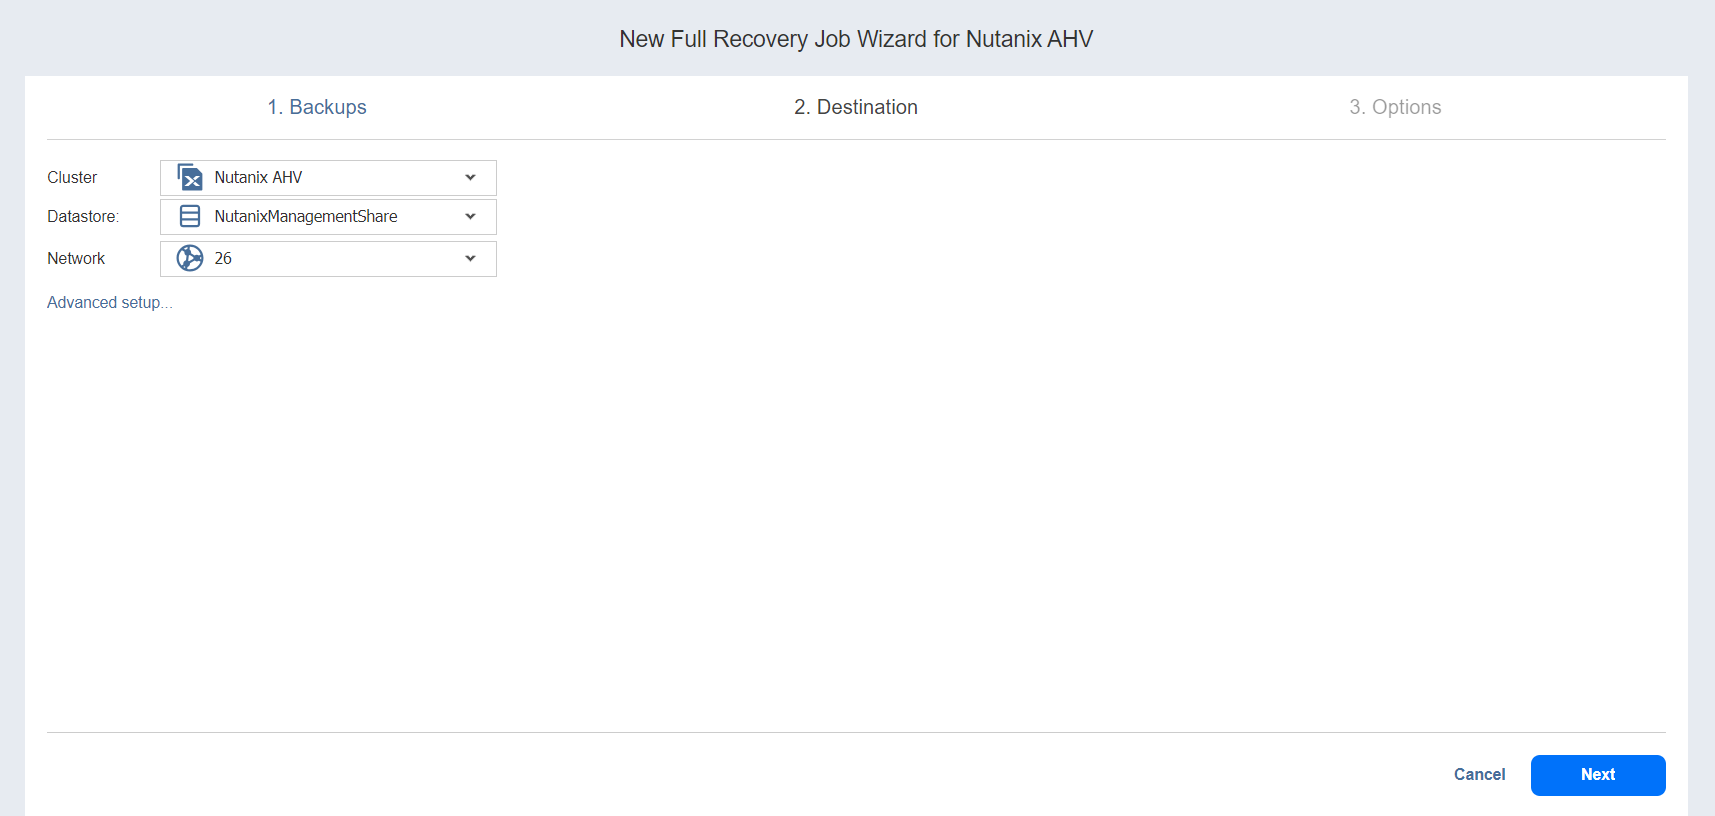
With this setup, all VMs are recovered to the same cluster and storage container and they use the same network.
Setting Backup Repository as Destination
If you selected a tape backup on the Backups page, you have the additional option of recovering to an existing Backup Repository. To do so, select Backup Repository from the Recover to drop-down menu and choose the appropriate repository from the Repository drop-down menu below.
Notes
You cannot perform recovery from recovery points located in an inaccessible federated repository member or those that depend on inaccessible recovery points.
You cannot select a federated repository as a destination for recovery from tape media.
Setting Different Destination Options for Recovered VMs
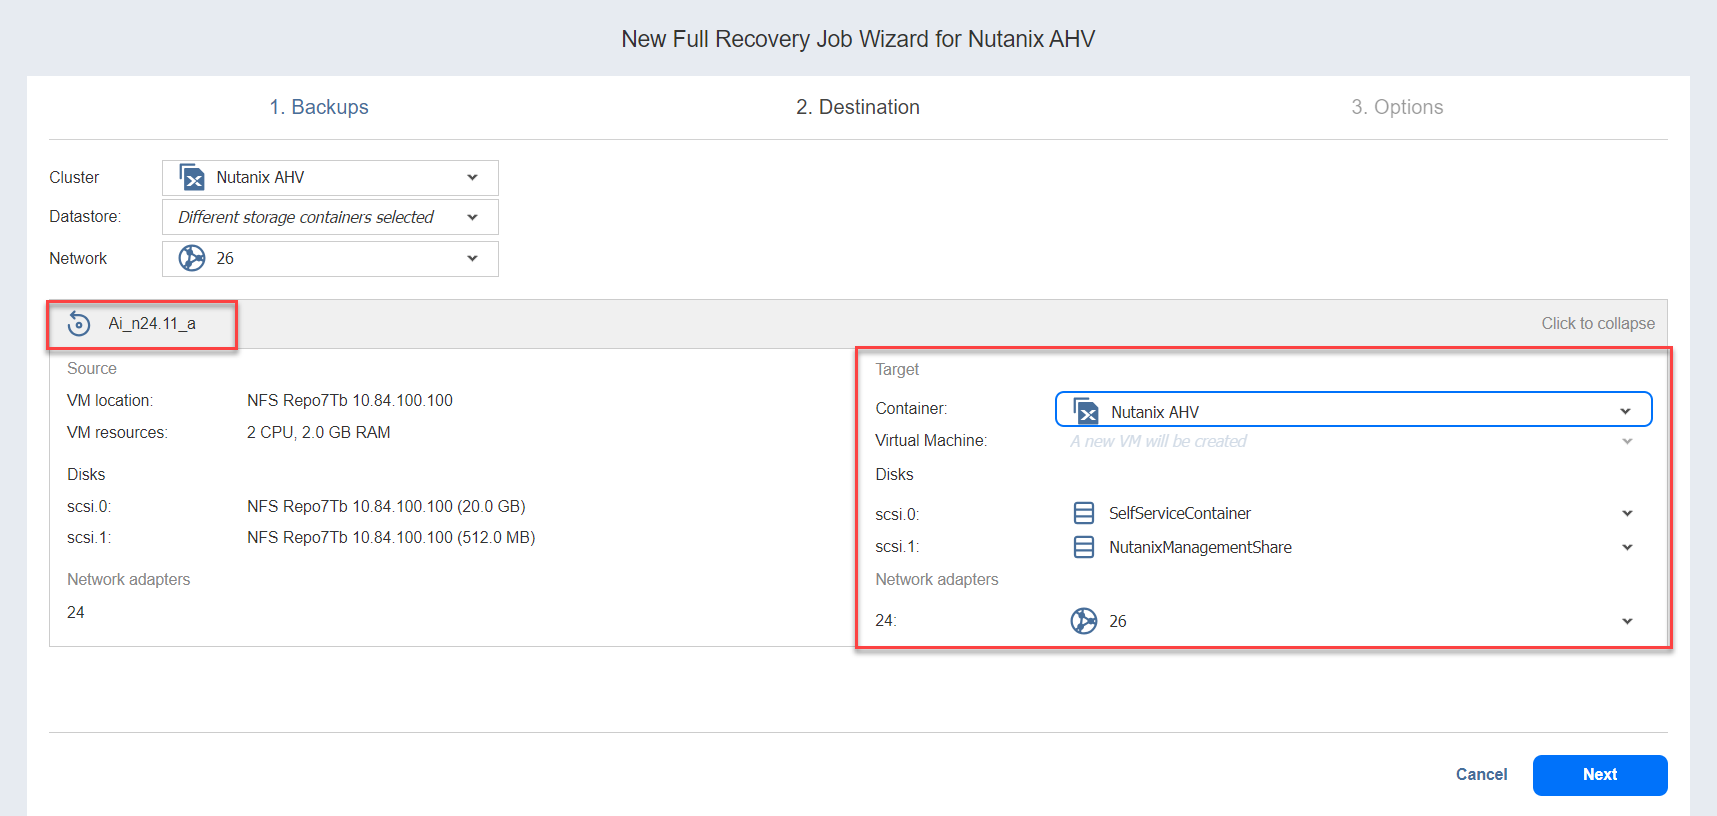
To specify different options for recovered VMs, follow the steps below:
-
Click Advanced setup.
-
Click on the VM to expand its recovery options.
-
If you selected a tape backup on the Backups page, select New VM(s) or Backup Repository in the Recover to drop-down list. Otherwise, proceed to the next step.
-
Choose a target cluster, disks and network adapters for each VM.

If you selected groups or Backup Repositories on the Backups page, the advanced options allow you to specify the default destination options for all VMs contained in those groups or repositories.
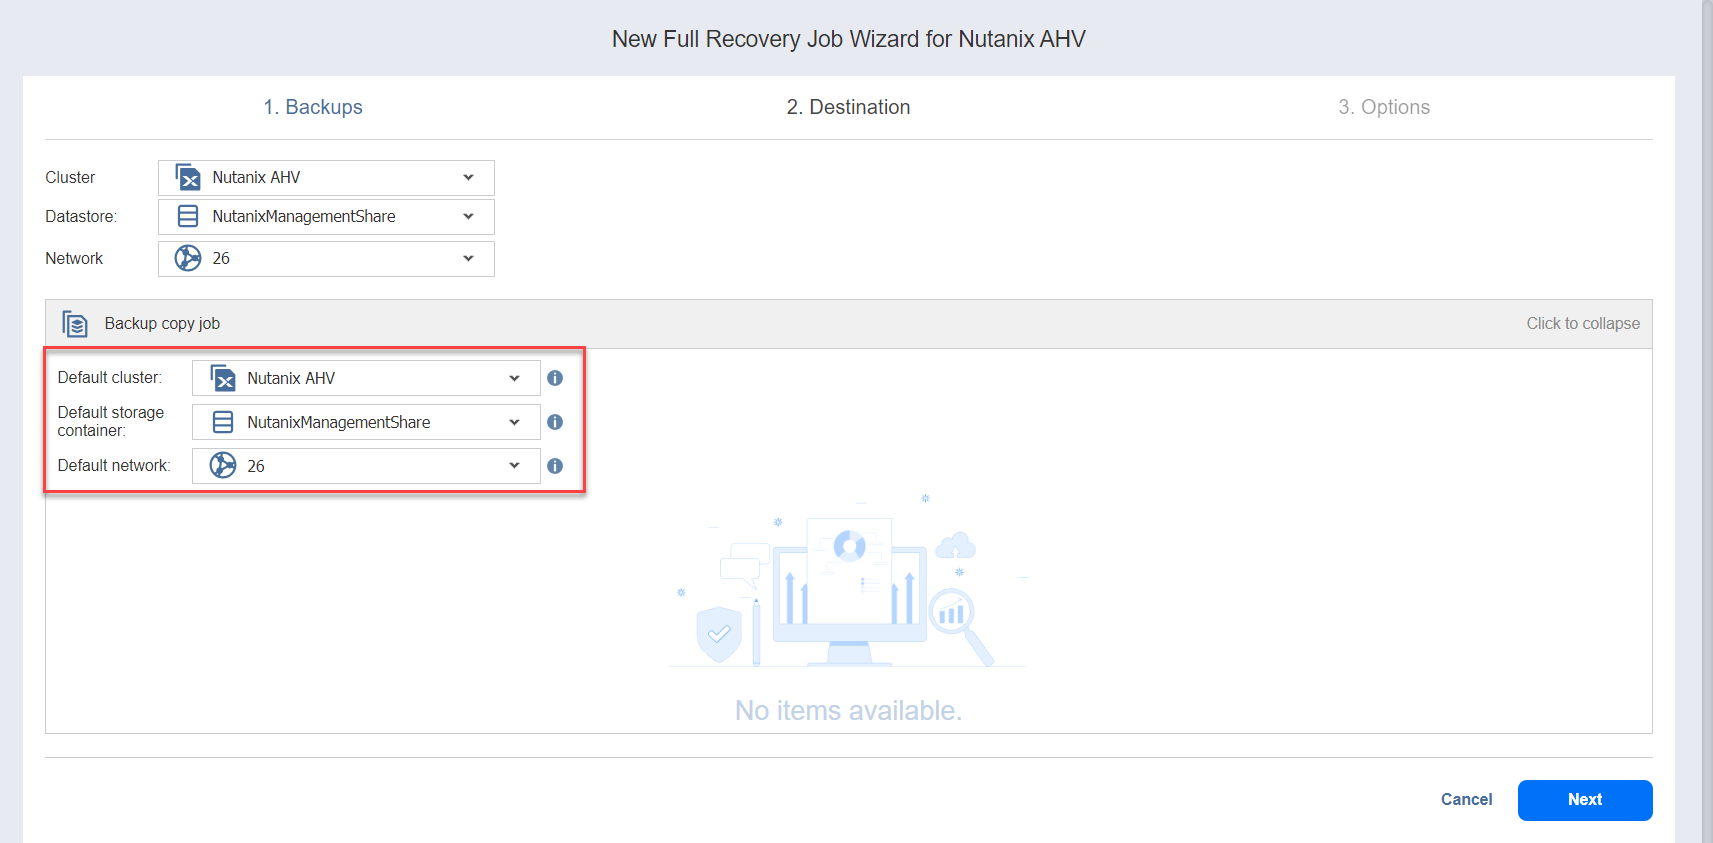
You can still define destination options individually for each VM within every group or repository by clicking the VM's name.