Connecting to Amazon EC2 from Windows
You can use the following free tools to connect to your Amazon EC2 instance:
-
WinSCP to upload the installer file.
-
PuTTYgen tool to convert the private key.
-
PuTTY tool to connect to an Amazon instance securely.
-
Log in to NAKIVO Backup & Replication.
-
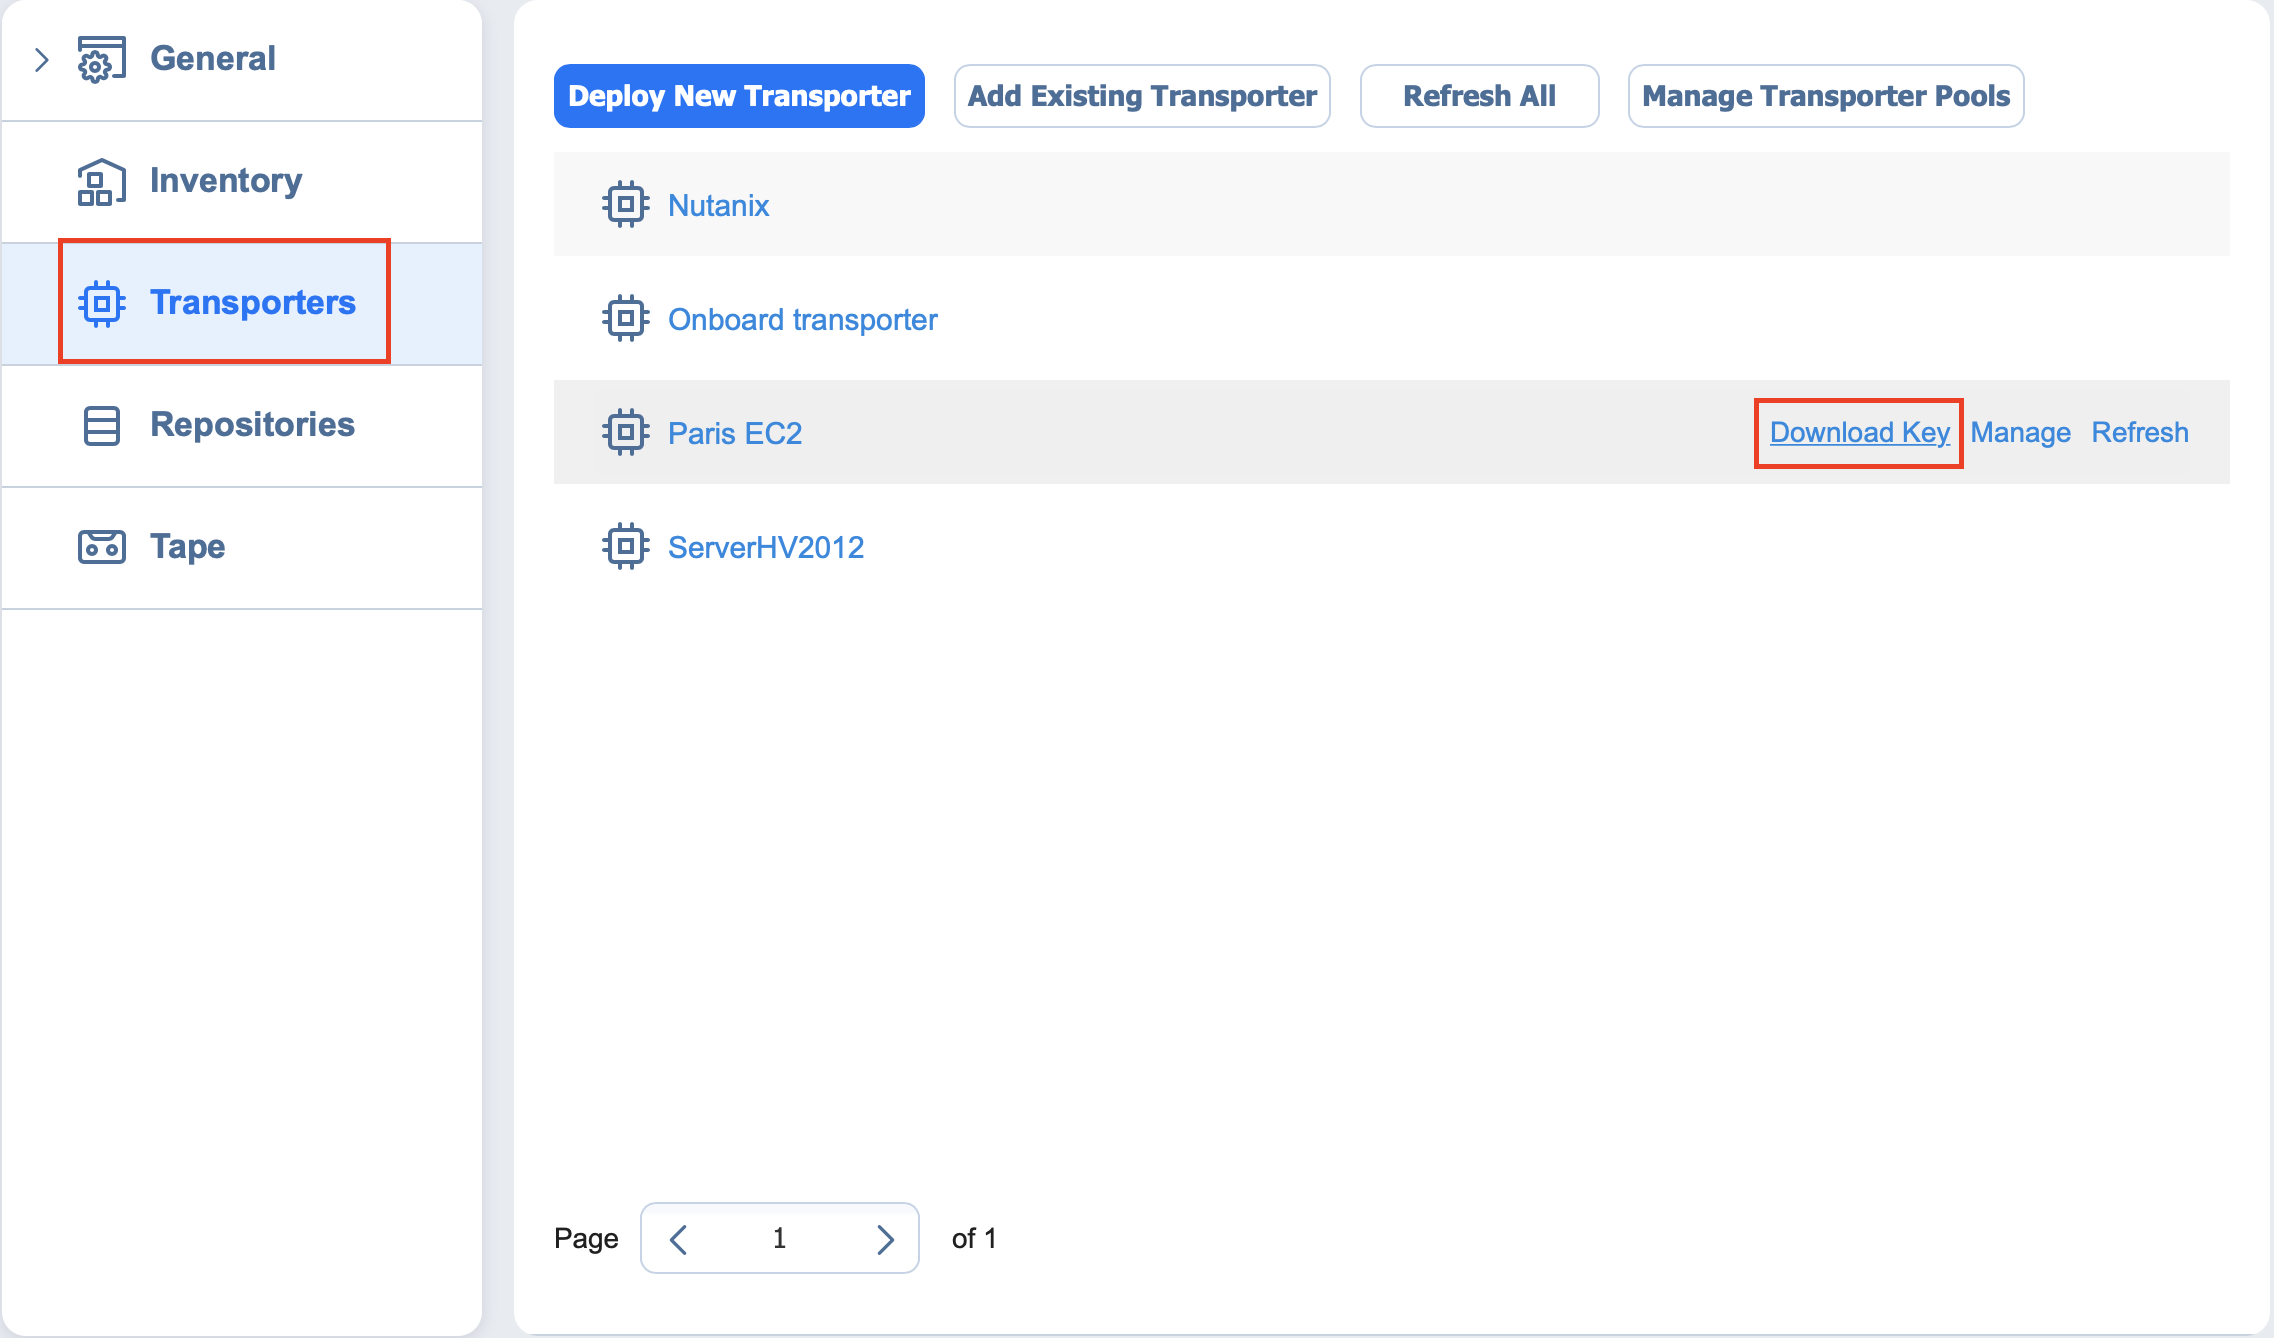
Go to Settings > Transporters.
-
Download the keys of your Amazon instance.
-
Click on the Transporter to view its details. Copy or remember the IP-address/hostname of the Amazon instance.
-
Unzip the folder with the key.
-
Convert the key using PuTTYgen:
-
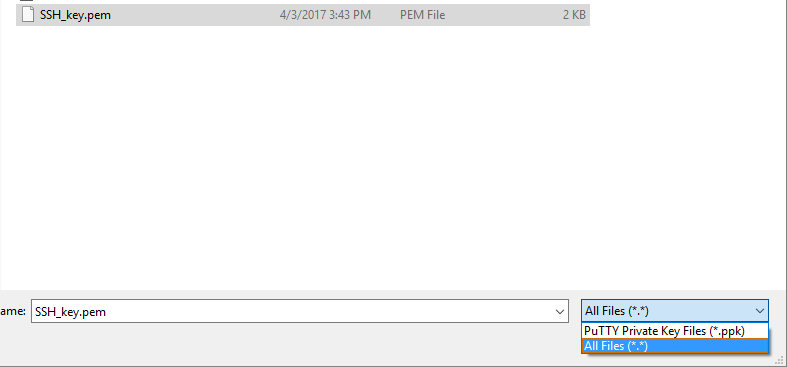
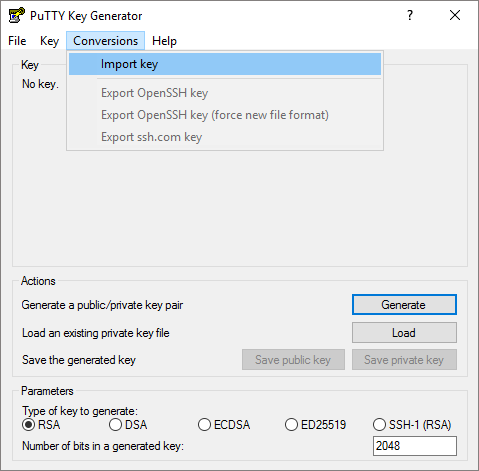
In PuTTYgen menu, go to Conversions > Import.
-
Locate the
SSH_key.pemyou just downloaded and unzipped. If you don't see it in the Open... dialogue box, change the file type to All files.
-
Click on Save private key. If PuTTYgen asks you to save the key without a passphrase, click Yes.
-
-
Open WinSCP.
-
Create a new session:
-
Add the hostname or IP address of your Amazon instance you received on step 4 into the Host Name box.
-
In the Username box, enter
nkvuser. -
Leave the Password box empty.
-
Add the private key to WinSCP:
-
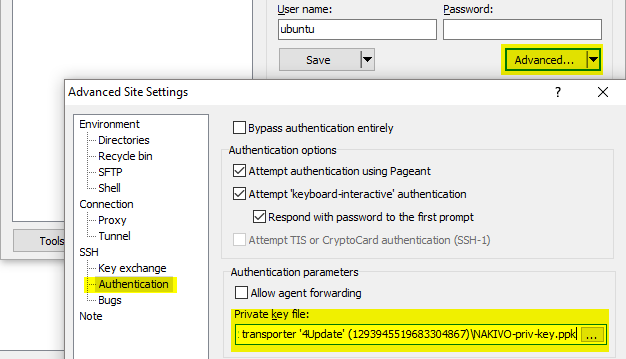
Click the Advanced... button.
-
The Advanced Site Settings dialog box opens. Go to SSH > Authentication > Private key file: and select the key file you generated on step 6.
-
Click OK.
-
-
Click Login.
-
Upload the updater file.
-
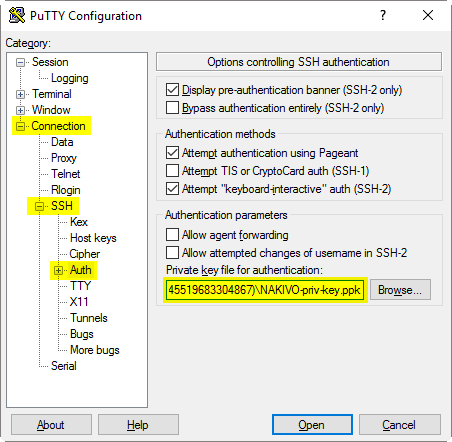
Open PuTTY.
-
Enter the IP-address or hostname of the Amazon EC2 instance.
-
Go to Connection > SSH > Auth and add the private key in Private key file for authentication: box.
-
Click Open.
-
In the command line prompt that opens: log in to the Amazon EC2 instance:
-
For login, enter
nkvuser. -
For password, leave a blank line.
-
-
-
Update NAKIVO Backup & Replication following the instructions.