How to Add Google Cloud Storage
Product version: 11.0
Last modified: 18 September 2025
Question
How to add Google Cloud Storage to the NAKIVO Backup & Replication Inventory?
Answer
To add Google Cloud Storage to the Inventory:
In Google Cloud Console:
-
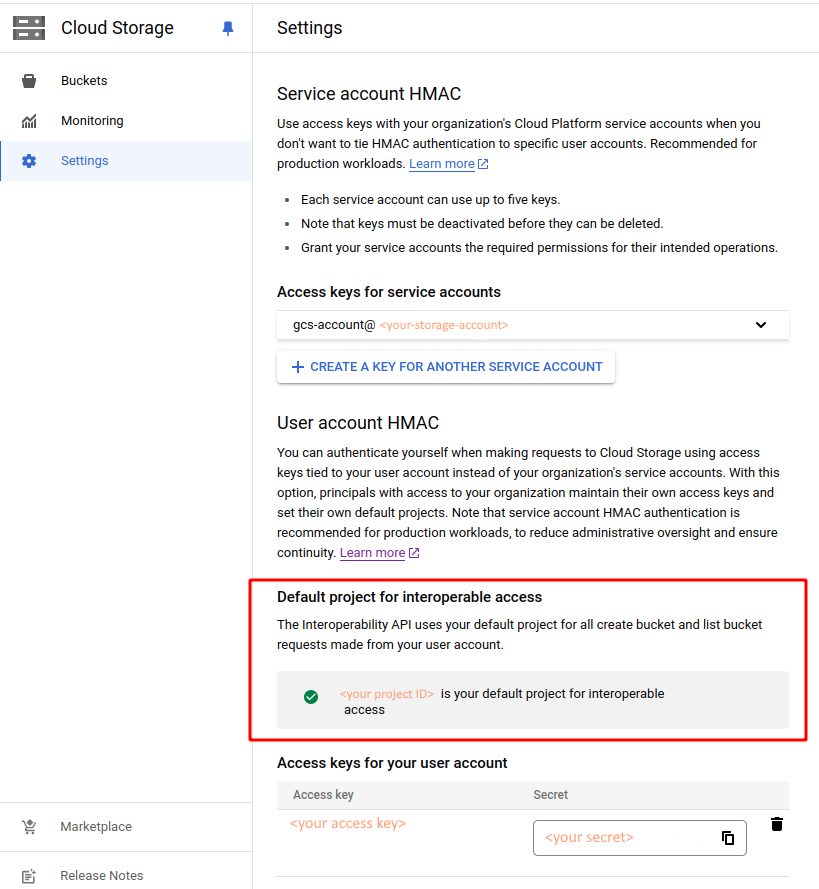
Navigate to the Cloud Storage settings, open the Interoperability > User account HMAC > Default project for interoperable access, and click Set <PROJECT-ID> as default project.
-
Create the HMAC (hash-based message authentication code) keys. See also Manage HMAC keys.
-
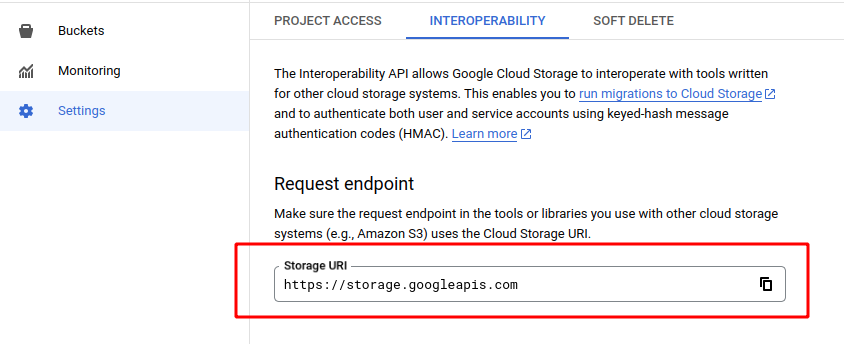
Go to Interoperability > Request Endpoint and change the endpoint to https://storage.googleapis.com.
Use this endpoint and HMAC keys when adding the Google Cloud Storage to the NAKIVO Backup & Replication.
In NAKIVO Backup & Replication:
-
Navigate to Settings > Inventory and click + to add a new storage.
-
On the Platform page of the wizard, select Cloud Storage and click Next to proceed.
-
On the Type page of the wizard, select Generic S3-compatible Storage and click Next to proceed.
-
On the Options page of the wizard, provide the following information:
-
Display name: Specify a name for Google Cloud storage device.
-
Service endpoint: Enter a Request Endpoint to access the Google Cloud Storage (https://storage.googleapis.com).
-
Region code: Optionally, enter the technical region code where the data is stored.
-
Access key ID or Username: Enter the storage access key that was created during account setup.
-
Secret access key or Password: Enter the storage secret key that was created during account setup.
-
Click Connect to bring up the Certificate Details popup.
Note
The Connect button may be disabled if no HTTP/HTTPS certificates are detected or required for the storage to be added to the Inventory.
-
Click Accept to confirm the certificate.
-
-
Finally, click Save when you are done.
