Adding Wasabi Accounts
Add a Wasabi account to NAKIVO Backup & Replication as described in the sections below.
Creating Wasabi Access Key ID and Secret Access Key
Prior to adding your Wasabi account to inventory, you need to create and retrieve a Wasabi Access Key ID and Secret Access Key. They are used by NAKIVO Backup & Replication to sign programmatic requests to Wasabi, such as retrieving the list of instances, creating snapshots, and etc.
To create a Wasabi Access Key ID and a Secret Access Key, do the following:
-
If you don't have a Wasabi account, create a new one at wasabi.com/sign-up/
-
Log in to your Wasabi account.
-
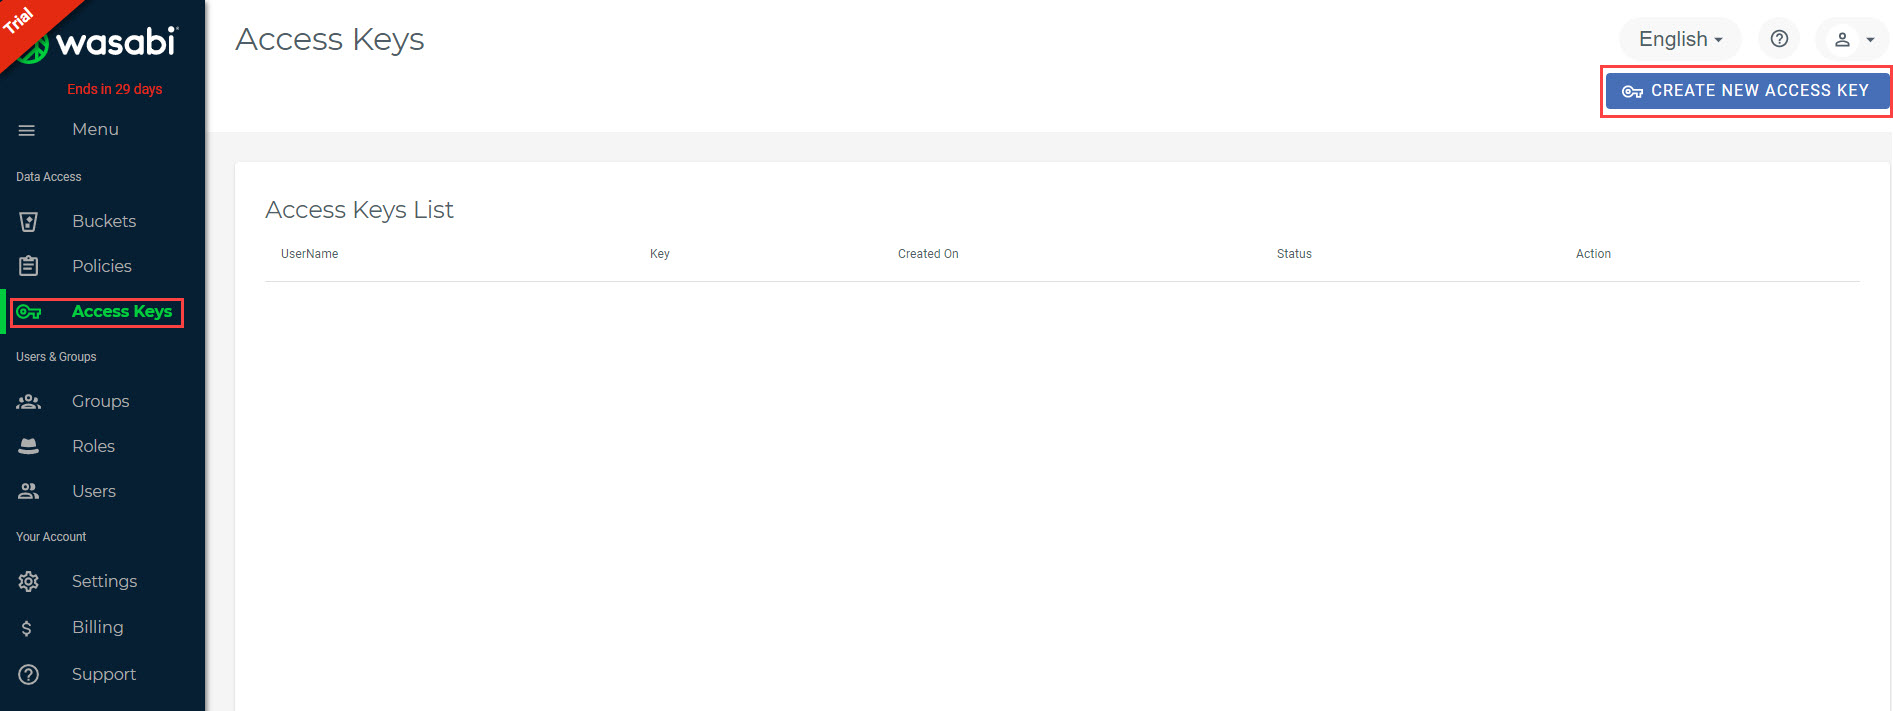
Navigate to the main menu and click Access Keys.
-
Click Create New Access Key.
-
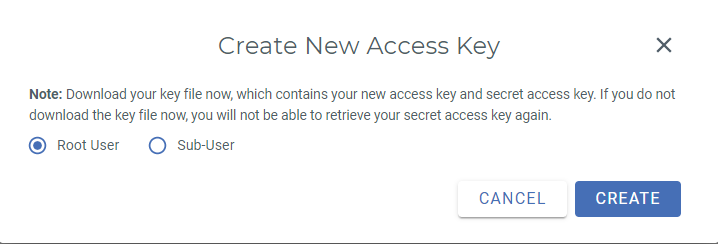
In the dialog box that opens, select one of the following:
-
Root user and click Create.
-
Sub-User. Select a sub-user from the Assign to a user drop-down list and click Create. Note that the original user access key of the selected user will be changed.
Note
To use the Sub-User option, you need to have at least one user to be created within your Wasabi account. For details, refer to Creating a User and How do I set up Wasabi for user access separation?
-
-
Click Download CSV and save the file with generated keys in a secure location. Keep the Access key confidential in order to protect your account.
Adding a Wasabi Account to Inventory
To add a Wasabi account to the NAKIVO Backup & Replication inventory, follow the steps below:
-
Click Settings in the main menu of NAKIVO Backup & Replication.
-
Go to the Inventory tab and click Add New.
-
In the dialog that opens, click AWS/Wasabi Account.
-
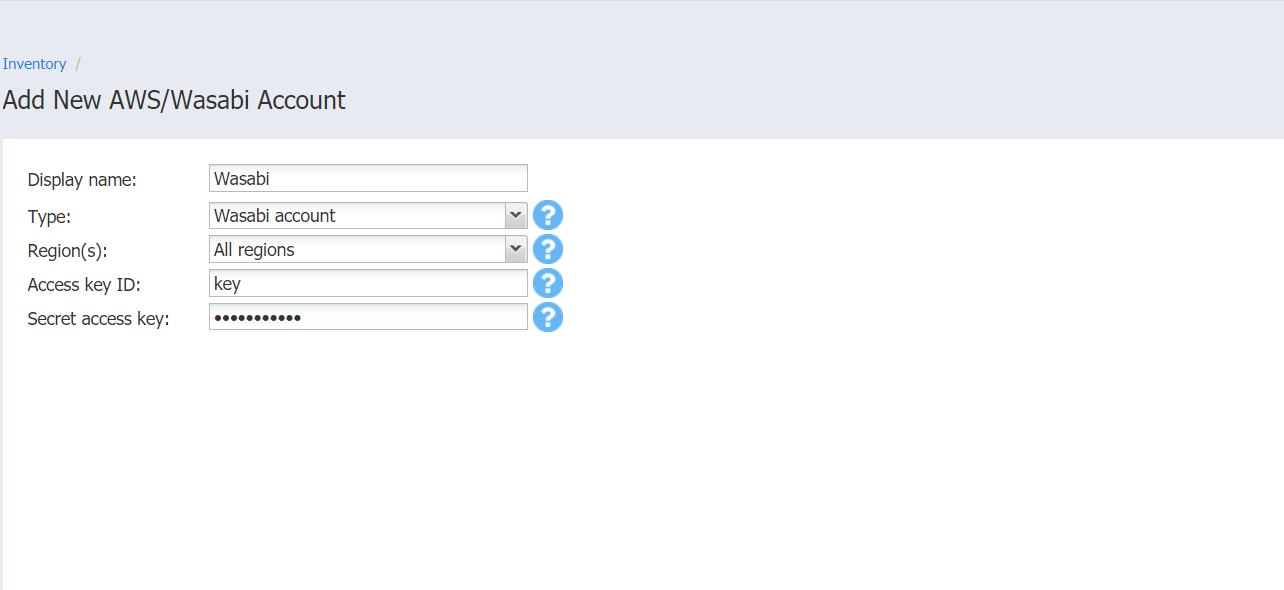
In the dialog box that opens:
-
Enter the name in the Display name box.
-
Select a Wasabi account from the Type drop-down list.
-
Select a Wasabi region from the Region(s) drop-down list.
-
Enter the Access Key ID and Secret Access Key of a root user or a sub-user in the corresponding fields.
-
-
Click Add.