Adding Hyper-V Servers
To add Hyper-V servers to the product, follow the steps below:
-
In the main menu, click Settings.
-
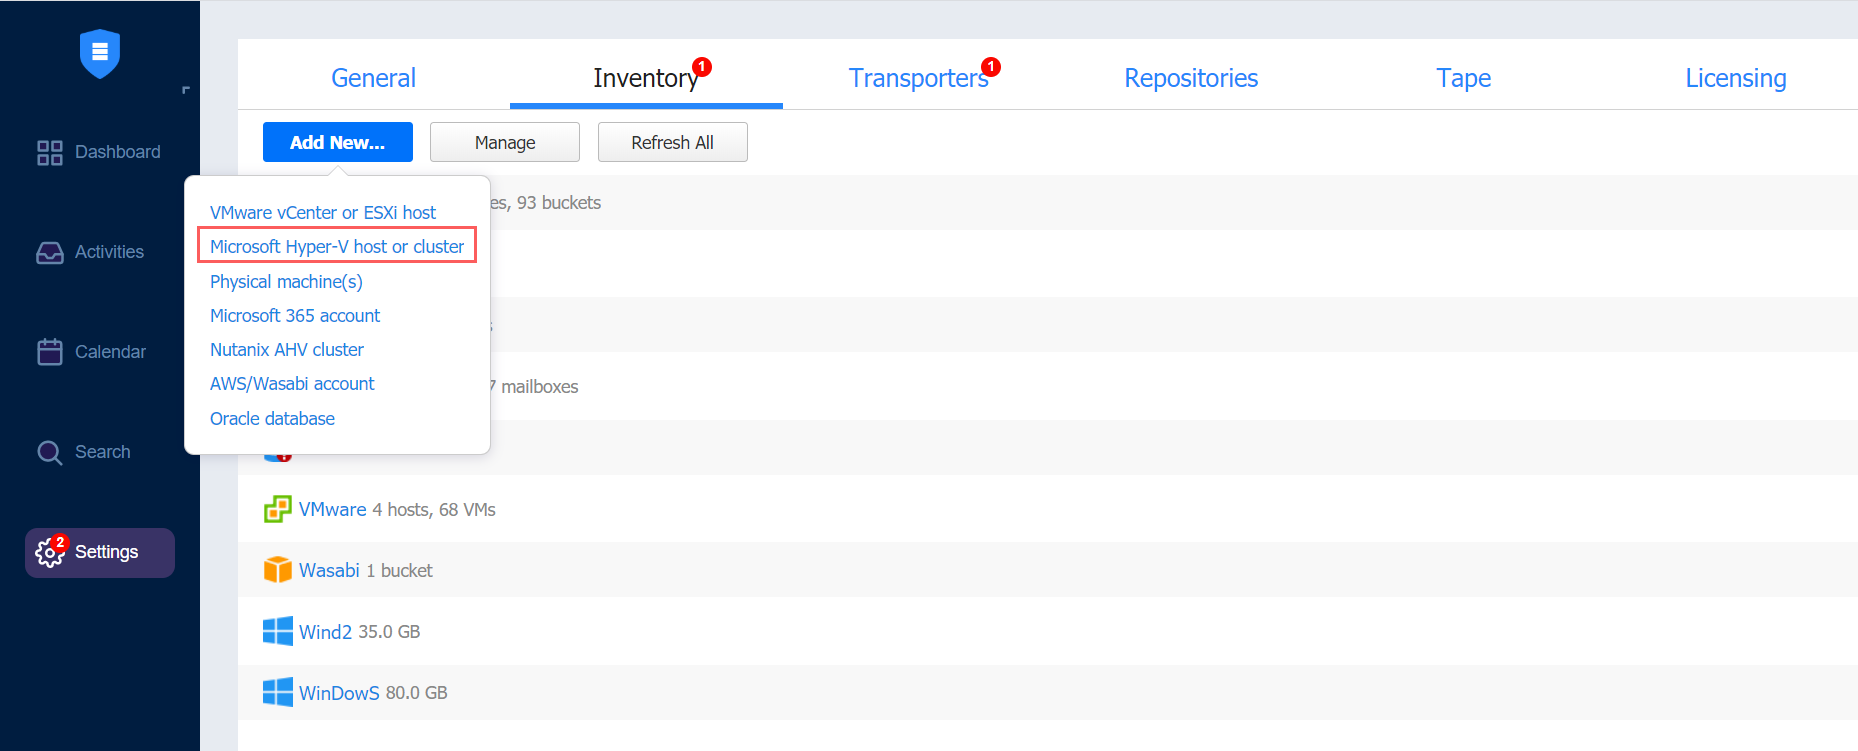
Go to the Inventory tab and click Add New.
-
Click Microsoft Hyper-V host or cluster in the dialog that opens.
-
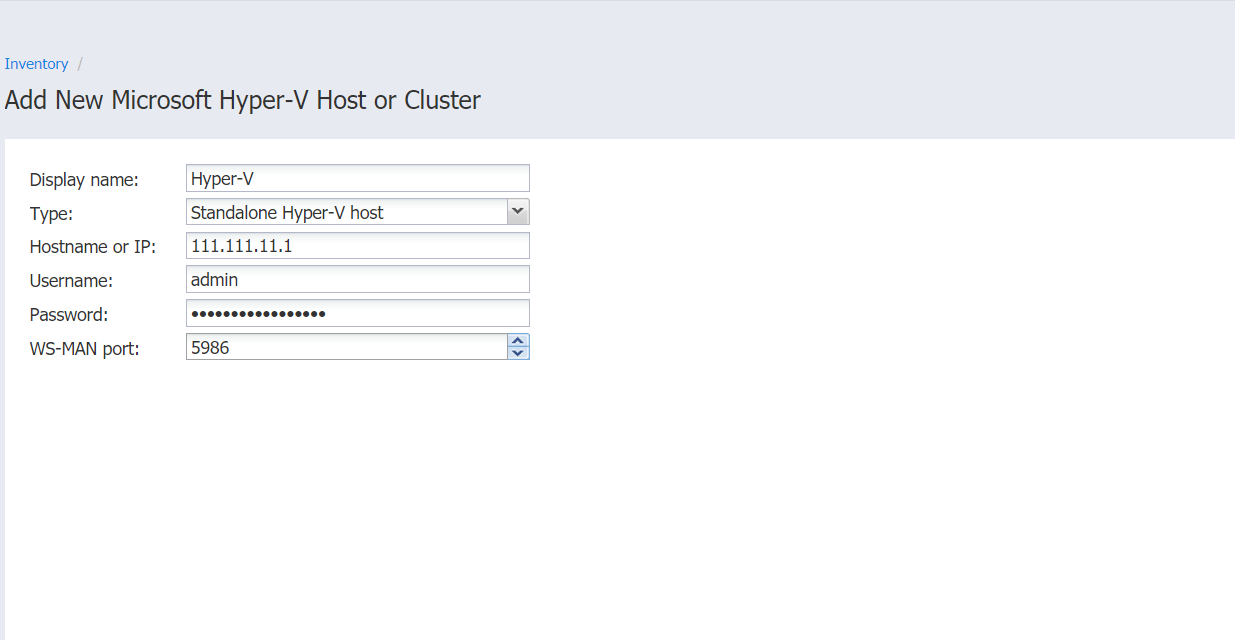
Fill out the fields as follows:
-
Display name: Enter a name for the host that will be displayed in the inventory
-
Type: Select whether you want to add a standalone Hyper-V server or a cluster.
For Hyper-V Failover Clusters, it's enough to add any cluster member by an IP address or domain name. The list of cluster members will be retrieved automatically.
-
Hostname or IP: Specify the hostname or IP address of the Hyper-V server.
-
Username and Password: Specify the credentials of the Hyper-V server that you want to add to the inventory.
The credentials you specify should have full administrative privileges to the Hyper-V server
-
WS MAN port: Specify the port number for WS MAN.
-
-
Click Add.
After the process has completed successfully, you can exit Settings and create jobs with the newly discovered VMs.
Notes
-
When adding a new Hyper-V server to the inventory, NAKIVO Backup & Replication automatically installs the Transporter service onto the server. This service is used to read data from source VMs during backup and replication.
-
Multiple Directors are not supported. If you add the same Hyper-V host to the inventory of an additional NAKIVO Backup & Replication instance, Transporter installation fails.