Users and Roles
Accessing NAKIVO Backup & Replication is possible either with a user account created in the product or with an account added to the product from Active Directory. Each user in the product is assigned a role, which is a set of specific permissions.
Managing Users and Roles
Managing users and roles can be done by following these steps:
-
Log in to NAKIVO Backup & Replication.
-
Click Settings (cog icon) in the left pane of the product.
-
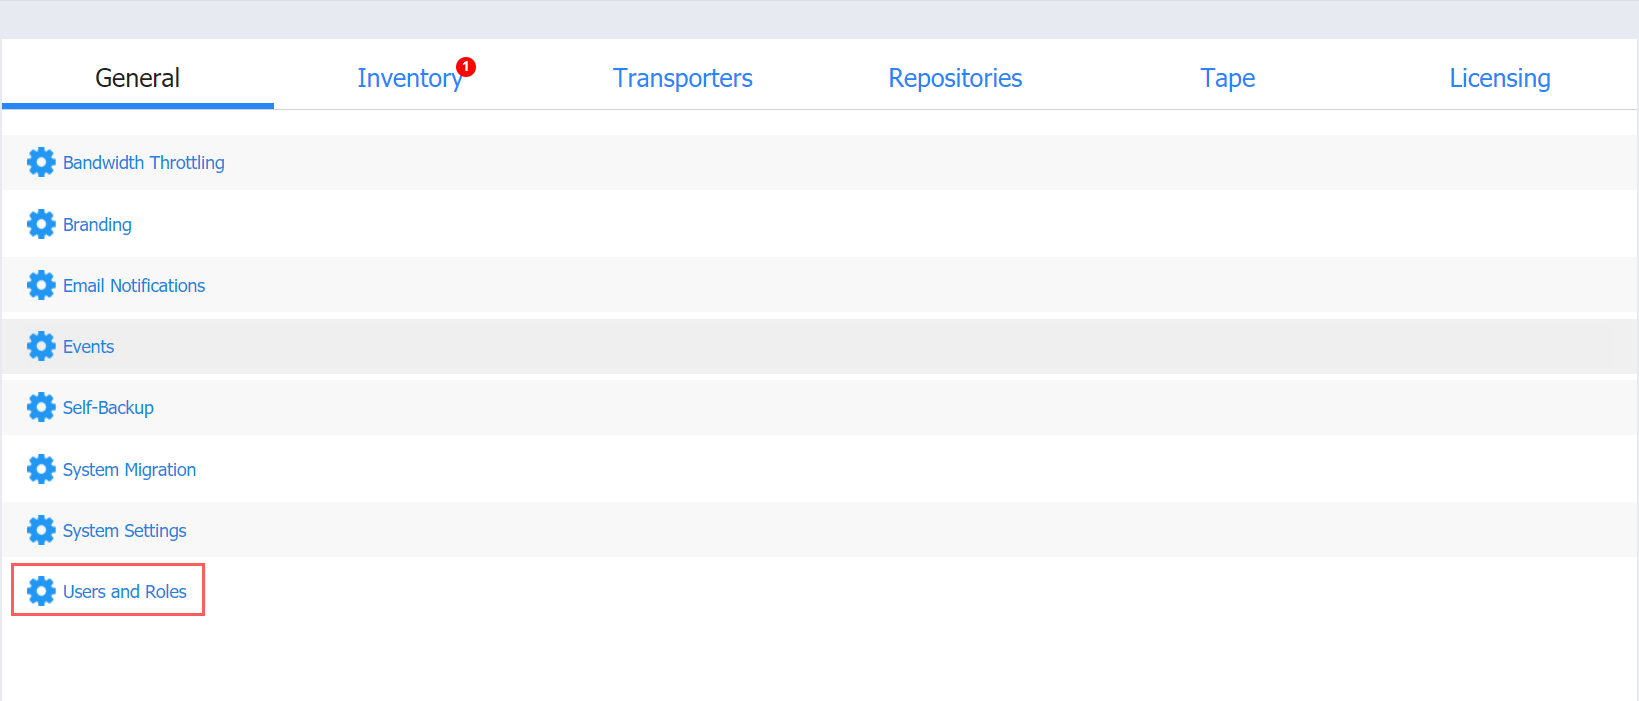
Go to the General tab and click Users and Roles.
Navigating Users View
To see the list of all local users, select the Users view from the drop-down list in the upper-left pane. On this page of the solution you can do the following:
-
See the list of all local users added to NAKIVO Backup & Replication.
-
Sort the list by Name, Role, 2FA, or Group by clicking on the respective name of the column.
-
Filter the list of users by entering the name of the user fully or partially into the Search bar or by selecting the Filter option.
-
Clicking Filter opens a new window that allows you to filter the list of local users according to Name, User name, Email, Group, Role, and Status.
-
-
Add a new local user by clicking Add User.
-
Integrate Active Directory account by clicking AD Integration.
-
Edit, delete, disable, enable Two-factor authentication, and assign a new role to the local user individually. This can also be done in bulk by checking the box in the upper left pane to select all users and clicking Bulk Action.
Note
When selecting all local users to apply a bulk action, NAKIVO Backup & Replication selects only those users that are displayed on the screen. -
Edit the role assigned to the local use by clicking on the name of the role in the respective column.
Navigating AD Groups View
To see the list of all Active Directory groups, select the AD Groups view from the drop-down list in the upper-left pane. On this page of the solution you can do the following:
-
See the list of all AD groups added to NAKIVO Backup & Replication.
-
Sort the list by Name, Users, 2FA, or Role by clicking on the respective name of the column.
-
Filter the list of users by entering the name of the user fully or partially into the Search bar or by selecting the Filter option.
-
Clicking Filter opens a new window that allows you to filter the list of local users according to Name, Role, and Status.
-
-
Add a new AD group by clicking Add AD group.
-
Integrate Active Directory account by clicking AD Integration.
-
Edit, delete, disable, enable Two-factor authentication, and assign a new role to the AD group individually. This can also be done in bulk by checking the box in the upper left pane to select all groups and clicking Bulk Action.
Note
When selecting all AD groups to apply a bulk action, NAKIVO Backup & Replication selects only those groups that are displayed on the screen. -
Edit the role assigned to the local use by clicking on the name of the role in the respective column.
For details, refer to the following sections: