Adding Active Directory User
After configuring AD integration in the Active Directory Configuration wizard, you can proceed with adding AD user(s). Proceed as follows:
-
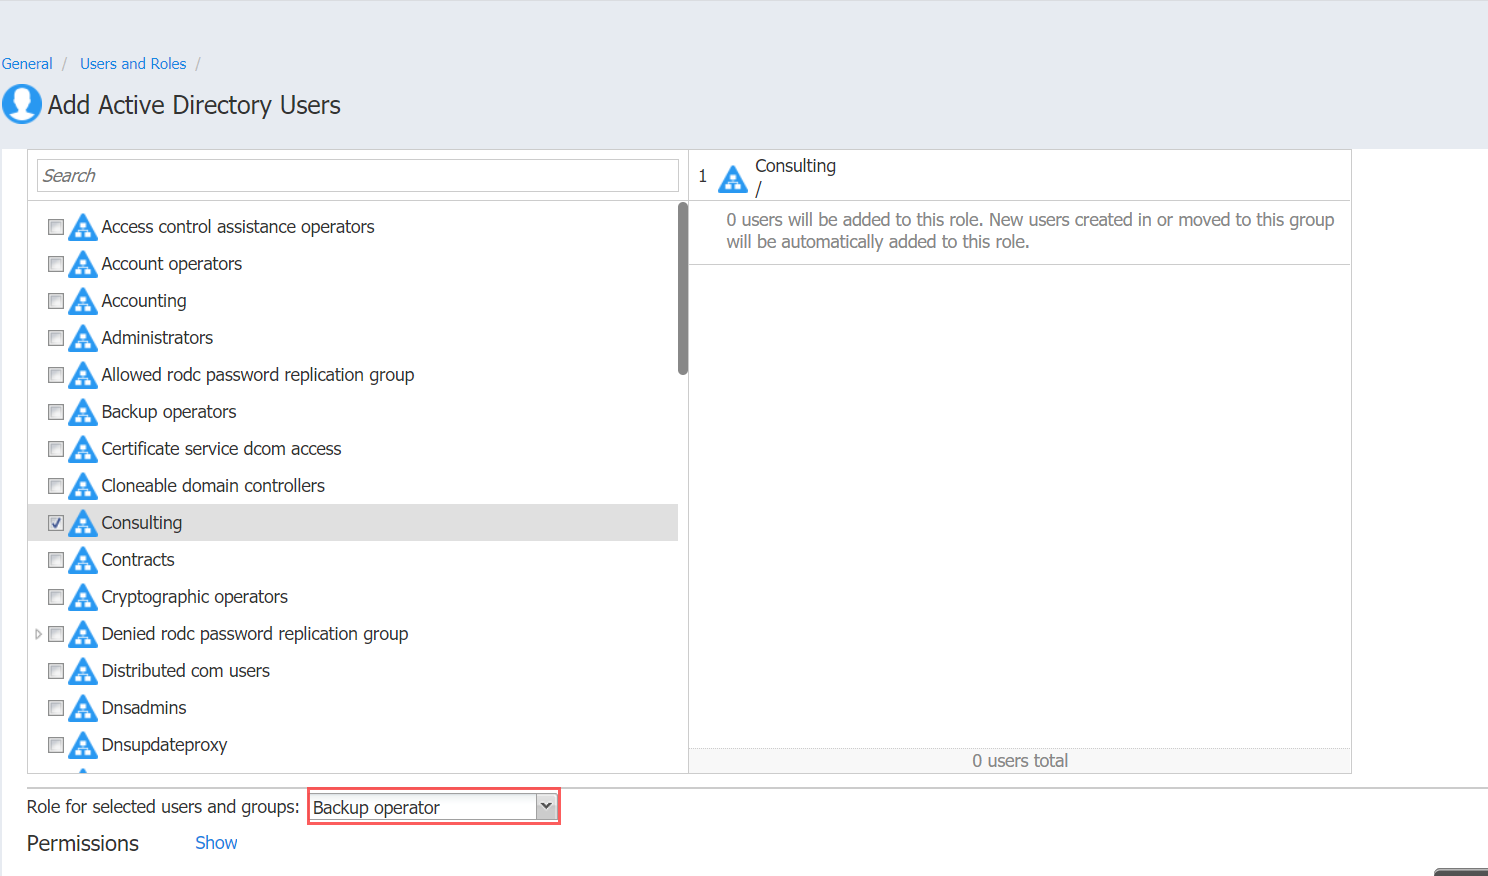
Optionally, you can filter the tree of Active Directory users by entering a string to the Search box. You can enter a section or the whole name of the item.
-
Select Active Directory users and groups by placing a checkmark to their left.
-
The selected items appear in the right pane of the page. If necessary, reorder the selected items by dragging them to a new position. By doing so, you can specify to add the most important users and groups first.
Note
Only logged in users that belong to the group can be added.
-
Review the list of selected items. If necessary, remove a selected user or group from the list in either of the following ways:
-
Deselect the item in the left pane. This will remove the item from the right pane.
-
In the right pane, hover the pointer over the item you wish to remove and click the Remove button. This will deselect the item in the left pane.
-
-
In the Role list, choose a user role to be assigned to the users.
-
To unhide permissions granted to the users based on the role assigned, click the Show button beside the Permissions label. To hide the user permissions again, click Hide.
-
In the lower right corner of the page, click Add. Active Directory users appear in the NAKIVO Backup & Replication list of users.